Sitecore Sloth Module 1.1 Released

santa-helperA few weeks ago I wrote about how I updated Sloth to support Items as Resource files.  I’ve now got round to releasing this package on Nuget and creating Sitecore Packages for this too in case you want to install in that way instead. I’ve updated the Github readme with all the info too.

Sloth 1.1 supports being able to enable and disable the module under the settings here: /sitecore/system/Modules/Sitecore Sloth. Please ensure you enable the module and save the item after installing version 1.1.

sloth-enabled


Installing Sloth 1.1 for Sitecore 10.1+ Via Nuget

You can install version 1.1 of Sloth via Nuget like so if using Sitecore 10.1 or above:

Install-Package FluxDigital.Foundation.Sloth -Version 1.1.0

I’ve tested installing the Nuget package for Sitecore 1.1 and if installed correctly you should see the following files:

sloth-1.1-nuget-install


sloth-1.1-nuget-install-2


I haven’t created a Sloth 1.1 Nuget package for Sitecore 8-10 yet but I will do so when I get a minute.

Hope this helps and your enjoying using Sloth.

Please let me know of any issues you have and I’ll try and resolve them ASAP.

Have a great Christmas everyone.

Creating Custom Item as Resources Files with Sitecore CLI 4.0

gandalf-spellBack when Sitecore 10.1 was released in February Sitecore include a significant change to how the out of the box items were shipped with the release. They were no longer stored in the databases and instead are shipped as ‘items.x.dat’ files in the /App_Data/items folder. These files are in a new Protocol Buffers (ProtoBuf) format, referred to as ‘Items as Resources’ and make upgrades simpler. Jeremy has a really good over-view of this if you want to learn more about it.

However until recently it was not possible to create your own custom ProtoBuf files to deploy your items as it wasn’t supported in Sitecore 10.1 or using Sitecore CLI 3.0.

Sitecore CLI 4.0 was released at the end of September though and now includes a ‘Sitecore ResourcePackage plugin’ for doing this.
Note: it is only possible to use Items as Resources with 10.1 and 10.2.

TLDR

Use Sitecore CLI 4.0 to Serialize your items to disk. Then run the sitecore itemres create command to create a .dat file and deploy it to another environment or Solution.

Ok but why would we want to do this?

I recently released a Module called Sitecore Sloth and for an update to it (coming soon) I wanted to add a settings item in Sitecore for it. I figured this would be a good opportunity to see if I can use the new Items as Resources functionality in my Module package. I haven’t seen anyone blog about doing this in the supported way yet so here goes.
It could be really useful for Deploying developer owned resources to other Sitecore instances and Containers and keeping the database clean. No deployment scripts are needed for the .dat file install as they are auto-installed on Sitecore start-up.

Sounds good how do I do it?

So the first thing you need to do is install the new Sitecore CLI 4.0, if you have any trouble with Sitecore’s guide then this is an really easy blog post to follow and includes useful info on setting up the serialization. If you have CLI 3.0 installed already you can upgrade it.

Prerequisites – Serializing your Items to disc

Assuming you now have the CLI setup and authenticated you need to do the following to Serialize your items. If you’ve done this already then skip this section:

1. Ensure you have an Sitecore.json file at the root of your solution with the new Sitecore.DevEx.Extensibility.ResourcePackage included as well as the Serialization one:

{
 "$schema": "./.sitecore/schemas/RootConfigurationFile.schema.json",
 "modules": [
 "src/*/*/*/*.module.json"
 ],
 "plugins": [
 "Sitecore.DevEx.Extensibility.Serialization@4.0.0",
 "Sitecore.DevEx.Extensibility.Publishing@4.0.0",
 "Sitecore.DevEx.Extensibility.ResourcePackage@4.0.0"
 ],
 "serialization": {
 "defaultMaxRelativeItemPathLength": 100,
 "defaultModuleRelativeSerializationPath": "items",
 "removeOrphansForRoles": true,
 "excludedFields": []
 }
}

Mine is here:

json


2. Add a module JSON file for your Feature or Module like so:

add-sloth-module


3. Configure the JSON as required. I’ve included my Sloth data template and root item in mine:

{
 "namespace": "FluxDigital.Foundation.Sloth",
 "items": {
 "includes": [
 {
 "name": "templates",
 "path": "/sitecore/templates/Foundation/Sloth",
 "allowedPushOperations": "createUpdateAndDelete",
 "scope": "itemAndDescendants"
 },
 {
 "name": "sitecore sloth",
 "path": "/sitecore/system/Modules/Sitecore Sloth",
 "allowedPushOperations": "createUpdateAndDelete",
 "scope": "SingleItem"
 }
 ]
 }
}


4. CD into your module or feature directory and Run the ser pull command to serialize your items to disc:

dotnet sitecore ser pull

ser-pull2


You should see the .yml files on disc in an items folder within your module / feature:

items


Creating the Item as Resource file

Ok so now were ready to create our Item as Resource (.dat) file.

1. Ensure your command prompt is still within the Solution route and run the itemres create command like so:

dotnet sitecore itemres create -i FluxDigital.Foundation.Sloth  -o src\Foundation\Sloth\code\App_Data\items\master\sloth –overwrite

Note: the -o param to choose the output folder for your .dat file.

itemres2


You should then see you have a file saved to your output folder like so:

datfile


 Deploying your items as resource file

So the final step is to deploy the .dat file to another environment (e.g UAT or Staging). In the real world this could be via NuGet or inside a Sitecore package or a deployment pipeline.

I’m going to include this file in my the Sloth 1.1 release via NuGet and Sitecore packages for Sitecore 10.1 and 10.2. You can see the contents of it here (my items.master.sloth.dat file is inside the /App_Data/items/master/ folder):

nuget-pack


To test this I installed this NuGet package to a new Sitecore 10.2 instance I setup locally and auto-magically the items appeared:

sloth-install


pretty cool huh?!

magic-meme


Hopefully this is useful for others interested in using this new feature.

Sloth 1.1 will be released later this week hopefully using this new feature to ship the items for Sitecore 10.1 and 10.2.

Further Reading

As well as the articles I’ve already linked I read a bunch of Community posts on the items as resource files topic and they are definitely worth a read if you’d like to know more about them, the video below from Justin Vogt was really useful too:

https://blog.martinmiles.net/post/everything-you-wanted-to-ask-about-items-as-resources-coming-with-new-sitecore-10-1

https://www.maartenwillebrands.nl/2021/05/22/sitecore-generating-item-resource-files/

https://www.youtube.com/watch?v=0kWjJRMT1uc


Sitecore Sloth Module

sitecore-sloth-logo-small

A while back Kamruz Jaman wrote about how to stop experience editor reloading the page when you make changes to components.

Over the years I’ve added this improvement into a few Sites I’ve worked on in an upgrade-proof way and tweaked it a bit. It prevents the page scrolling back to the top when reloading when adding or editing components, changing datasources, rendering params or workflow.

This still seems to be a frustration even in the latest version of Sitecore and as adding this improvement in involves a bit of code (and understanding of how to inject scripts into Sitecore Experience Editor) I decided it would be nice to package this up into a proper Sitecore module.

Example of Experience Editor Issue

You can see an example of this below with a simple Bootstrap 5 Site. When a Card components properties are edited in experience editor it scrolls the editor half way up the page when saving.

sloth-experience-editor-issue

Sloth Demo

When performing the same tasks in as in the previous video (editing component properties & adding datasources) you can see that Experience Editor takes you back to where you were after saving.

sloth-demo

So here it is ‘Sitecore Sloth’. Named so, as Sloths are pretty stationary animals and that’s what this module does, stops Experience Editor moving around too much :-).

You can download the Sitecore package and install it from Github and I’m going to push it to NuGet soon too. The install instructions are in the readme here.

You can also see the code on Github here. It’s been created as an Foundation Module following Helix conventions.

Sitecore Sloth has been tested with most versions of Sitecore from 9.1 up to 9.3. Sitecore 10 update 2 seems to have resolved this issue, I’m not sure about other 10.x versions.

Please note it will only work on MVC based Sitecore sites and not Webforms ones as it hooks into the MVC rendering pipeline.

Thanks to Kamruz for sharing the original code and idea and hope it’s useful for others too.

Tips on Installing and Using the Sitecore Url Rewrite Module

Last week I had to implement some re-writes for some pages in Sitecore to make them more user and friendly and improve their SEO. This is a familiar requirement and I decided it was a good fit for the Sitecore Url Rewrite Module: https://marketplace.sitecore.net/Modules/Url_Rewrite.aspx.

seo-humor-300x166

This module has been around for a long time and I’ve used it on a number of Sitecore projects but every time I have to install it and setup new rules I forget exactly how I did it last time. The documentation is a bit limited so I thought I’d explain how to implement a reasonably complex re-write rule, along with some tips on installing and debugging the module.

Installing the Module

You can download the Re-Write module for up to 8.1 update 3 from the Marketplace link above, however if you installing the module for Sitecore 8.2 (like me) you will need to go to Github and download the module install Zip package from here: https://github.com/iamandycohen/UrlRewrite/releases/tag/v1.8.2

Once you’ve got hold of the Zip go-ahead and install it as usual using the package installer in Sitecore, then complete the following steps:

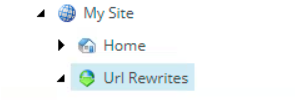
  1.  Insert a new item to create your rules in using the Redirect Folder template (this can be found here: /sitecore/System/Modules/UrlRewrite/Templates/Redirect Folder). I’ve called mine ‘Url Rewrites’:
    Re-writes-root
  2. If using Multi-sites in Sitecore select an Site Name Restriction within the Redirect Folder from the drop-down (on the Content Tab) for your specific site.
  3. Move your Redirects Folder to the Final workflow step and publish it.
  4. Publish the whole Url Redirects template folder here:

    /sitecore/templates/User Defined/Url Rewrite

You may also wish to delete the Sample Rewrites that are installed by the module:

sample-rewrites

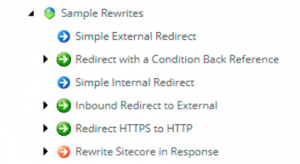
We are now ready to create re-write rules and re-directs.

A Sample Re-write Rule

The following is an example of a re-write rule where I want to convert the following url (which has parameters) into something more SEO and user friendly:

http://test.sitecore.local/events/details?eventid=100&location=orlando&name=sitecore-symposium

The url we’d like is as follows:

http://test.sitecore.local/events/details/orlando/sitecore-symposium/100

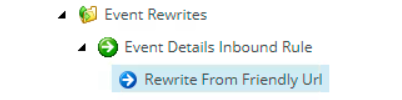
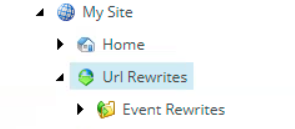
I like to create a sub-folder for my Re-Write to keep them organised, to do this Right-Click on the Root redirect folder you have just created and Insert an ‘Rewrites sub-folder’, I’ve called mine ‘Event Rewrites’:

Re-writes-folder

Adding an Inbound Rule

Within the Sub-folder you have just created Right-click and insert an ‘Inbound Rule’. I’ve called mine ‘Event Details Inbound Rule’:

rewrite-inbound

Right click on the Inbound Rule you have created above and add a new ‘Rewrite’. I’ve called mine ‘Rewrite From Friendly Url’:

re-write-friendlyfolder

Now click back on your Inbound Rule and enter the rule details.

As we are adding an Regex based rule, choose ‘Matches Pattern’ and ‘Regular Expressions’ as per the screenshot below.

Then enter your Regex Pattern. I ended up with the following:

^(.*?)/events/details/?(.*?)/(.*?)/(.*?)$

This matches any url starting with anything (thats this bit: ^(.*?)) but contains: ‘/events/details/’. It then has 3 capture groups after that (this bit: (.*?)) which grab the eventid, name and location values which I will re-use in my re-write rule in the next step.

re-write-reg2

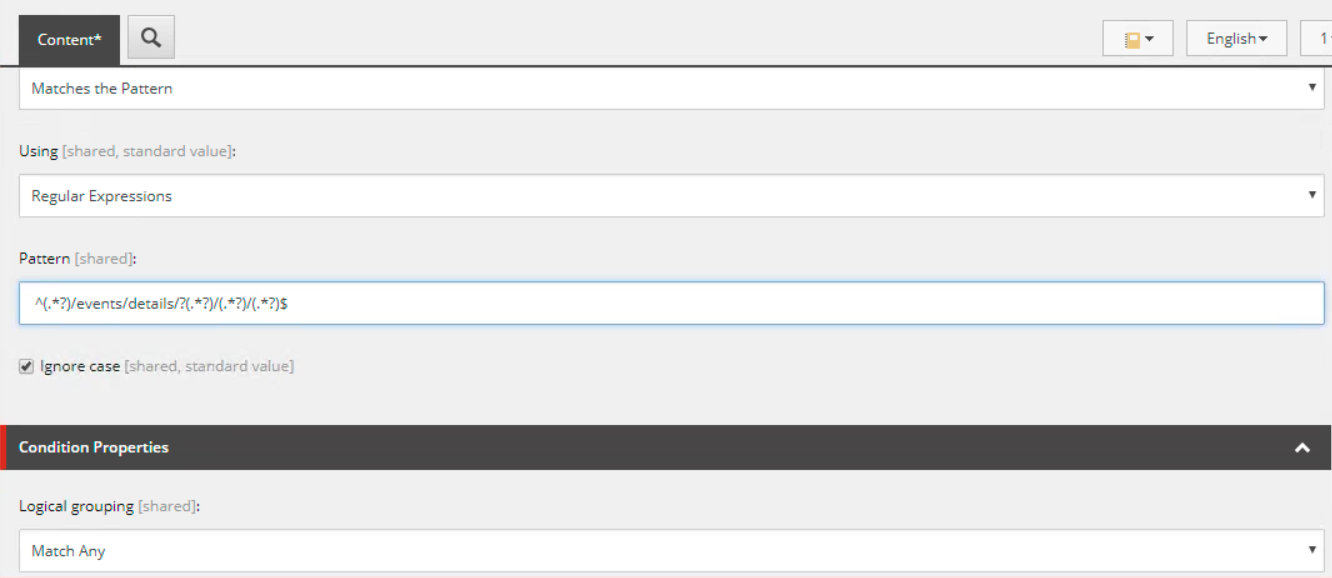
In my case this should match this url: /events/details/orlando/sitecore-symposium/100

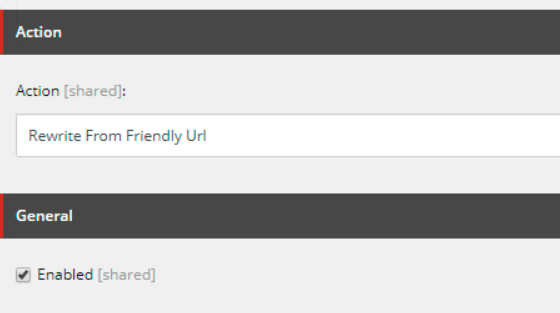
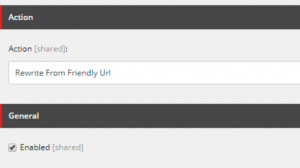
Make sure you also choose the Action as the rewrite that your created earlier and enable your rule (by ticking the following checkbox) and save it:

regex-enable

Adding an Rewrite Rule

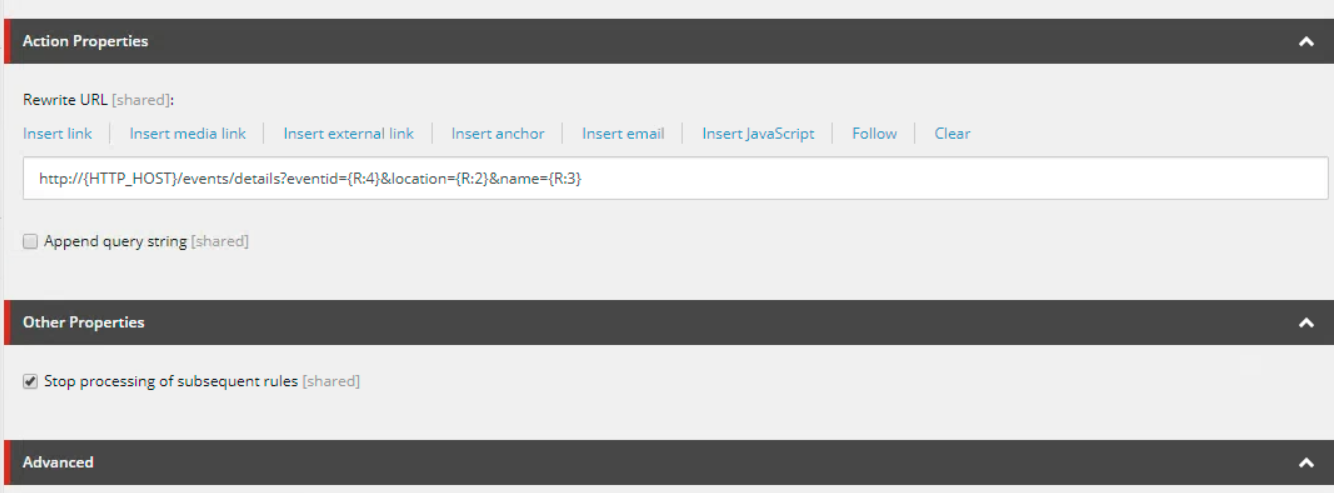
Go to the Rewrite rule item you created earlier and enter the url you want to re-write to. This is the ‘Real Url’ that is resolved behind the scenes, but will be hidden from the end-user.

In my case this is: /events/details?eventid=100&location=orlando&name=sitecore-symposium.

These are the elements that make up my re-write:

  • http://{HTTP_HOST} – this grabs the root domain of the site from the inbound rule
  • {R:4} – the 4th capture group, this holds my eventid
  • {R:2} – the 2nd capture group, this holds my location
  • {R:3} – the 1st capture group, this holds my event name

re-write-friendly

I don’t want any other rules to apply if my rule matches so I have ticked the ‘Stop Processing of subsequent rules’ check box. Save your rewrite.

Checking your Re-Write Rule Works

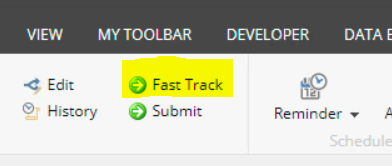
First ensure you fast track both your inbound rule and re-write rule through workflow by going to the review tab and clicking the ‘Fast Track’ button.

re-write-fast-track

Then publish your inbound rule and rewrite, ensure you have also published your re-write parent folder and root redirects item.

Finally open up your browser and go to the url that should be re-written, in my case: http://test.sitecore.local/events/details/orlando/sitecore-symposium/100

This should work and resolve to the real url behind the scenes. If it doesn’t work see below for testing and debugging rules.
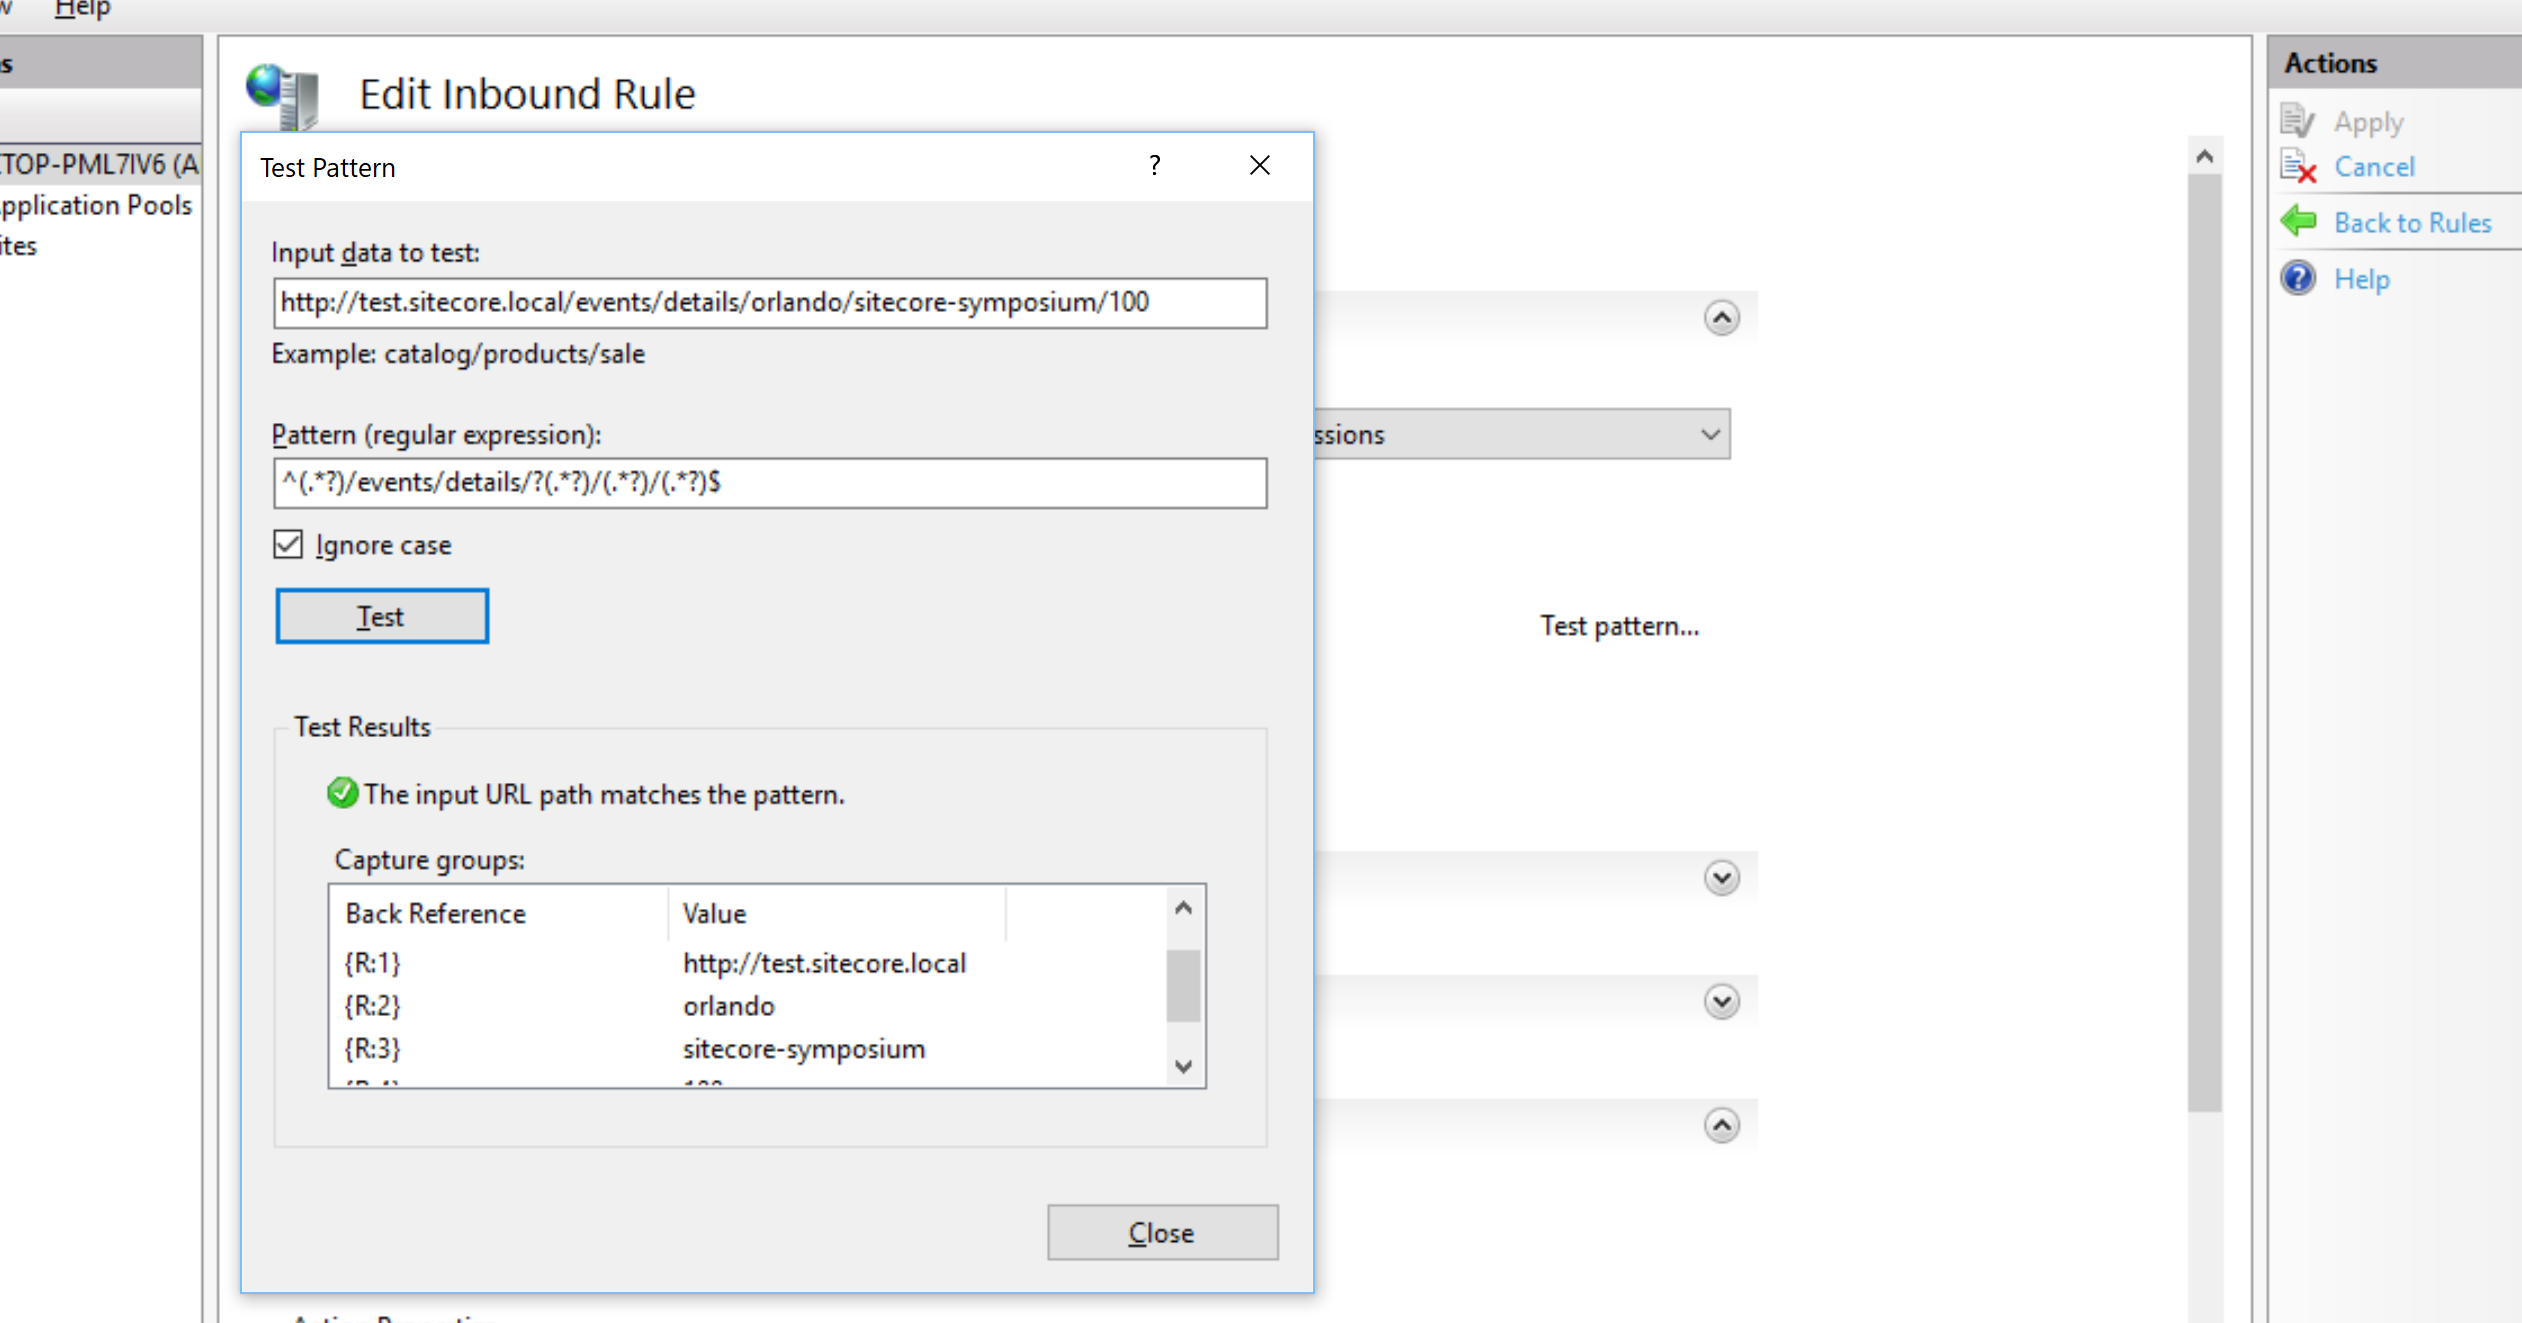
Testing Rules

As the Re-write module is designed to Mimic the IIS Rewrite module you can use IIS to help test rules. Open IIS, click on Url Rewrite > Add Rule > Blank Rule. In the name field add your rule. Next add the pattern you want to test and click ‘Test pattern…’. You should see that your rule matches correctly and returns the capture groups that you expect also.

rewrite-test-iis


Also make sure your Regex pattern is exclusive/specific enough that it does not match on urls you don’t want it to. Otherwise you may find you unwittingly break other urls in Sitecore.

Debugging Rules

The Url Rewrite module writes out a log file in the Sitecore /logs folder (e.g: UrlRewrite.log.20180831.txt) but by default the log file only displays what rules exist and are being loaded/updated in the cache. In order to see more information like rules being matched and what is happening in more detail you will need to change the log level to DEBUG in the config file for the module here:

\App_Config\Include\Hi.UrlRewrite.config

Open the file and update this setting like so (make sure you change this back on other environments):

<setting name=”Hi.UrlRewrite.LogFileLevel” value=”DEBUG” />

You will then see info in the logs regarding the redirects like so:

rewrite-rule-logs

The logs will now include details on what rule is being processed, if there was a rule match and if it succeeded as well as the url that the page is redirected/re-written to.

If your rules are not working double check the Regex and also make sure you have enabled and published the rules, updated the workflow and published the templates (as described earlier).

When you save an change to a rule it clears the cache (as far as I’m aware anyway). However if you are seeing issues with cached rules during development try the following:

  • Make sure you clear your browser cache when testing, press Ctrl F5 / use Chrome dev tools and disable cache.
  • Try a re-publish on your rules to to ensure the caches are cleared
  • Clear the Sitecore cache by using the /admin/cache page or recycling IIS.

I’ve been caught out by these things a few times in the past when testing rules and wondering why they are not working.

Hopefully this is useful for anyone using the Re-write module and gives you some helpful tips to avoid some of the frustrations of creating and testing rules.
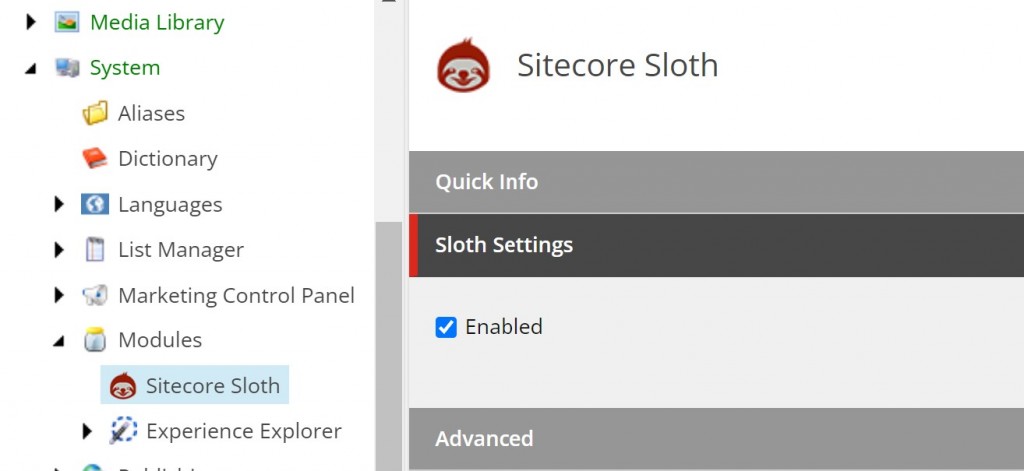
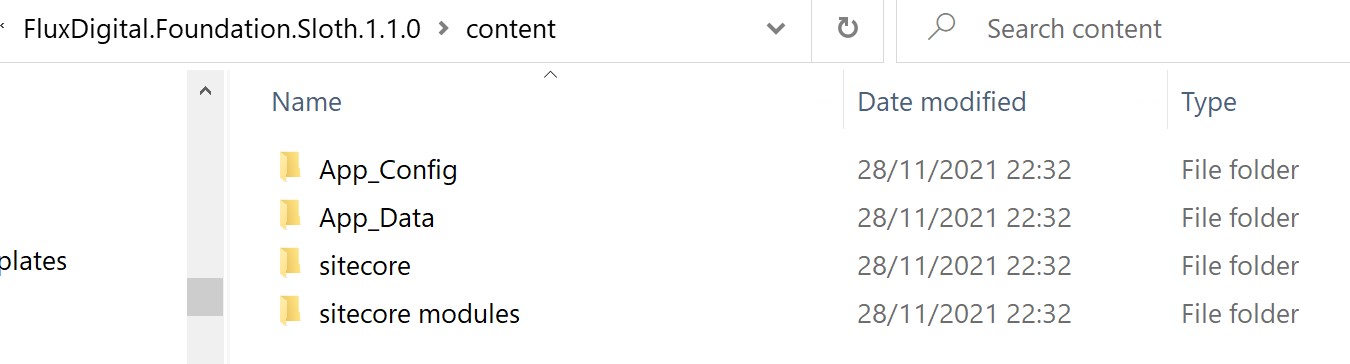
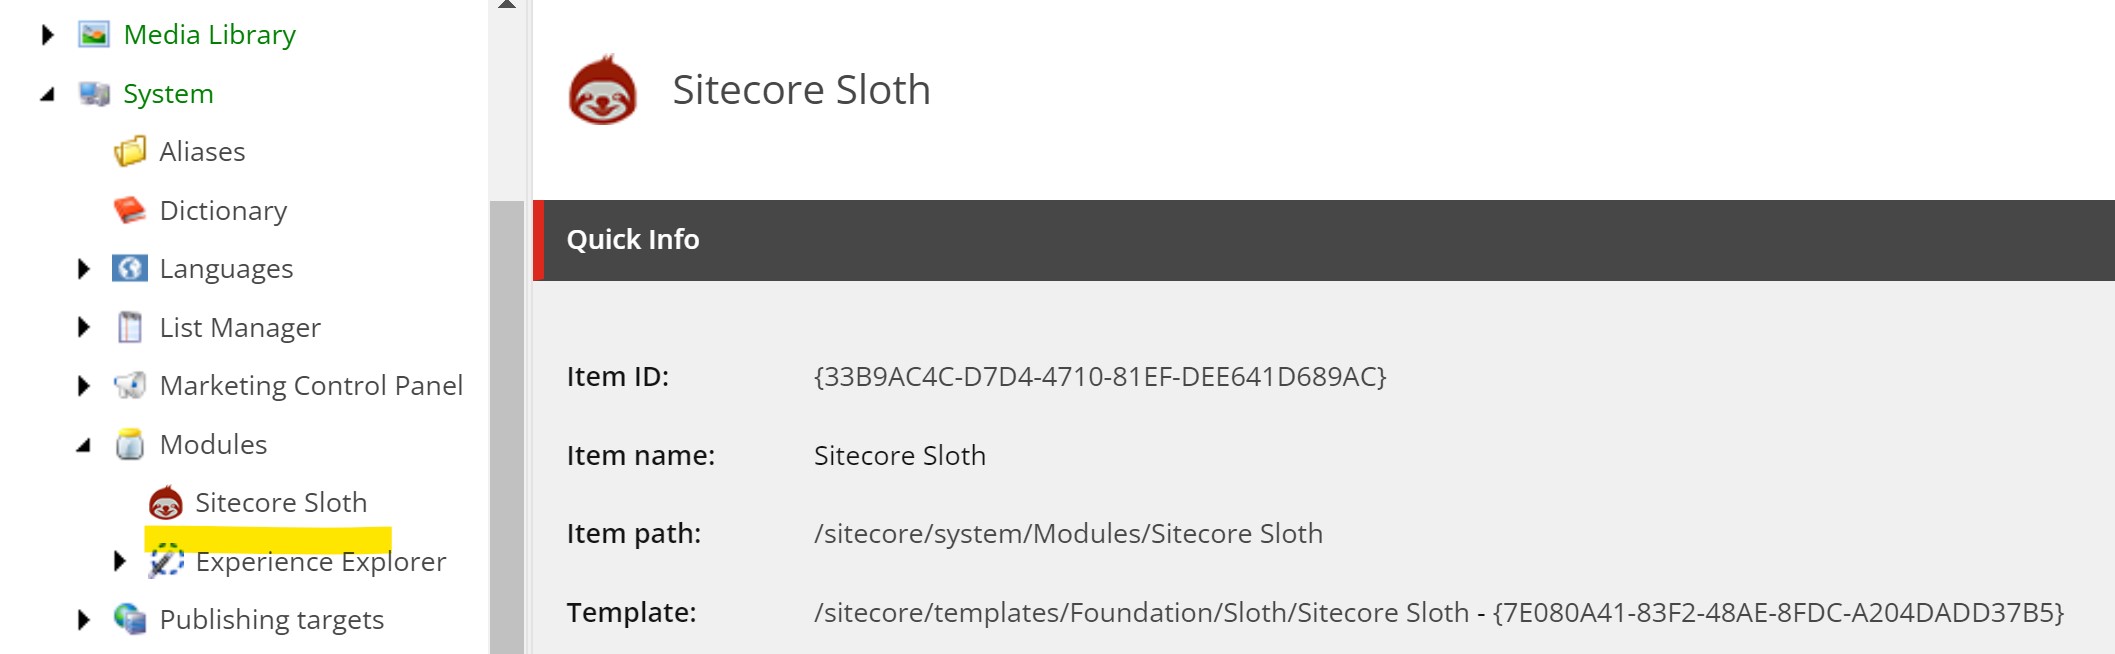