 Back when Sitecore 10.1 was released in February Sitecore include a significant change to how the out of the box items were shipped with the release. They were no longer stored in the databases and instead are shipped as ‘items.x.dat’ files in the /App_Data/items folder. These files are in a new Protocol Buffers (ProtoBuf) format, referred to as ‘Items as Resources’ and make upgrades simpler. Jeremy has a really good over-view of this if you want to learn more about it.
However until recently it was not possible to create your own custom ProtoBuf files to deploy your items as it wasn’t supported in Sitecore 10.1 or using Sitecore CLI 3.0.
Sitecore CLI 4.0 was released at the end of September though and now includes a ‘Sitecore ResourcePackage plugin’ for doing this.
Note: it is only possible to use Items as Resources with 10.1 and 10.2.
TLDR
Use Sitecore CLI 4.0 to Serialize your items to disk. Then run the sitecore itemres create command to create a .dat file and deploy it to another environment or Solution.
Ok but why would we want to do this?
I recently released a Module called Sitecore Sloth and for an update to it (coming soon) I wanted to add a settings item in Sitecore for it. I figured this would be a good opportunity to see if I can use the new Items as Resources functionality in my Module package. I haven’t seen anyone blog about doing this in the supported way yet so here goes.
It could be really useful for Deploying developer owned resources to other Sitecore instances and Containers and keeping the database clean. No deployment scripts are needed for the .dat file install as they are auto-installed on Sitecore start-up.
Sounds good how do I do it?
So the first thing you need to do is install the new Sitecore CLI 4.0, if you have any trouble with Sitecore’s guide then this is an really easy blog post to follow and includes useful info on setting up the serialization. If you have CLI 3.0 installed already you can upgrade it.
Prerequisites – Serializing your Items to disc
Assuming you now have the CLI setup and authenticated you need to do the following to Serialize your items. If you’ve done this already then skip this section:
1. Ensure you have an Sitecore.json file at the root of your solution with the new Sitecore.DevEx.Extensibility.ResourcePackage included as well as the Serialization one:
{
 "$schema": "./.sitecore/schemas/RootConfigurationFile.schema.json",
 "modules": [
 "src/*/*/*/*.module.json"
 ],
 "plugins": [
 "Sitecore.DevEx.Extensibility.Serialization@4.0.0",
 "Sitecore.DevEx.Extensibility.Publishing@4.0.0",
 "Sitecore.DevEx.Extensibility.ResourcePackage@4.0.0"
 ],
 "serialization": {
 "defaultMaxRelativeItemPathLength": 100,
 "defaultModuleRelativeSerializationPath": "items",
 "removeOrphansForRoles": true,
 "excludedFields": []
 }
}
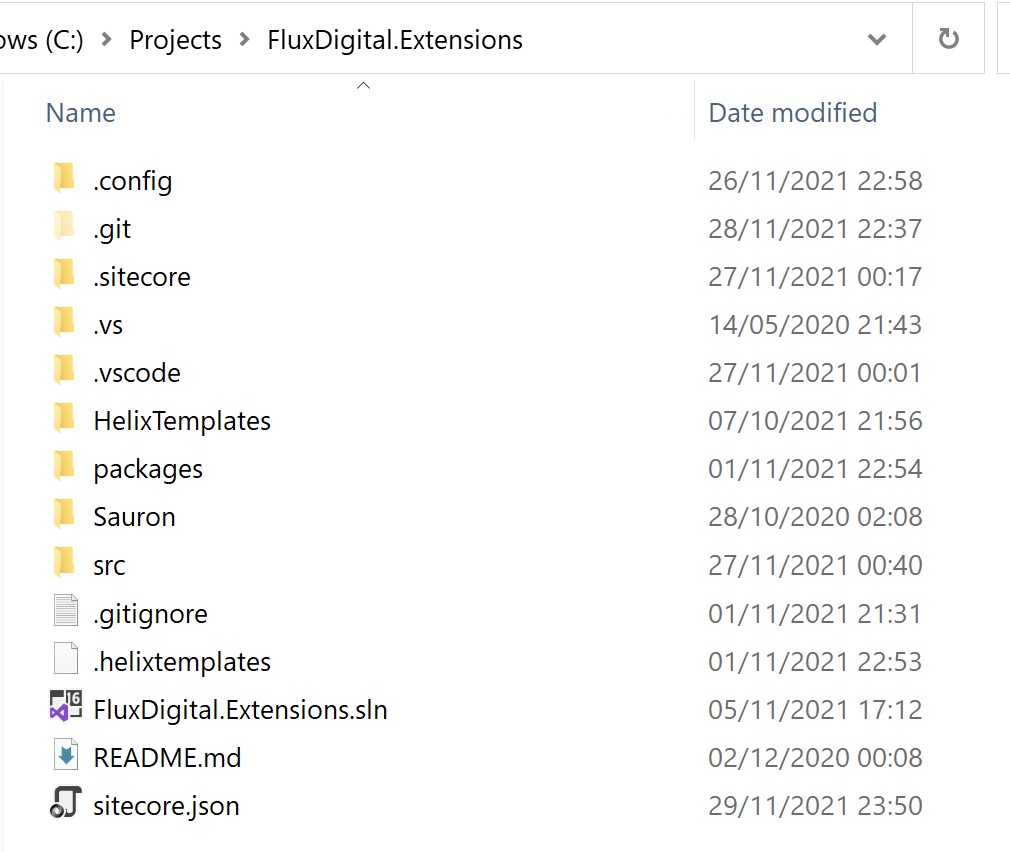
Mine is here:
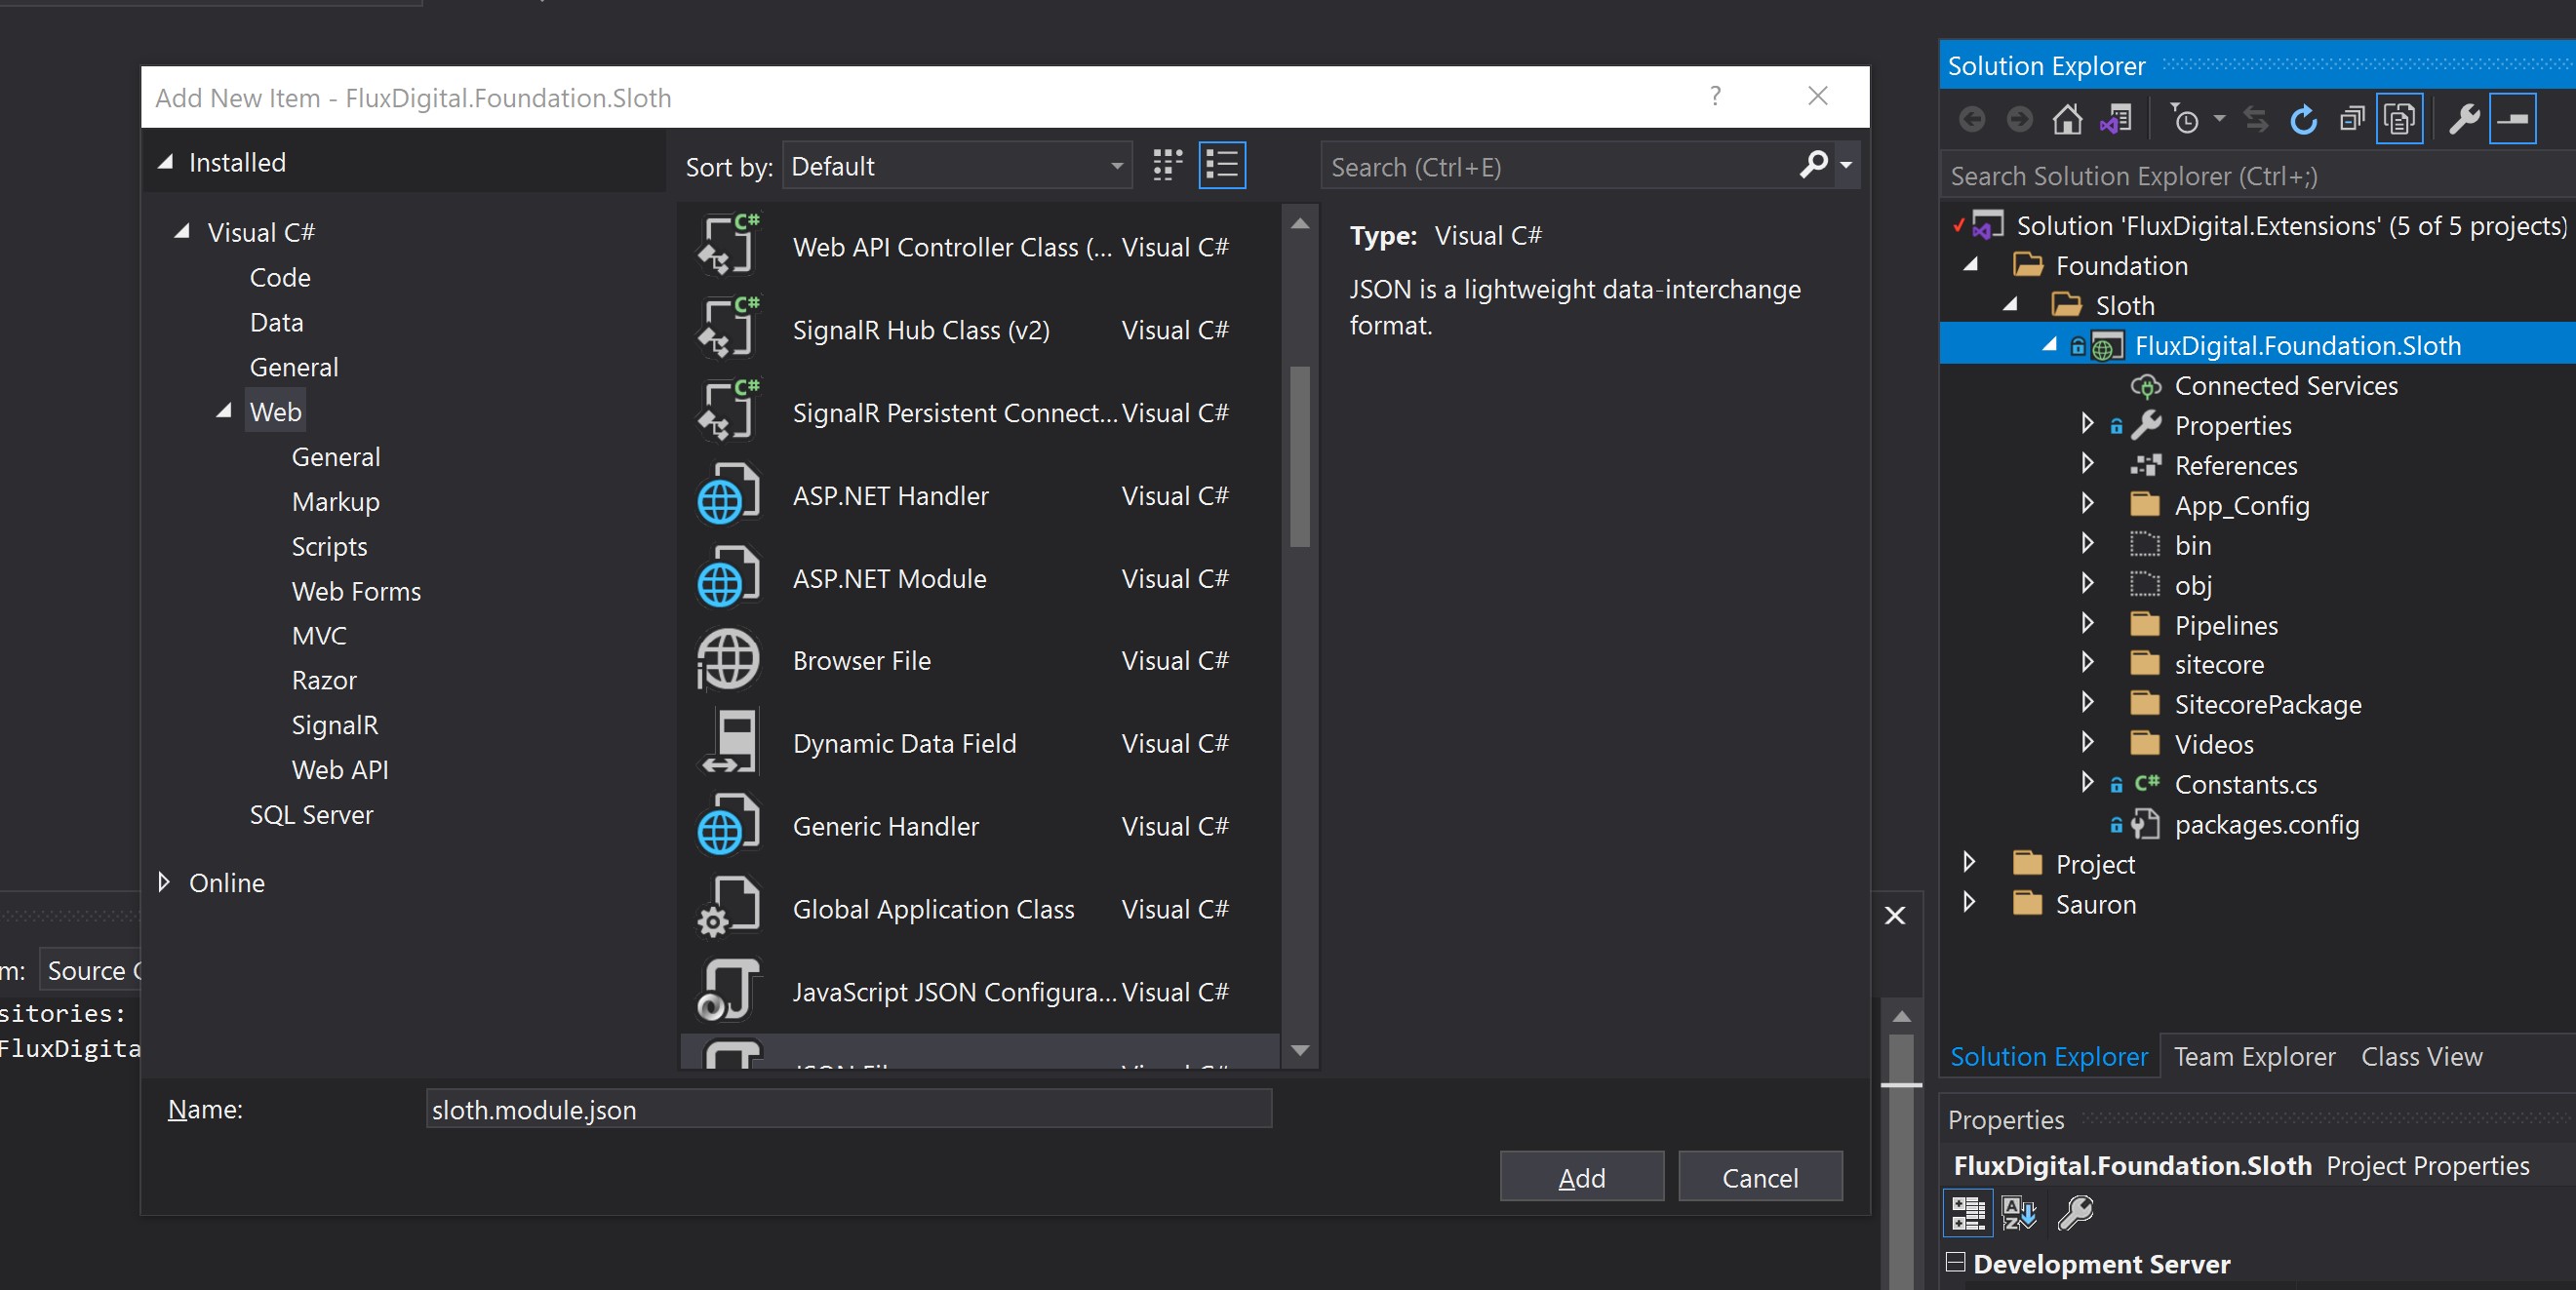
2. Add a module JSON file for your Feature or Module like so:
3. Configure the JSON as required. I’ve included my Sloth data template and root item in mine:
{
 "namespace": "FluxDigital.Foundation.Sloth",
 "items": {
 "includes": [
 {
 "name": "templates",
 "path": "/sitecore/templates/Foundation/Sloth",
 "allowedPushOperations": "createUpdateAndDelete",
 "scope": "itemAndDescendants"
 },
 {
 "name": "sitecore sloth",
 "path": "/sitecore/system/Modules/Sitecore Sloth",
 "allowedPushOperations": "createUpdateAndDelete",
 "scope": "SingleItem"
 }
 ]
 }
}
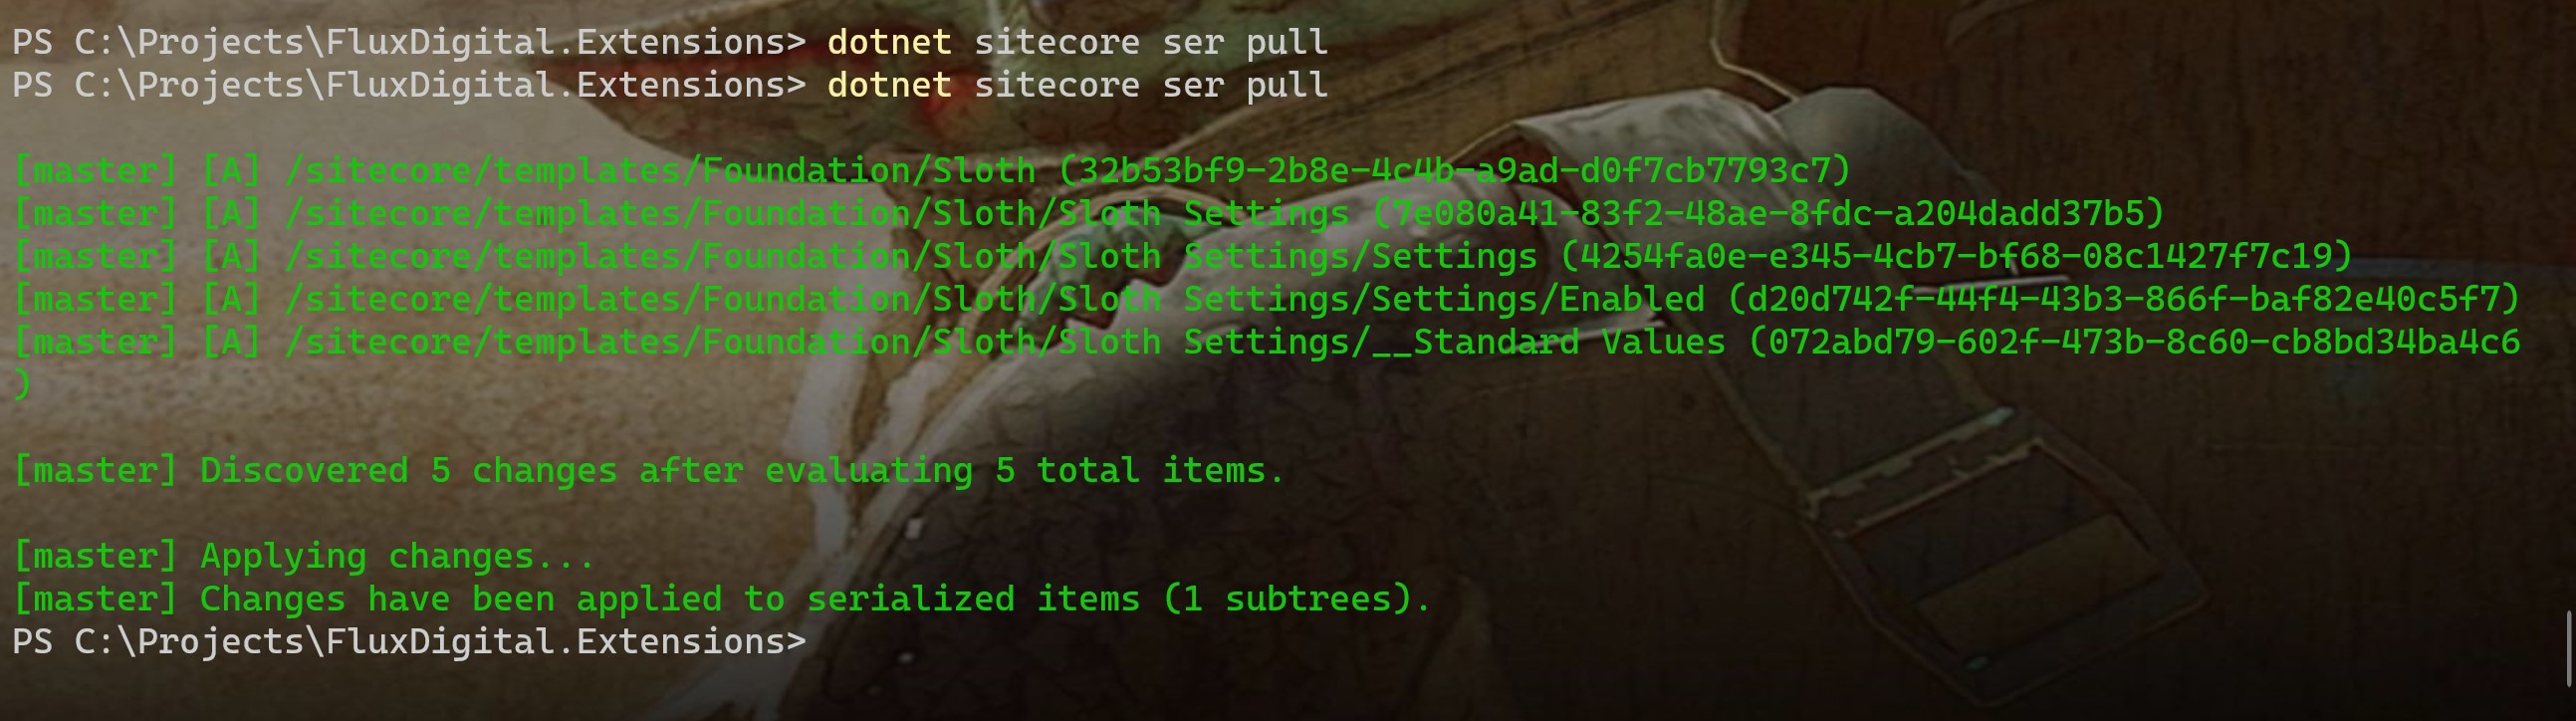
4. CD into your module or feature directory and Run the ser pull command to serialize your items to disc:
dotnet sitecore ser pull
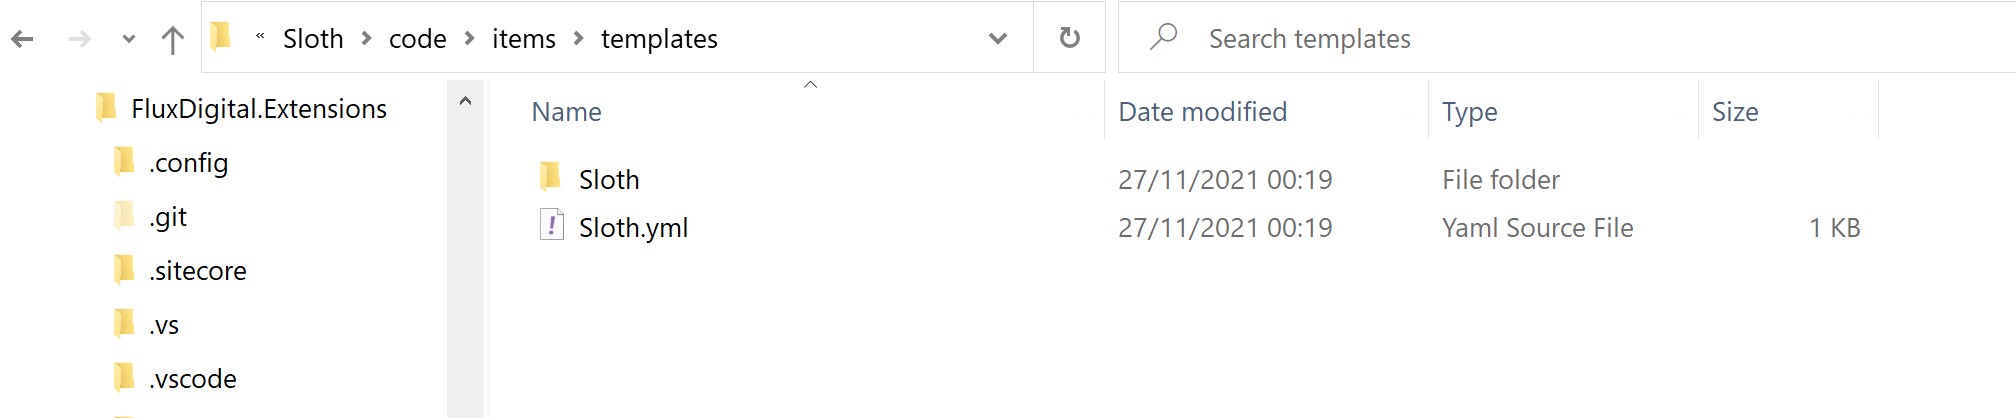
You should see the .yml files on disc in an items folder within your module / feature:
Creating the Item as Resource file
Ok so now were ready to create our Item as Resource (.dat) file.
1. Ensure your command prompt is still within the Solution route and run the itemres create command like so:
dotnet sitecore itemres create -i FluxDigital.Foundation.Sloth -o src\Foundation\Sloth\code\App_Data\items\master\sloth –overwrite
Note: the -o param to choose the output folder for your .dat file.

You should then see you have a file saved to your output folder like so:
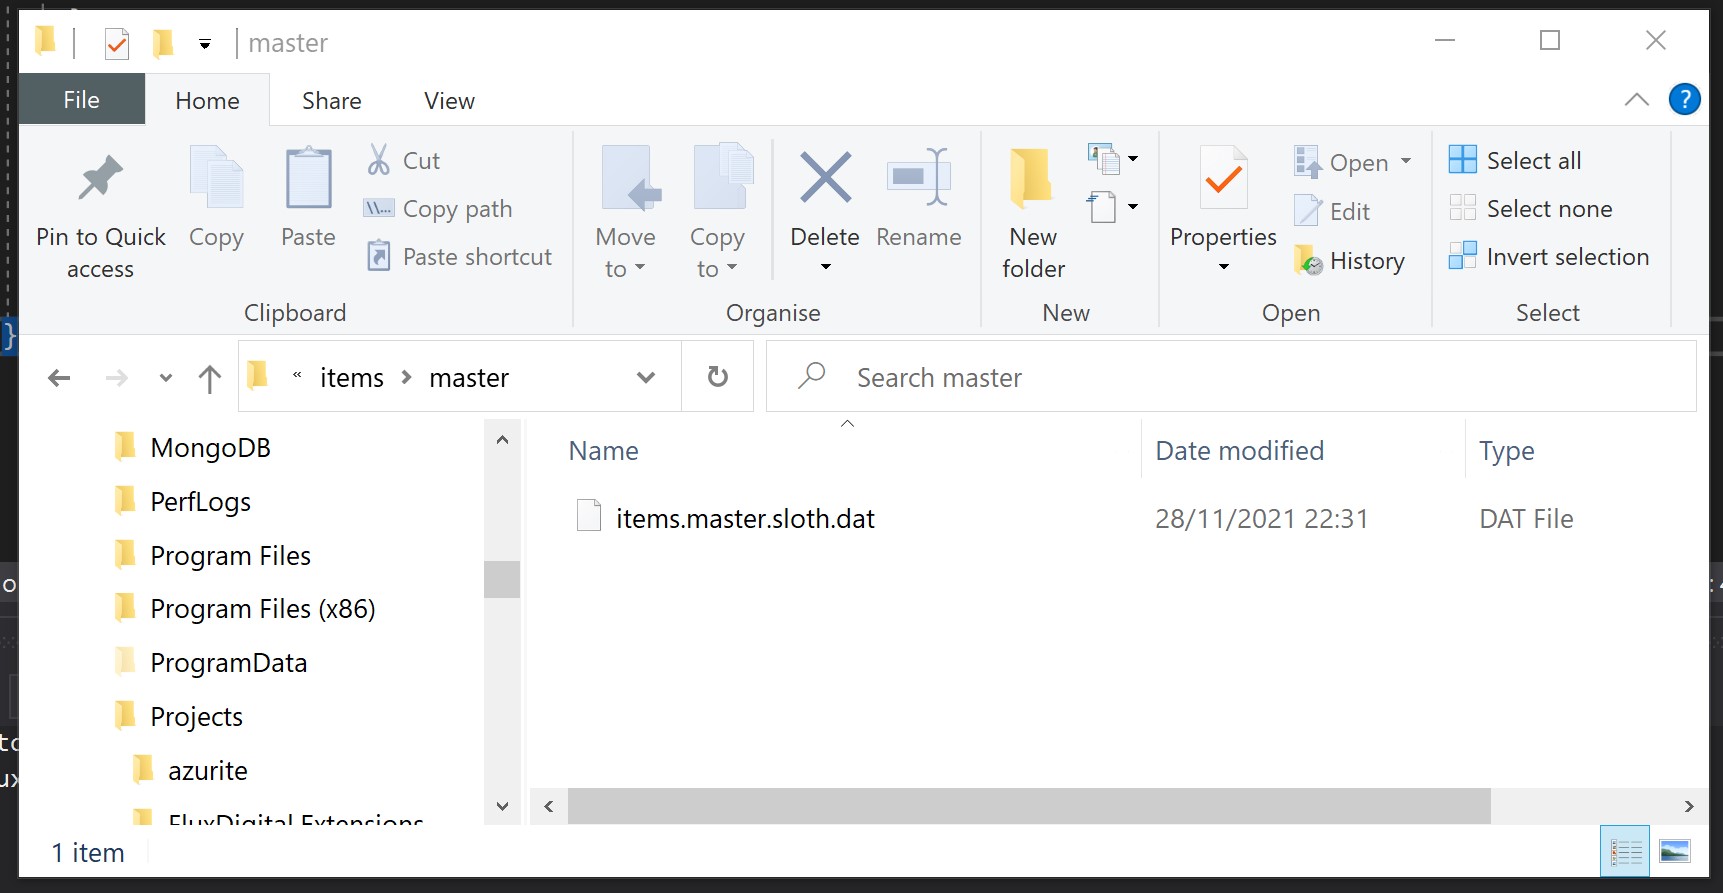
Deploying your items as resource file
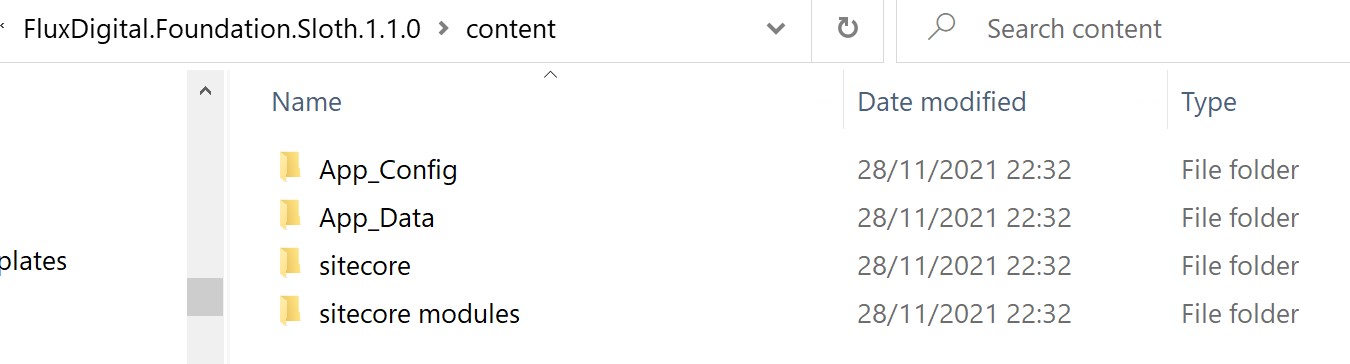
So the final step is to deploy the .dat file to another environment (e.g UAT or Staging). In the real world this could be via NuGet or inside a Sitecore package or a deployment pipeline.
I’m going to include this file in my the Sloth 1.1 release via NuGet and Sitecore packages for Sitecore 10.1 and 10.2. You can see the contents of it here (my items.master.sloth.dat file is inside the /App_Data/items/master/ folder):
To test this I installed this NuGet package to a new Sitecore 10.2 instance I setup locally and auto-magically the items appeared:
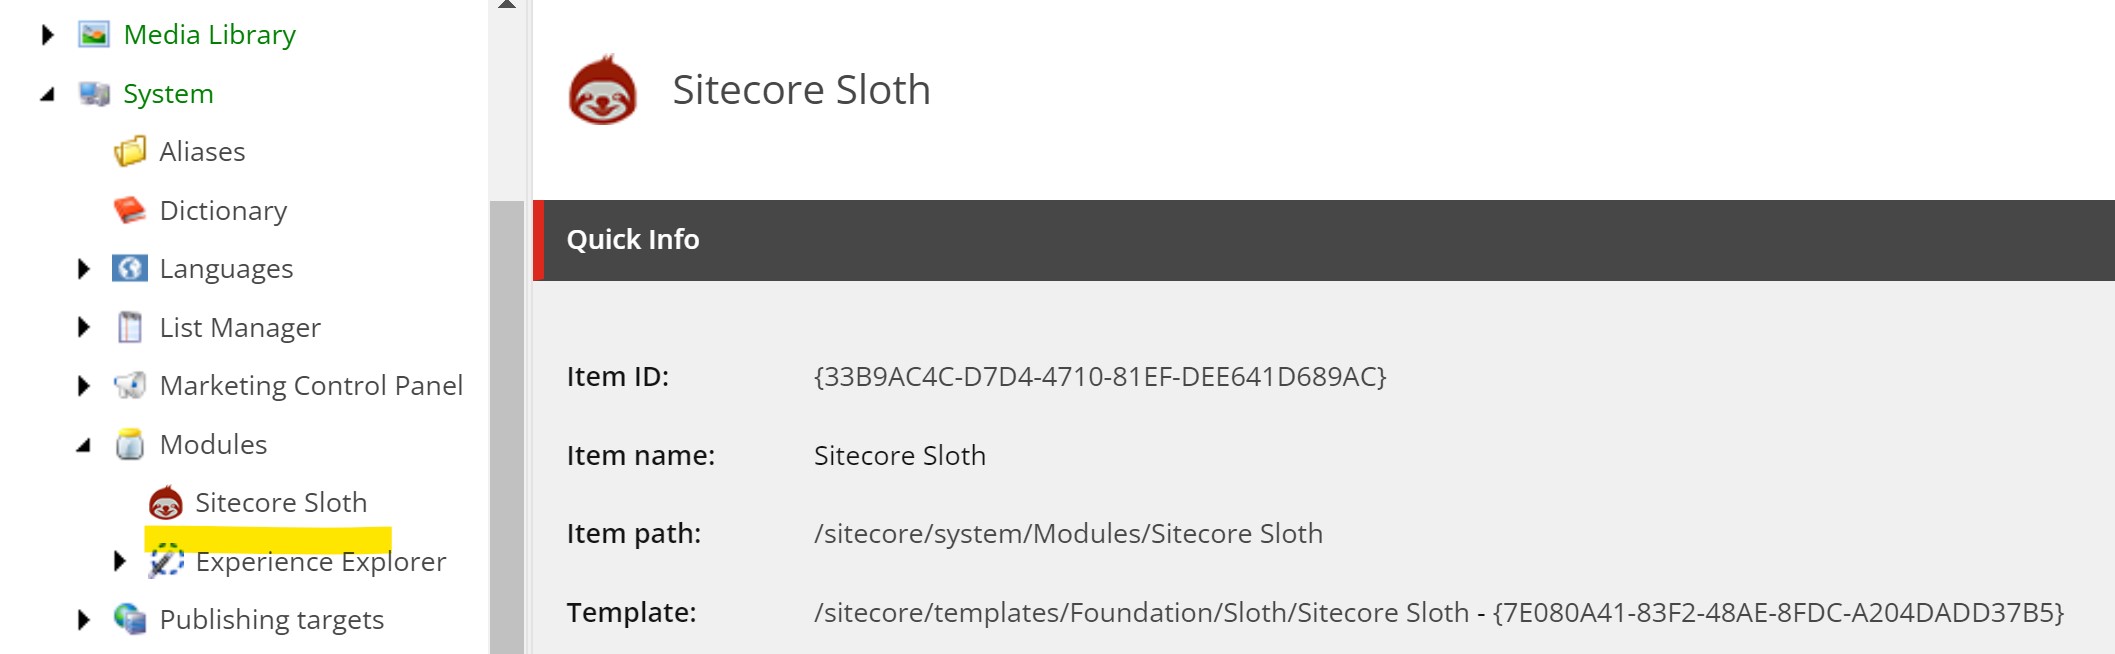
pretty cool huh?!

Hopefully this is useful for others interested in using this new feature.
Sloth 1.1 will be released later this week hopefully using this new feature to ship the items for Sitecore 10.1 and 10.2.
Further Reading
As well as the articles I’ve already linked I read a bunch of Community posts on the items as resource files topic and they are definitely worth a read if you’d like to know more about them, the video below from Justin Vogt was really useful too:
https://www.maartenwillebrands.nl/2021/05/22/sitecore-generating-item-resource-files/
https://www.youtube.com/watch?v=0kWjJRMT1uc