TLDR
Installing Sitecore Horizon involves first installing Sitecore 9.3 and then Installing Horizon as a separate module from here. Follow the Sitecore Horizon install instructions below.
Sitecore 9.3 dropped yesterday and It ships with a number of updates to JSS, SXA, Sitecore MVC and Sitecore Forms and more. However the Mostly Highly anticipated part of this release is Horizon – Sitecore’s all new Page Editing interface (yes ‘Page Editor’ is back – but this time built with Node and much faster). Horizon also has Simulator Mode and Insights View which look pretty cool.
For those of you keen to take a look at Horizon in more detail this blog post is going to give you an overview of how to install Sitecore 9.3 and Install Sitecore Horizon on a local development environment.
Sitecore 9.3 Install
In 9.2 Sitecore released a new simple installer called SIA (Sitecore Installer Assistant) and that is what we are going to use to install Sitecore 9.3. You can also install Sitecore via SIF and ARM Templates but were going for the quickest and simplest option in this post.
SIA will also install all of the elements now required to run an Sitecore instance for you such as Solr, Identity Server and xConnect. It doesn’t however install Horizon for you so we’l also cover that later on in this post.
Step 1 – Download The Installer
You want the ‘Graphical setup package for XP Single’ package from this page:
https://dev.sitecore.net/Downloads/Sitecore_Experience_Platform/93/Sitecore_Experience_Platform_93_Initial_Release.aspx.
Download the zip file, unblock it and extract it.
Step 2 – SIA Pre-Requisites
To use SIA (or install Sitecore 9.3 in any way) you will need to have the following in place:
- IIS 10
- .NET Framework 4.7.2
- .NET Core 2.1.12 Windows Hosting Module
- SQL Server 2016 SP2 and 2017
- Microsoft PowerShell® version 5.1 or later
- An Valid Sitecore Licence for 9.3
Step 3 – SIA Install Process
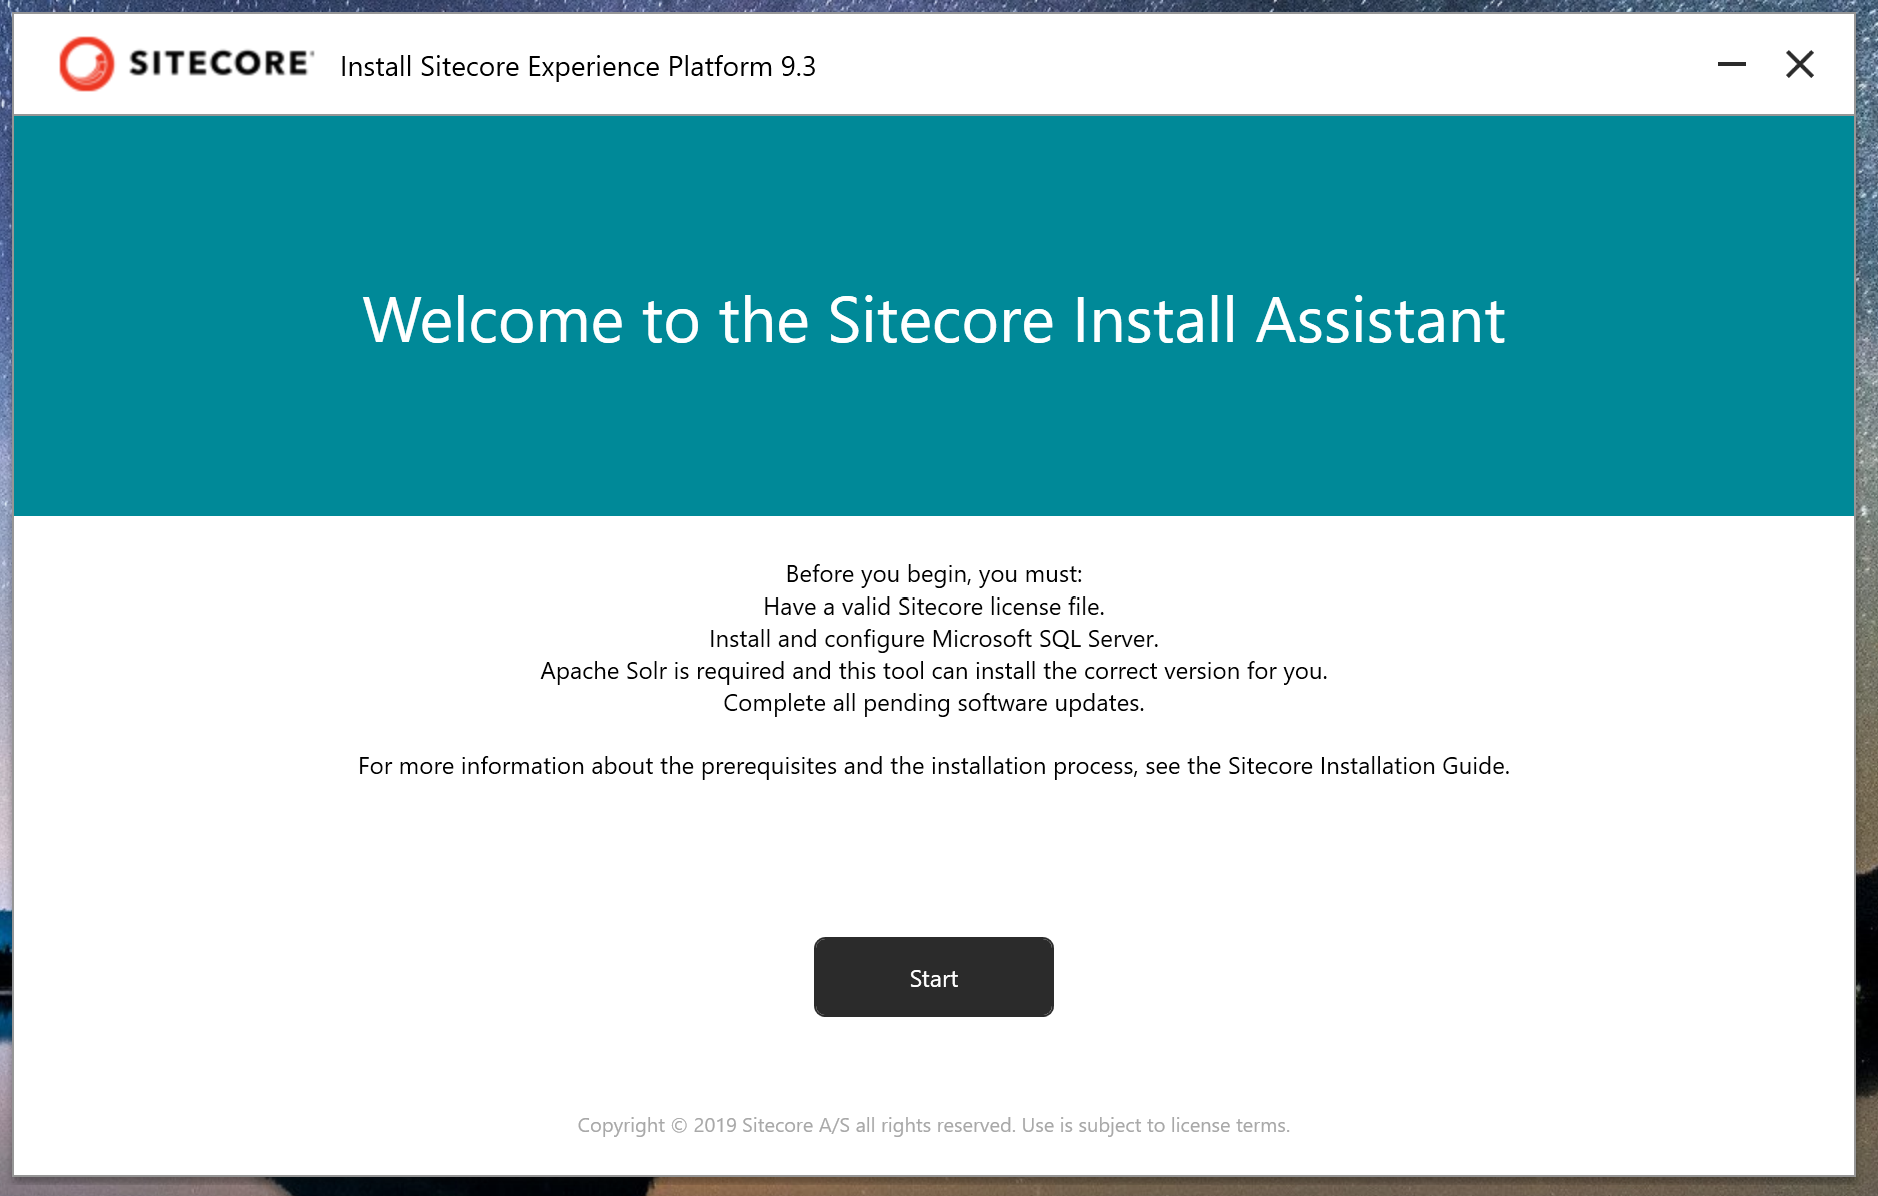
Run the Setup.exe file from the extracted folder and click ‘Start’.
There are a number of great blog posts out there that cover using SIA in detail – such as Robbert Hocks excellent guide, so I’m not going to go through all the installer steps in detail, However I will summarise them here and provide some tips.
- Pre-requisites – SIA uses SIF under the hood and requires version 2.2 of SIF.
It will try and install it for you but If you have issues with the installer failing at this step you may wish to check which version(s) of SIF you currently have installed:Get-InstalledModule -Name SitecoreInstallFramework -AllVersions
You might need to uninstall old versions before trying SIA again. More info on this here: https://www.koenheye.be/multiple-versions-of-the-sitecore-install-framework/
- Install Solr – Solr is now required as part of the install. If you already have an instance of Solr running on port 8983 then choose a different port for your 9.3 install. I would suggest something like ‘sc93-‘ as the prefix as SIA installs Solr 8.1.1 for you and when it creates the windows service and folder it appends ‘solr-8.1.1’ to the prefix you enter like so: ‘sc93-solr-8.1.1’.
– - Sitecore Settings – SIA will append ‘sc.dev.local’ to whatever you add as the instance prefix so ’93’ would make sense here. It will also use this prefix to name the XConnect and Identity Server sites too:
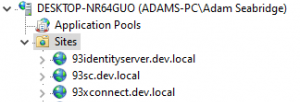
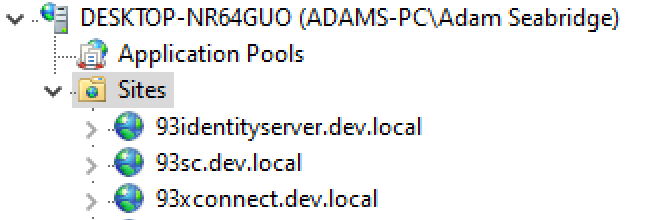
I bet most people will still us ‘admin/b’ as the username and password too :-).
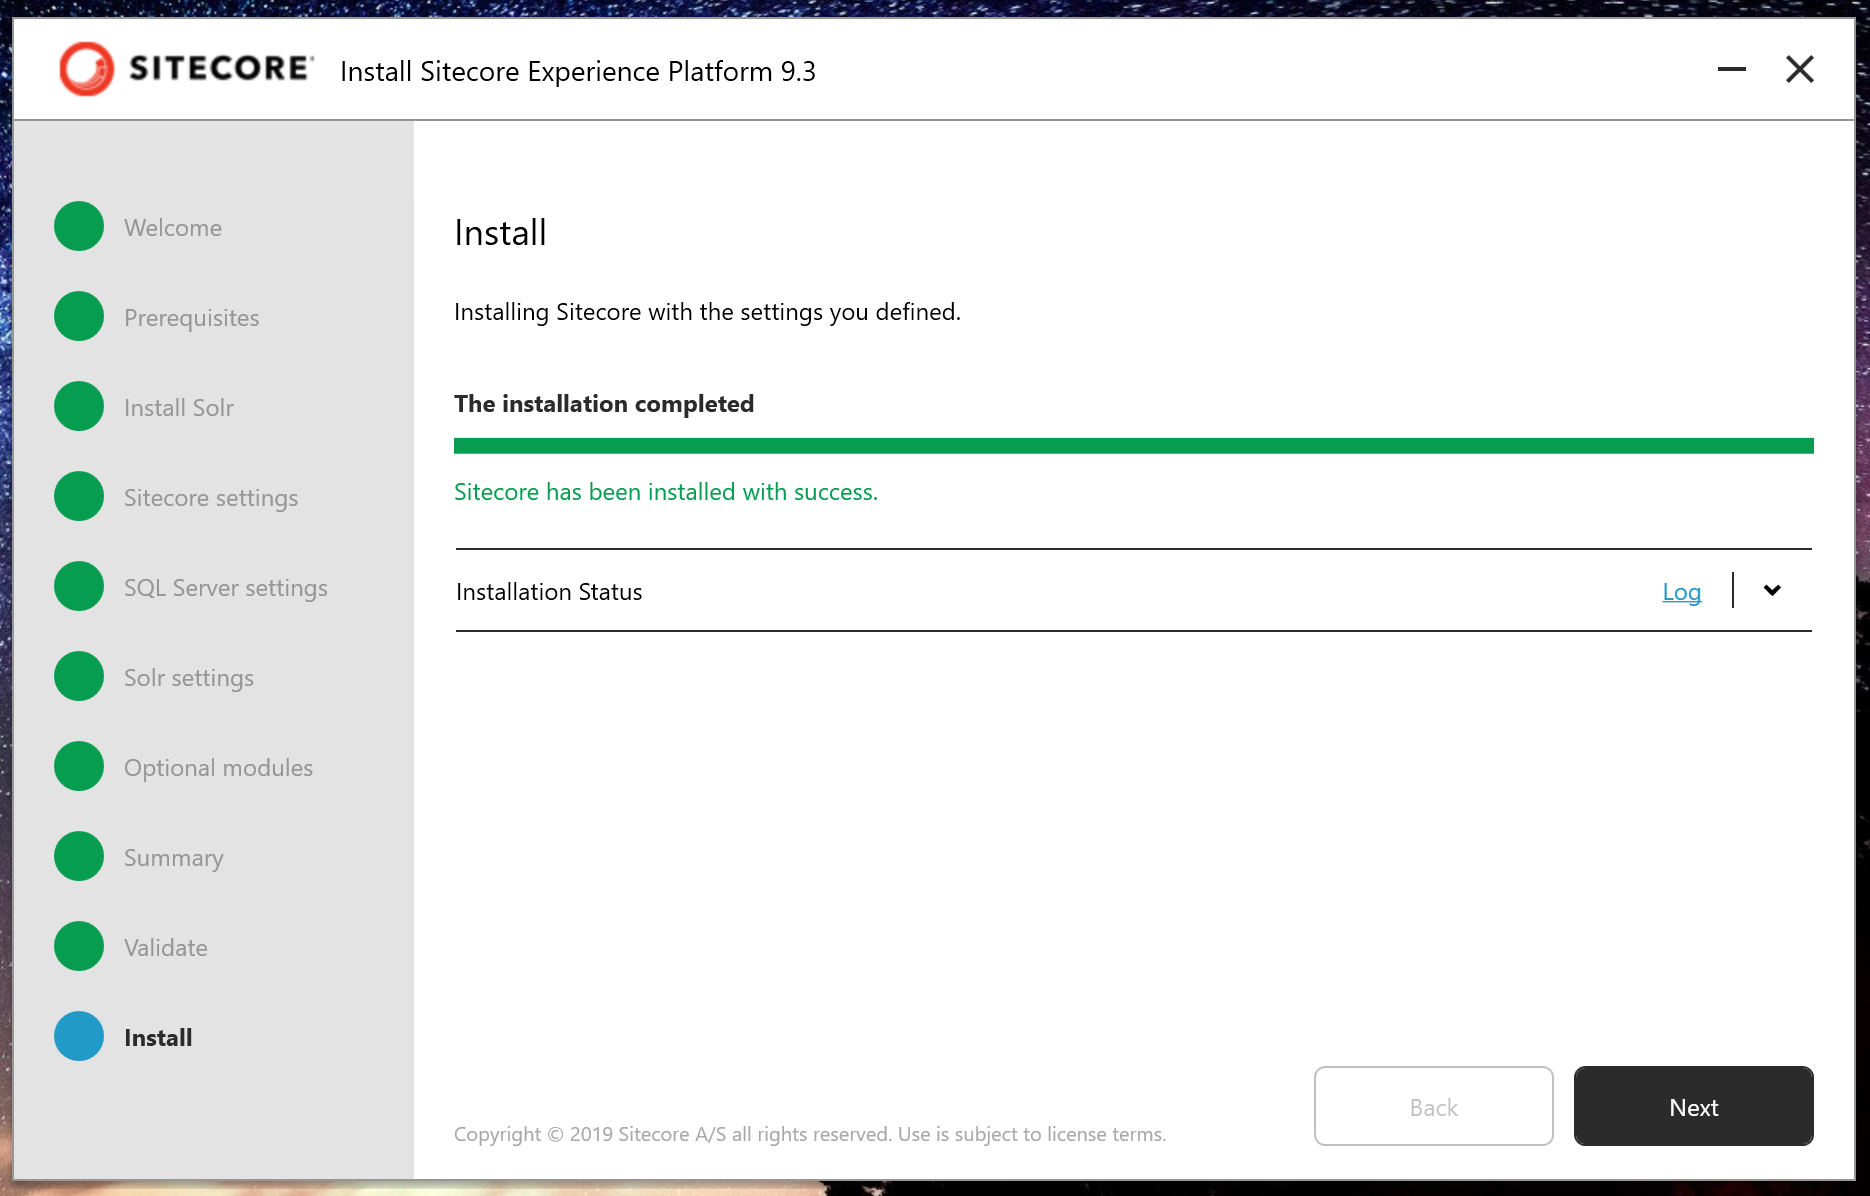
Once you’ve completed the other steps in the installer it will validate the install and should complete the installation in around 10-15 minutes. If you have any issues then check the logs in SIA. If all went well you should be able to open your site by clicking the button on the final SIA screen or going to it in your browser, e.g: https://93sc.dev.local/.
Sitecore Horizon Install
You may have noticed during the install that SXA was an optional module you could install from SIA, unfortunately Horizon isn’t, hopefully it will be in future releases. Therefore we need to install Horizon separately. I hit a few stumbling blocks with the install which I’ll cover at the end.
Step 1 – Download The Install Files
You want the ‘Sitecore Horizon for On Premises deployment’ package from this page: https://dev.sitecore.net/Downloads/Sitecore_Horizon/93/Sitecore_Horizon_93_Initial_version.aspx
Download the zip file, unblock it and extract it.
Step 2 – Sitecore Horizon Install Pre-Requisites
Before you begin the install ensure you have the following in place:
- You’ve installed Sitecore with HTTPS, SIF 2.2.0 & Sitecore Identity is installed (you will have done if you’ve used SIA ‘as is’)
- Web socket protocol is installed, you can enable this under ‘turn windows features on and off’.
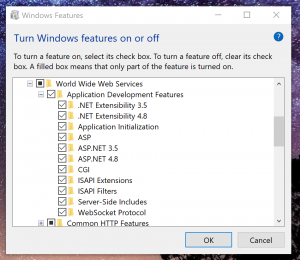

More info here: https://docs.microsoft.com/en-us/iis/get-started/whats-new-in-iis-8/iis-80-websocket-protocol-support
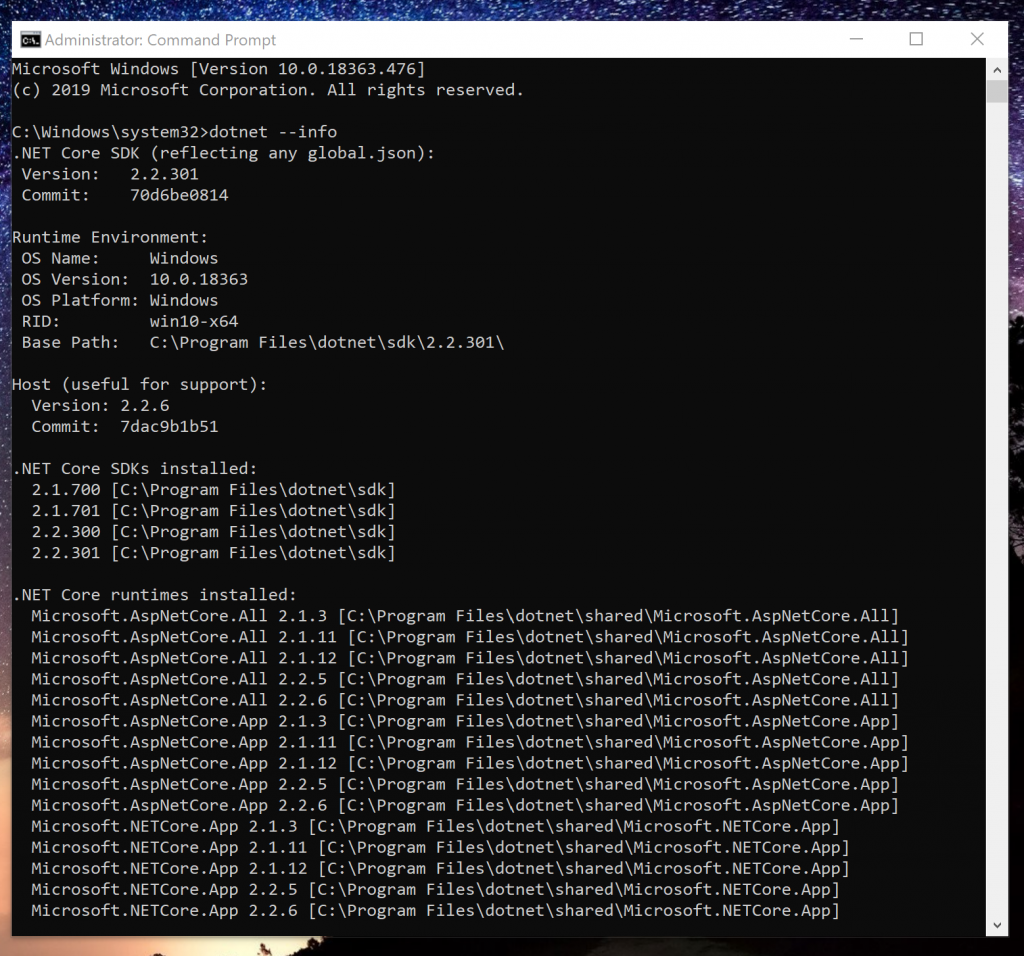
- You have the correct version of the ASP.NET Core/.NET Core: Runtime & Hosting Bundle 2.1. You can check the version you have by running:
dotnet --info
- You have Node 10 and npm 6 installed. If you don’t have Node installed at all then use this download package for Windows: https://nodejs.org/dist/v10.0.0/node-v10.0.0-x86.msi.
I prefer to use NVM myself to install and manage node versions but I could not get Horizon to start for some reason despite having node registered correctly on my Path variable in Windows. - Your Sitecore licence must also include Horizon or you won’t be able to run it.
Step 3 – Sitecore Horizon Install Process
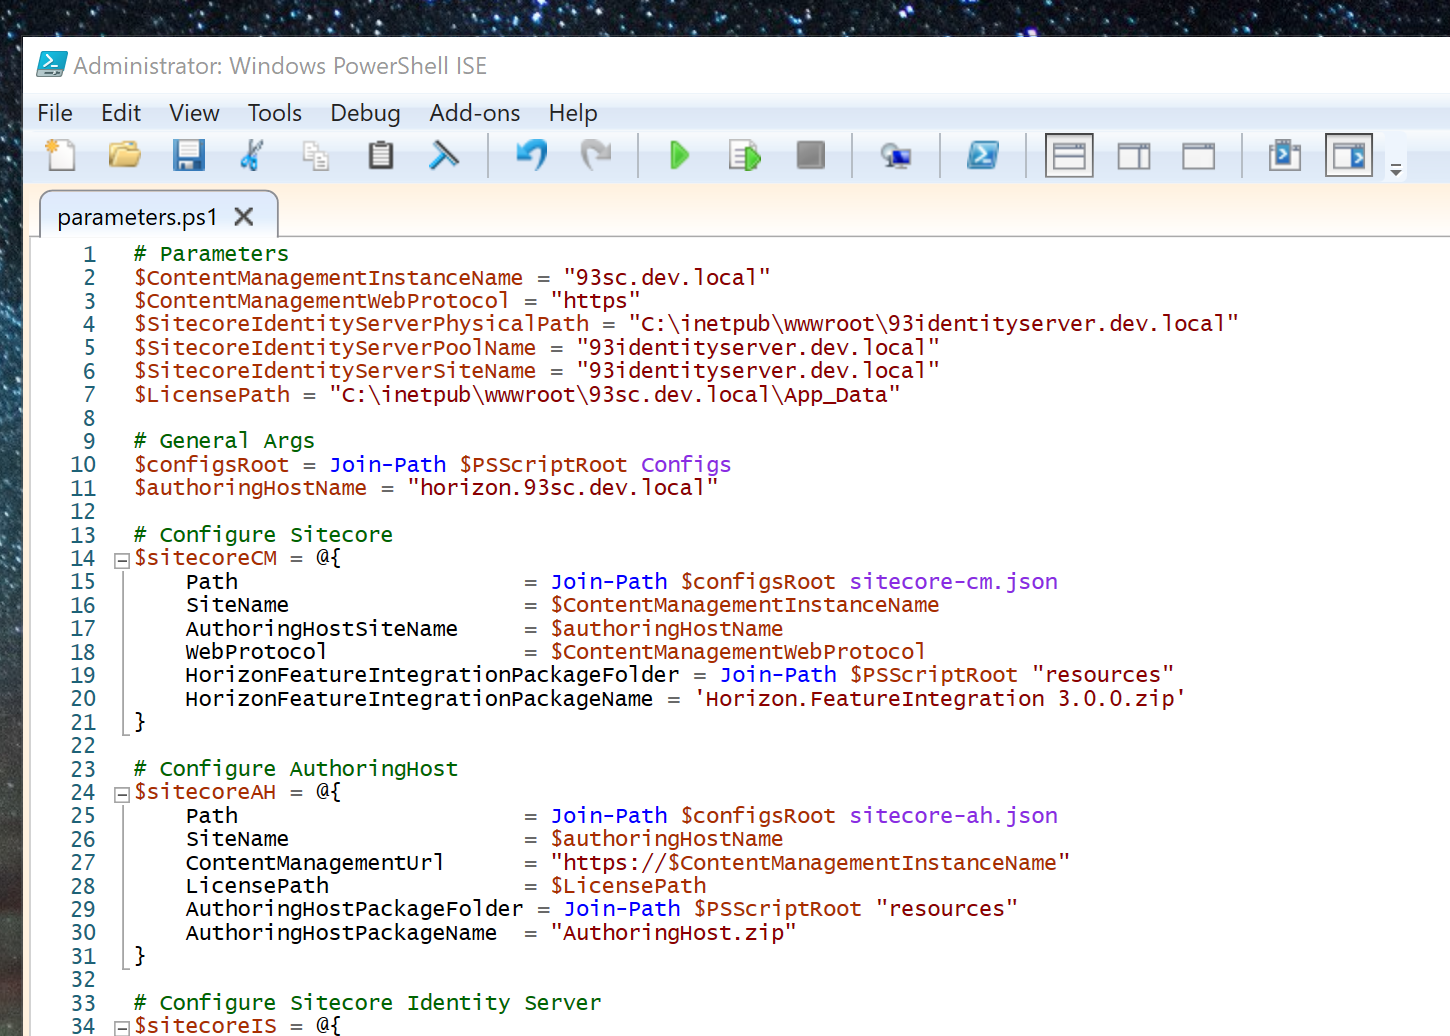
Open up the parameters.ps1 file from the extracted folder and set values for the following parameters:
- $ContentManagementInstanceName – this should be the name of the Sitecore instance you just created in IIS via SIA – e.g “93sc.dev.local”.
- $ContentManagementWebProtocol – this should always be “https”
- $SitecoreIdentityServerPhysicalPath – this should be the path to the Sitecore Identify instance you just created in IIS via SIA – e.g: “C:\inetpub\wwwroot\93identityserver.dev.local”
- $SitecoreIdentityServerPoolName – this should be the name of the Sitecore Identify instance app pool – e.g: “93identityserver.dev.local”
- $SitecoreIdentityServerSiteName – this should be the name of the Sitecore Identify instance – e.g: “93identityserver.dev.local”
- $LicensePath – this should be the path to where your licence file can be found – e.g: “C:\inetpub\wwwroot\93sc.dev.local\App_Data\license.xml” – This one is important to get right to avoid some of the errors I hit with the license ending up in the wrong folder (see Troubleshooting section), the official installation PDF isn’t clear about this but it is the FULL PATH including the FILENAME.
- $authoringHostName – this will be the url that Horizon will run on, the install file tries to set this for you based on the name of your Sitecore instance etc but you can set this if you wish, I set this to: “horizon.93sc.dev.local”. – Others have mentioned to me that when they didn’t set this they had issues. Also make sure you name the Host Name using the same domain as the Sitecore Content Management instance, so that the format is like so: {something}.{cmsinstancename} as above. as in the official install PDF Guide it mentions a change regarding how cookies work in Chrome which will break this if you don’t follow this format.
Now open up the Install.ps1 file and run it (make sure you are running it as an Administrator).
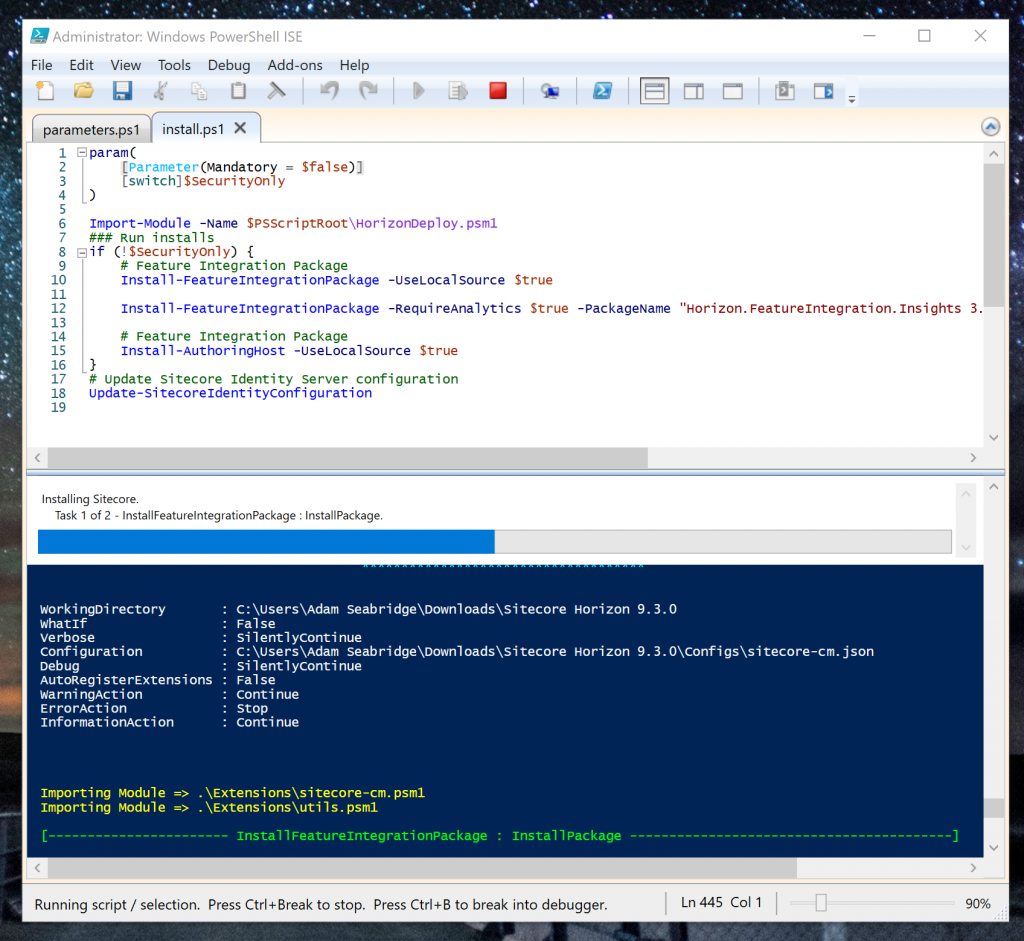
Wait a few minutes and the install process should complete:
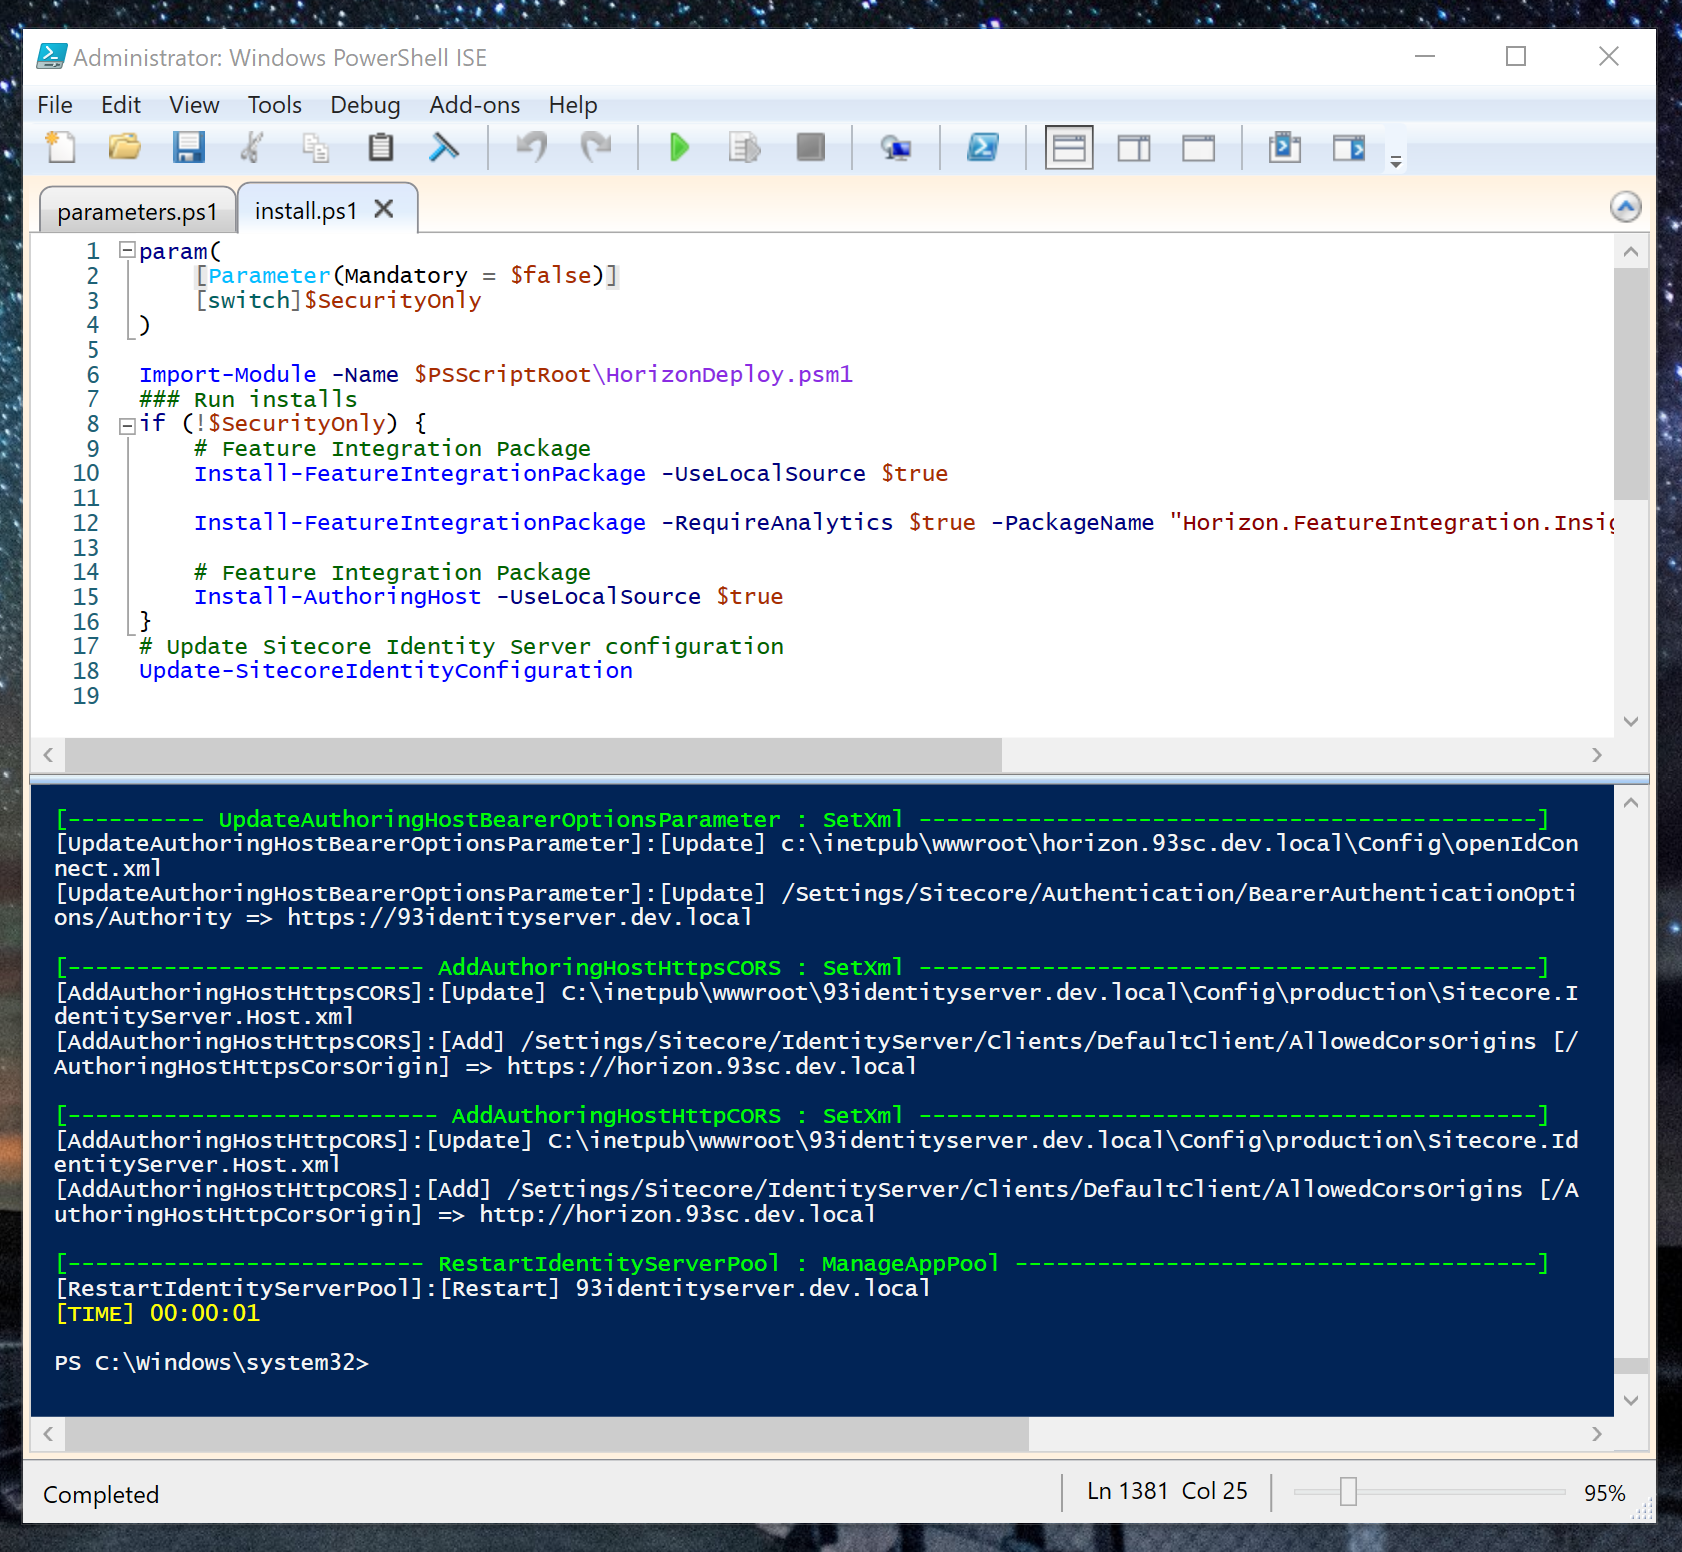
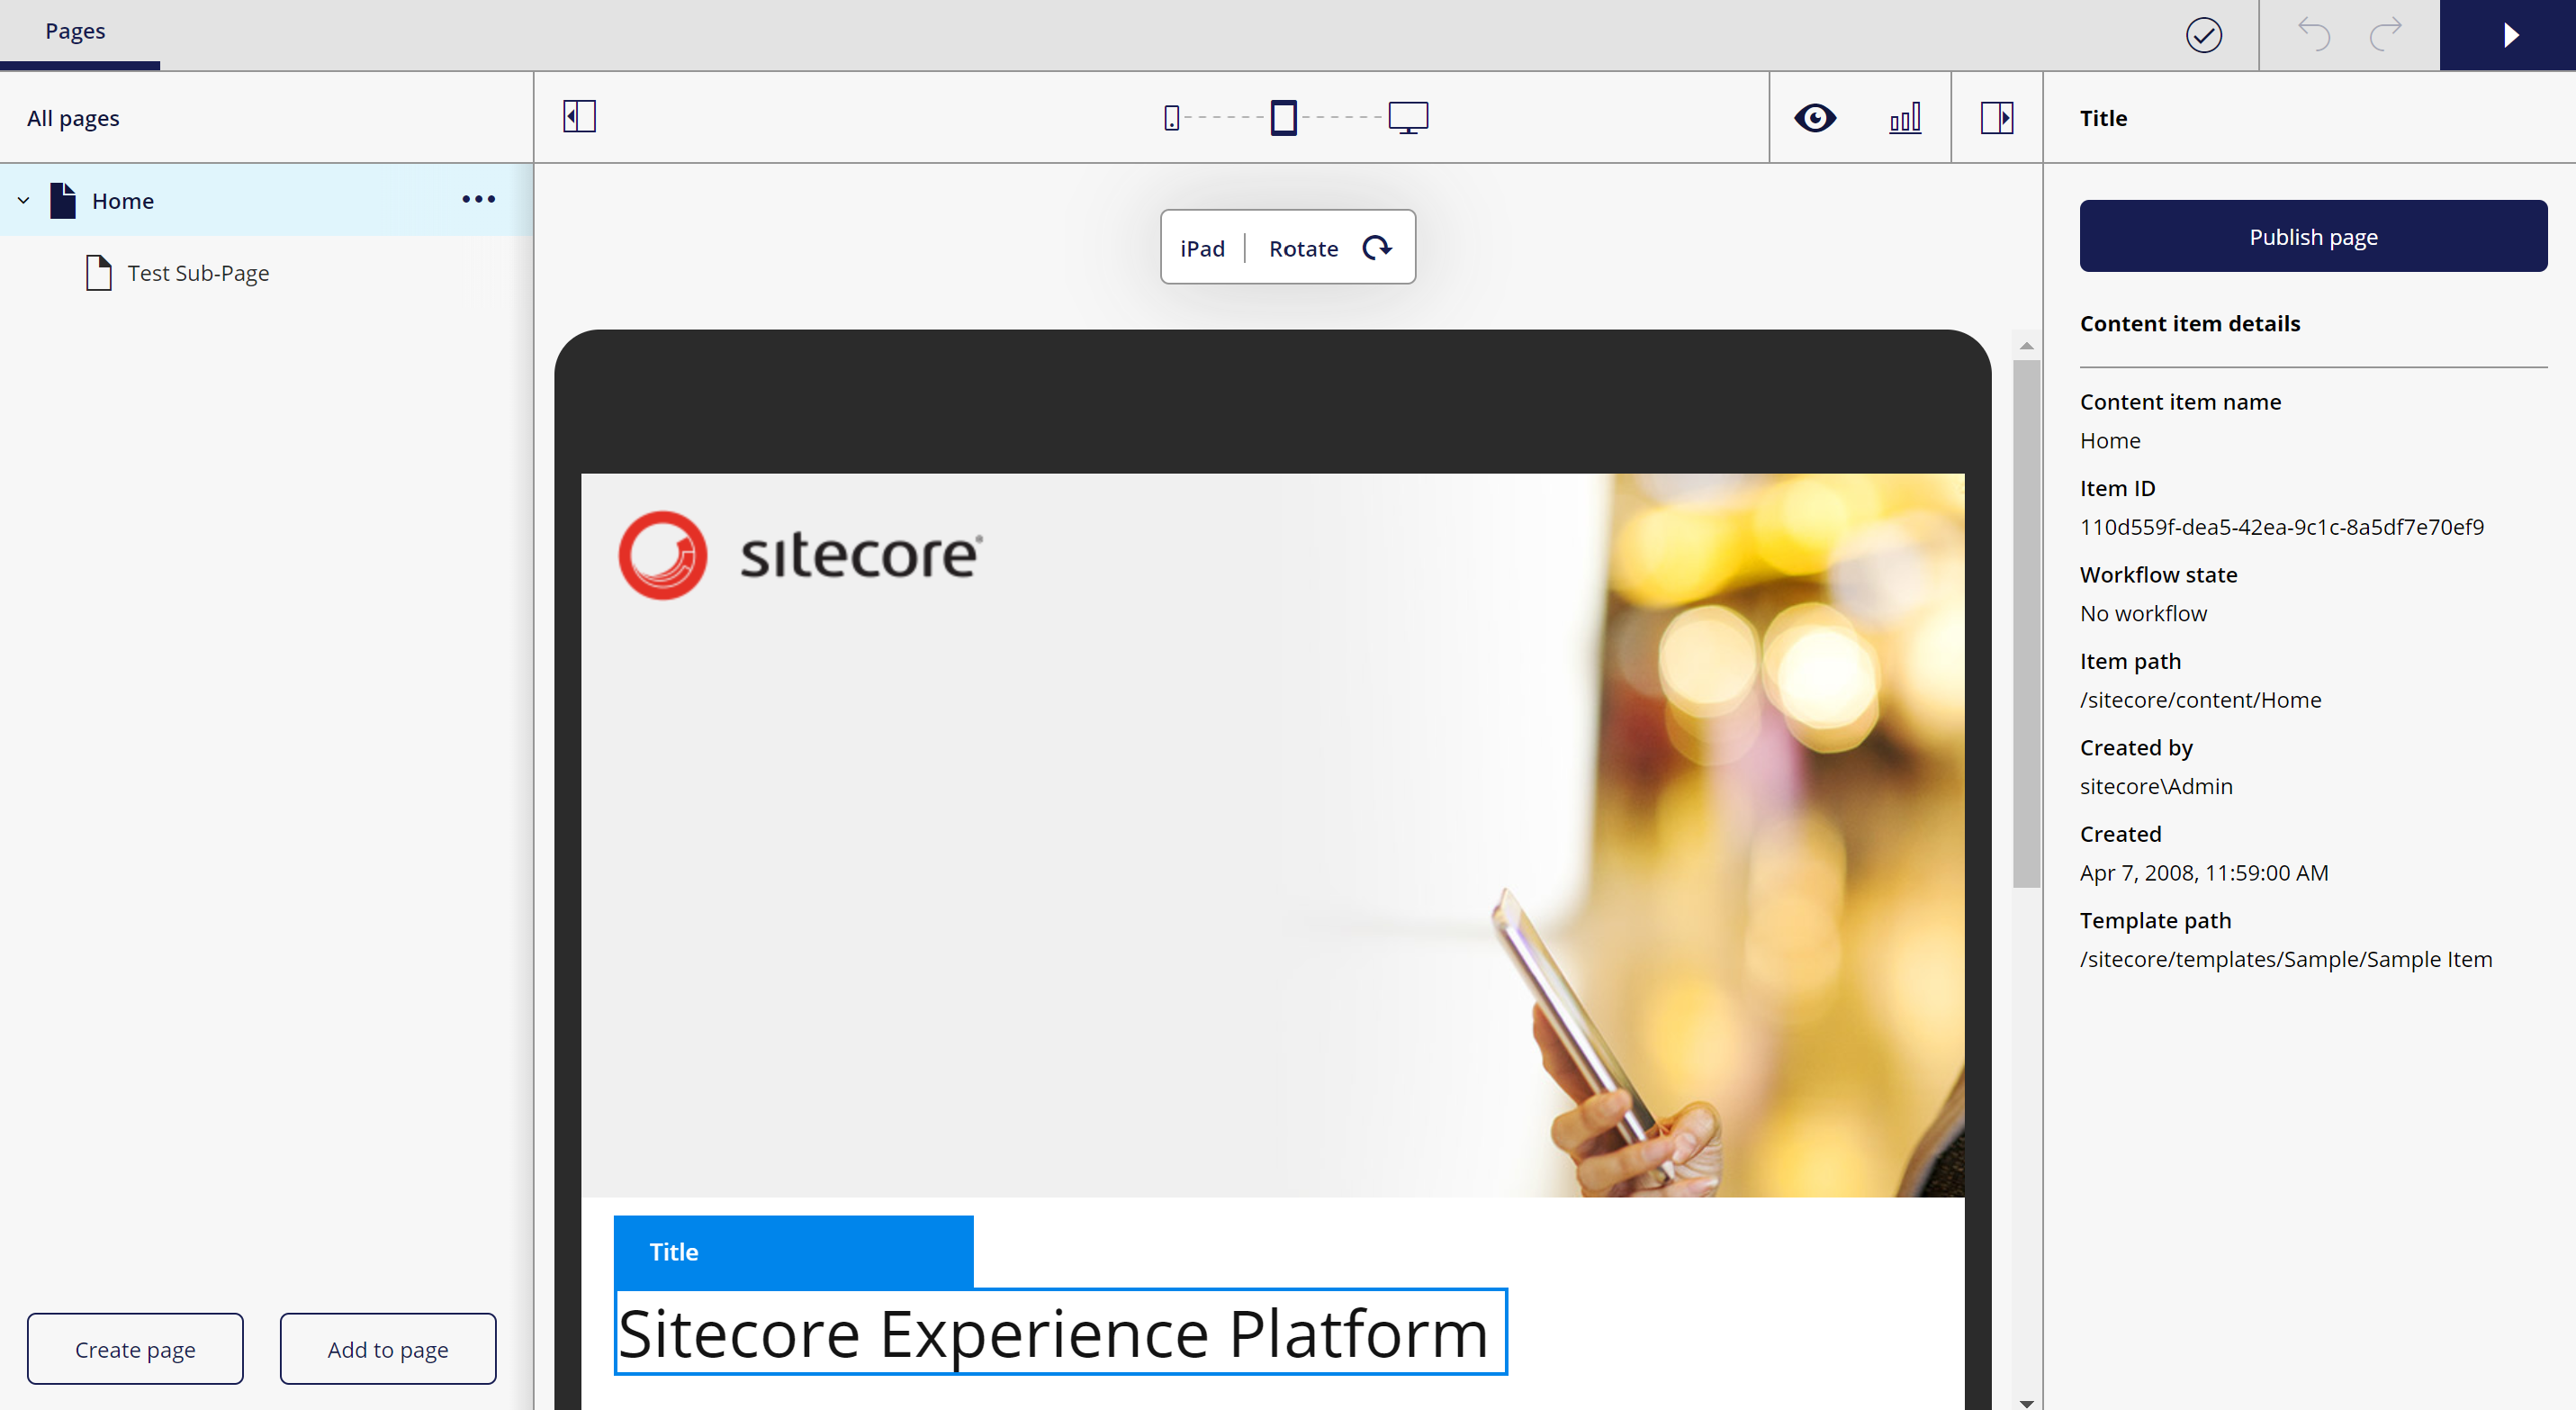
Once it has completed you can either go to your horizon instance in your browser, e.g “horizon.93sc.dev.local” or you can re-start and open up your Sitecore 9.3 instance and click on the swanky new Horizon Icon that you should see on your Launchpad:
![]()
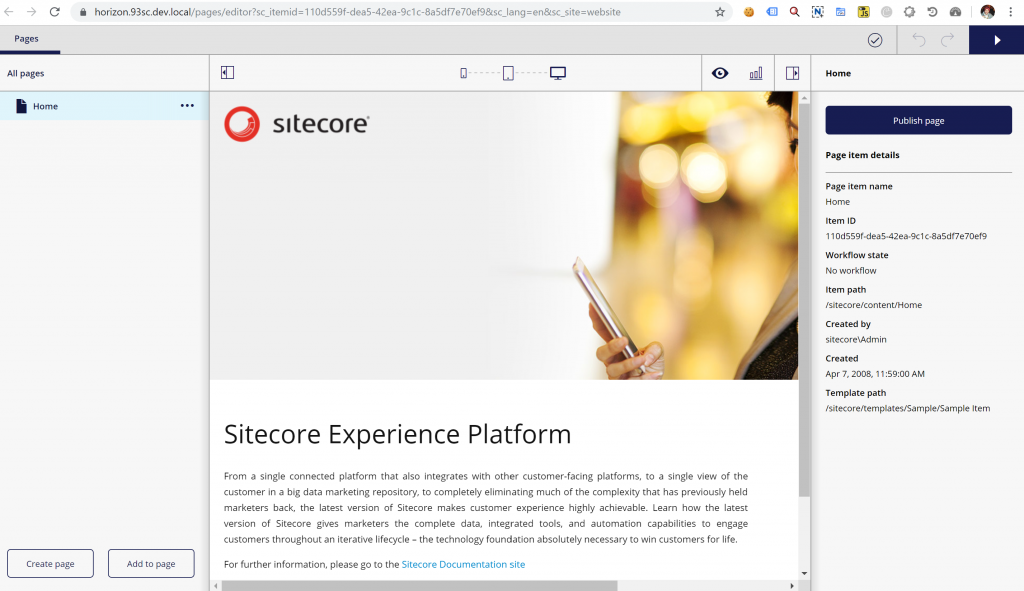
All being well Horizon should load and you should see the following screen:
Sitecore Horizon Install Troubleshooting
One of the main reasons I wrote this guide is I had a few issues with the install. I’m going to outline them below and the fixes required.
Debugging Horizon
First some tips on Debugging Horizon as I couldn’t find much out there on this.
- Run the Authoring.Host.dll directly from the root folder (e.g: C:\inetpub\wwwroot\horizon.93sc.dev.local) like so to give you direct output on the errors in the console:
dotnet Authoring.Host.dll

- Check the logs in your Horizon app (e.g: C:\inetpub\wwwroot\horizon.93sc.dev.local). By default I think they just write to the root folder. You will see two different logs: ‘AuthoringHost’ and ‘stdout’ logs. If you are not seeing any logs then edit the web.config file at the root of the Horizon app and check stdoutLogEnabled is true, you can also change the path for the log files here.
stdoutLogEnabled=”true” stdoutLogFile=”C:\inetpub\wwwroot\horizon.93sc.dev.local\logs\stdout” />
Errors & Issues
Here are some issues I had which I had to resolve.
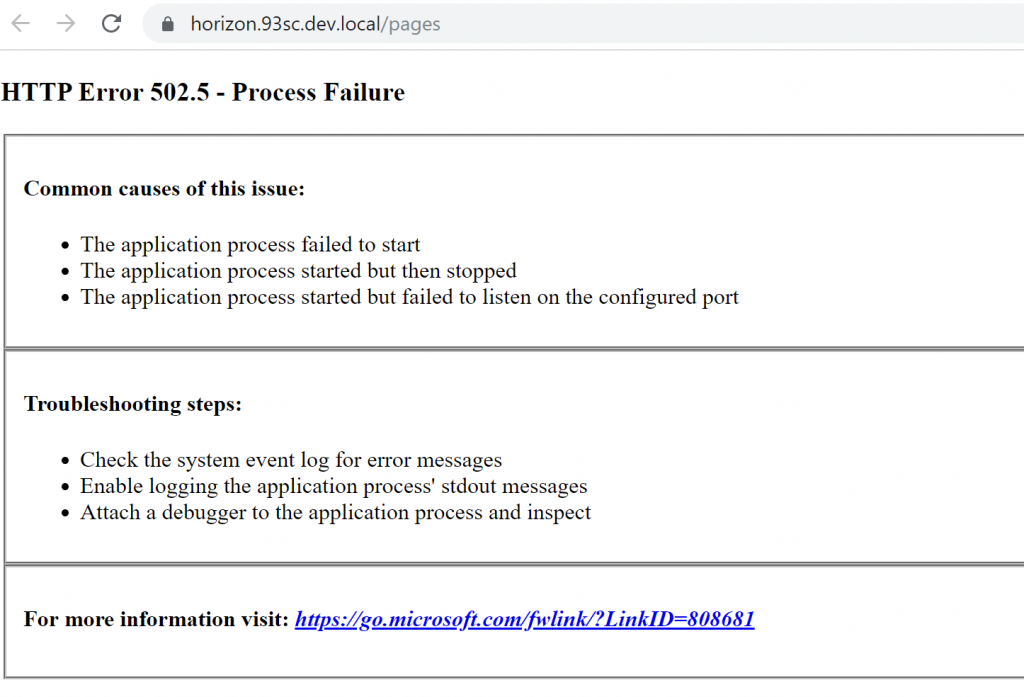
HTTP Error 502 – Process Failure
This error basically just means that dotnet core could not run the app. It’s a pretty generic error message which can mean a number of things so you need to dig into the logs to find out more info.
I didn’t have an issue with my .net versions but one key thing to check first is that you have the right versions of the .net core runtime installed.
Licence Error
Looking in the logs for more info this is the first error I was getting:
Unhandled Exception: System.InvalidOperationException: License file doesn’t exist on disk.
at Sitecore.Framework.Runtime.Commands.SitecoreHostCommand.LoadLicenseXml(String filePath, String contentRootPath)
at Sitecore.Framework.Runtime.Commands.SitecoreHostCommand.OnExecuteAsync(CommandLineApplication app)
at McMaster.Extensions.CommandLineUtils.Conventions.ExecuteMethodConvention.InvokeAsync(MethodInfo method, Object instance, Object[] arguments) in C:\projects\commandlineutils\src\CommandLineUtils\Conventions\ExecuteMethodConvention.cs:line 77
To resolve this I needed to copy the licence folder into the /sitecoreruntime folder e.g: c:\inetpub\wwwroot\horizonsc93sc.dev.local\sitecoreruntime.
I’m not sure if this is a bug but the installer seemed to put the licence file in the wrong location (/config).
Thanks to Vlad for his help with this: https://sitecore.stackexchange.com/questions/23209/running-horizon-failed-http-error-502-5-process-failure.
Patch File Error
This was the 2nd error I was seeing:
Unhandled Exception: Sitecore.Framework.Configuration.Patcher.ConfigurationException: An error occurred during applying the patch file: C:\inetpub\wwwroot\horizon.93sc.dev.local\Config\license.xml —> System.Exception: Could not merge node ‘signedlicense’ in patch file ‘license.xml’
at Sitecore.Framework.Configuration.Patcher.XmlPatcher.ShouldPatchNode(XmlNode target, IXmlElement patch)
at Sitecore.Framework.Configuration.Patcher.XmlPatcher.Merge(XmlNode target, IXmlElement patch)
at Sitecore.Framework.Configuration.Patcher.XmlPatcher.ApplyPatch(String filename, XmlNode node)
at Sitecore.Framework.Configuration.Patcher.ConfigReader.LoadIncludeFiles(IEnumerable`1 files, XmlNode node)
To resolve this error I had to remove the licence that was not needed from /config (e.g: C:\inetpub\wwwroot\horizon.93sc.dev.local\Config ) as this was confusing Horizon.
Failed to render a page
I was seeing this error. This means that Horizon is running now but there is an failure in rendering the application.

NodeJs Error
Looking in the logs for more info this is the 3rd error I was seeing:
System.InvalidOperationException: Failed to start Node process. To resolve this:.
[1] Ensure that Node.js is installed and can be found in one of the PATH directories.
Current PATH enviroment variable is: C:\Program Files (x86)\Common Files\Oracle\Java\javapath;C:\Program Files (x86)\Gpg4win\..\GnuPG\bin;C:\Program Files\azcopy;C:\Program Files\Git\cmd;C:\Program Files (x86)\dotnet\;C:\Users\Adam Seabridge\AppData\Roaming\nvm;C:\Program Files\nodejs;…
Make sure the Node executable is in one of those directories, or update your PATH.
I had this issue for two reasons:
1) I was trying to use NVM to manage my node versions and it would not find my node version even though node was registered correctly on my path. I couldn’t resolve this so ended up installing Node using the Windows installer instead of NVM.
2) I needed to restart IIS after I’d installed node. I would recommend a reboot of your machine after you install Node.
That all folks. Hopefully others who are keen to see Horizon in action will find this useful.
Feel free to comment or tweet me with any suggestions on any of the installation process or things I’ve missed.
You can find the docs on Horizon here. Enjoy.


Hi Adam,
I have followed the same steps for installation but somehow i am getting the error ” refused to connect.” on horizon page view.
Any help will be appreciated.
Thanks,
Rakesh Bhatt
This isn’t an error I’ve seen I’m afraid. Did you try re-starting IIS / stopping & starting the app pool / rebooting? also check that node is running correctly as described above.