Getting Started with Sitecore JSS

I saw a demo of JSS at SUGCON last year by Alex Shyba and it looked really cool. Ever since I’ve been keen to try it out as soon as I could. This post covers the basics of setting up JSS and running a demo React App.
jss-logo
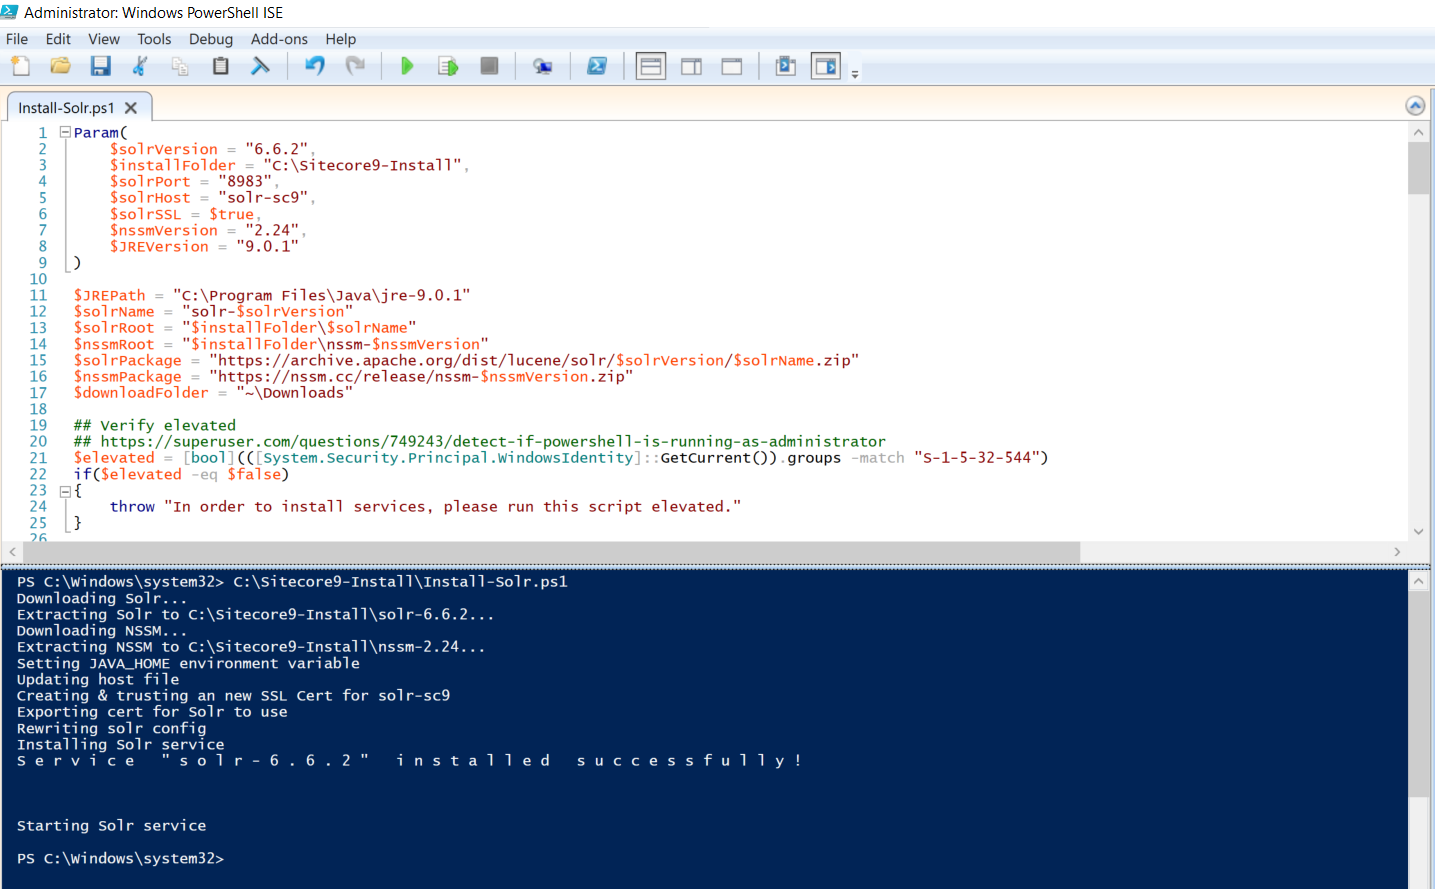
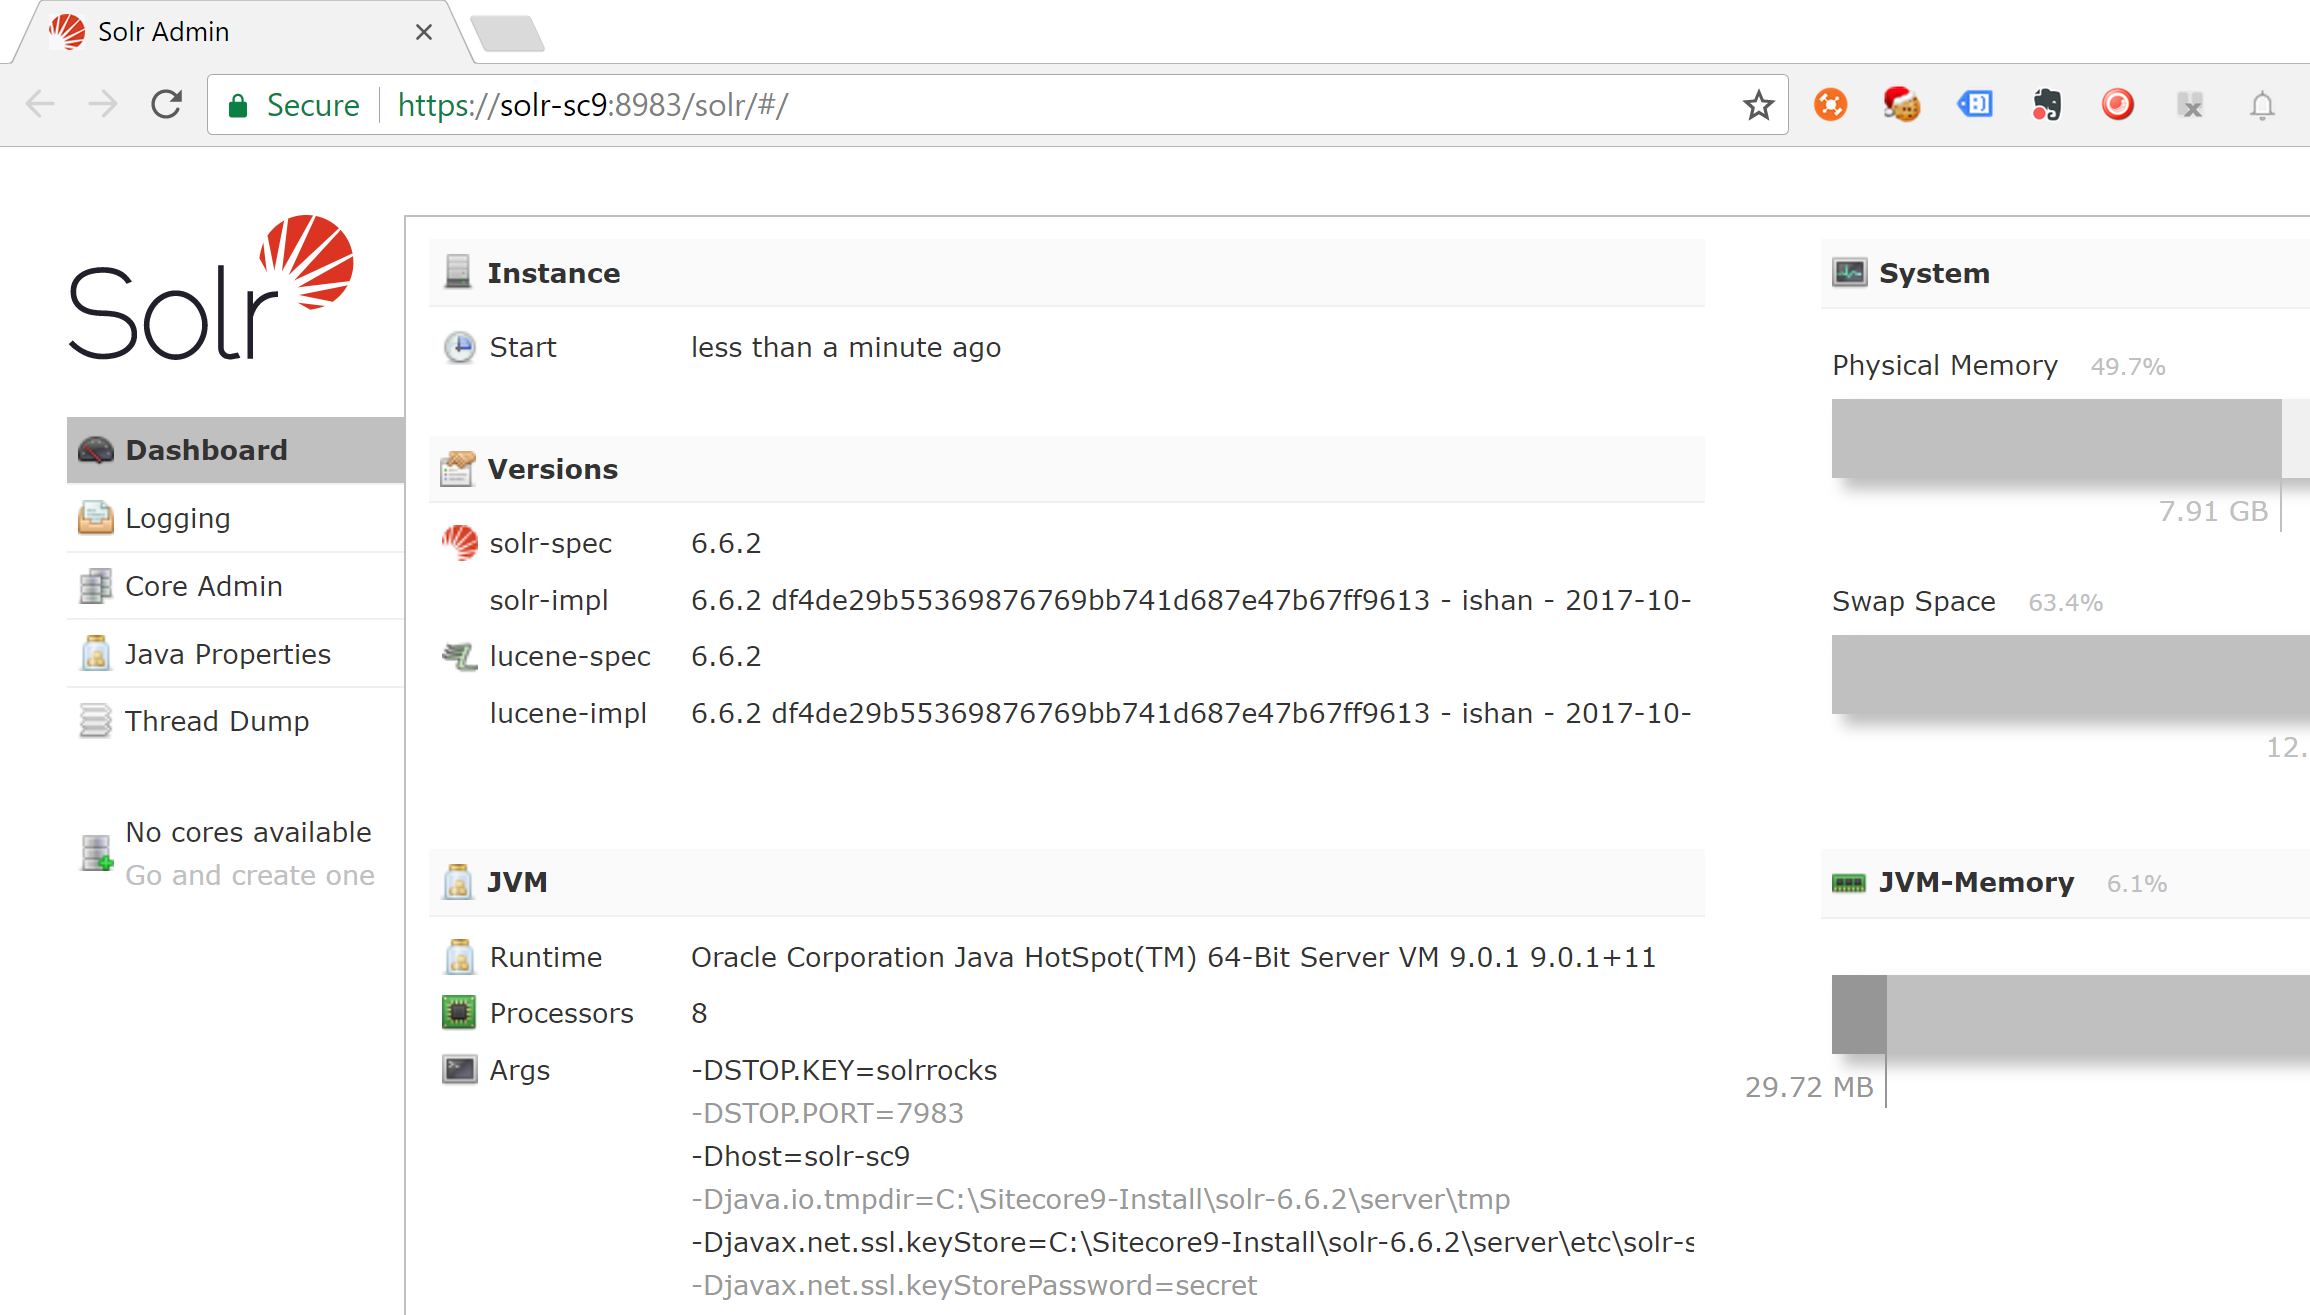
The first stumbling block however was getting an install of Sitecore 9 up and running.
You will need this before you can proceed with the rest of this tutorial so if you don’t have Sitecore 9 installed already then you can read my Blog Post on how to install Sitecore 9 update 1 here.
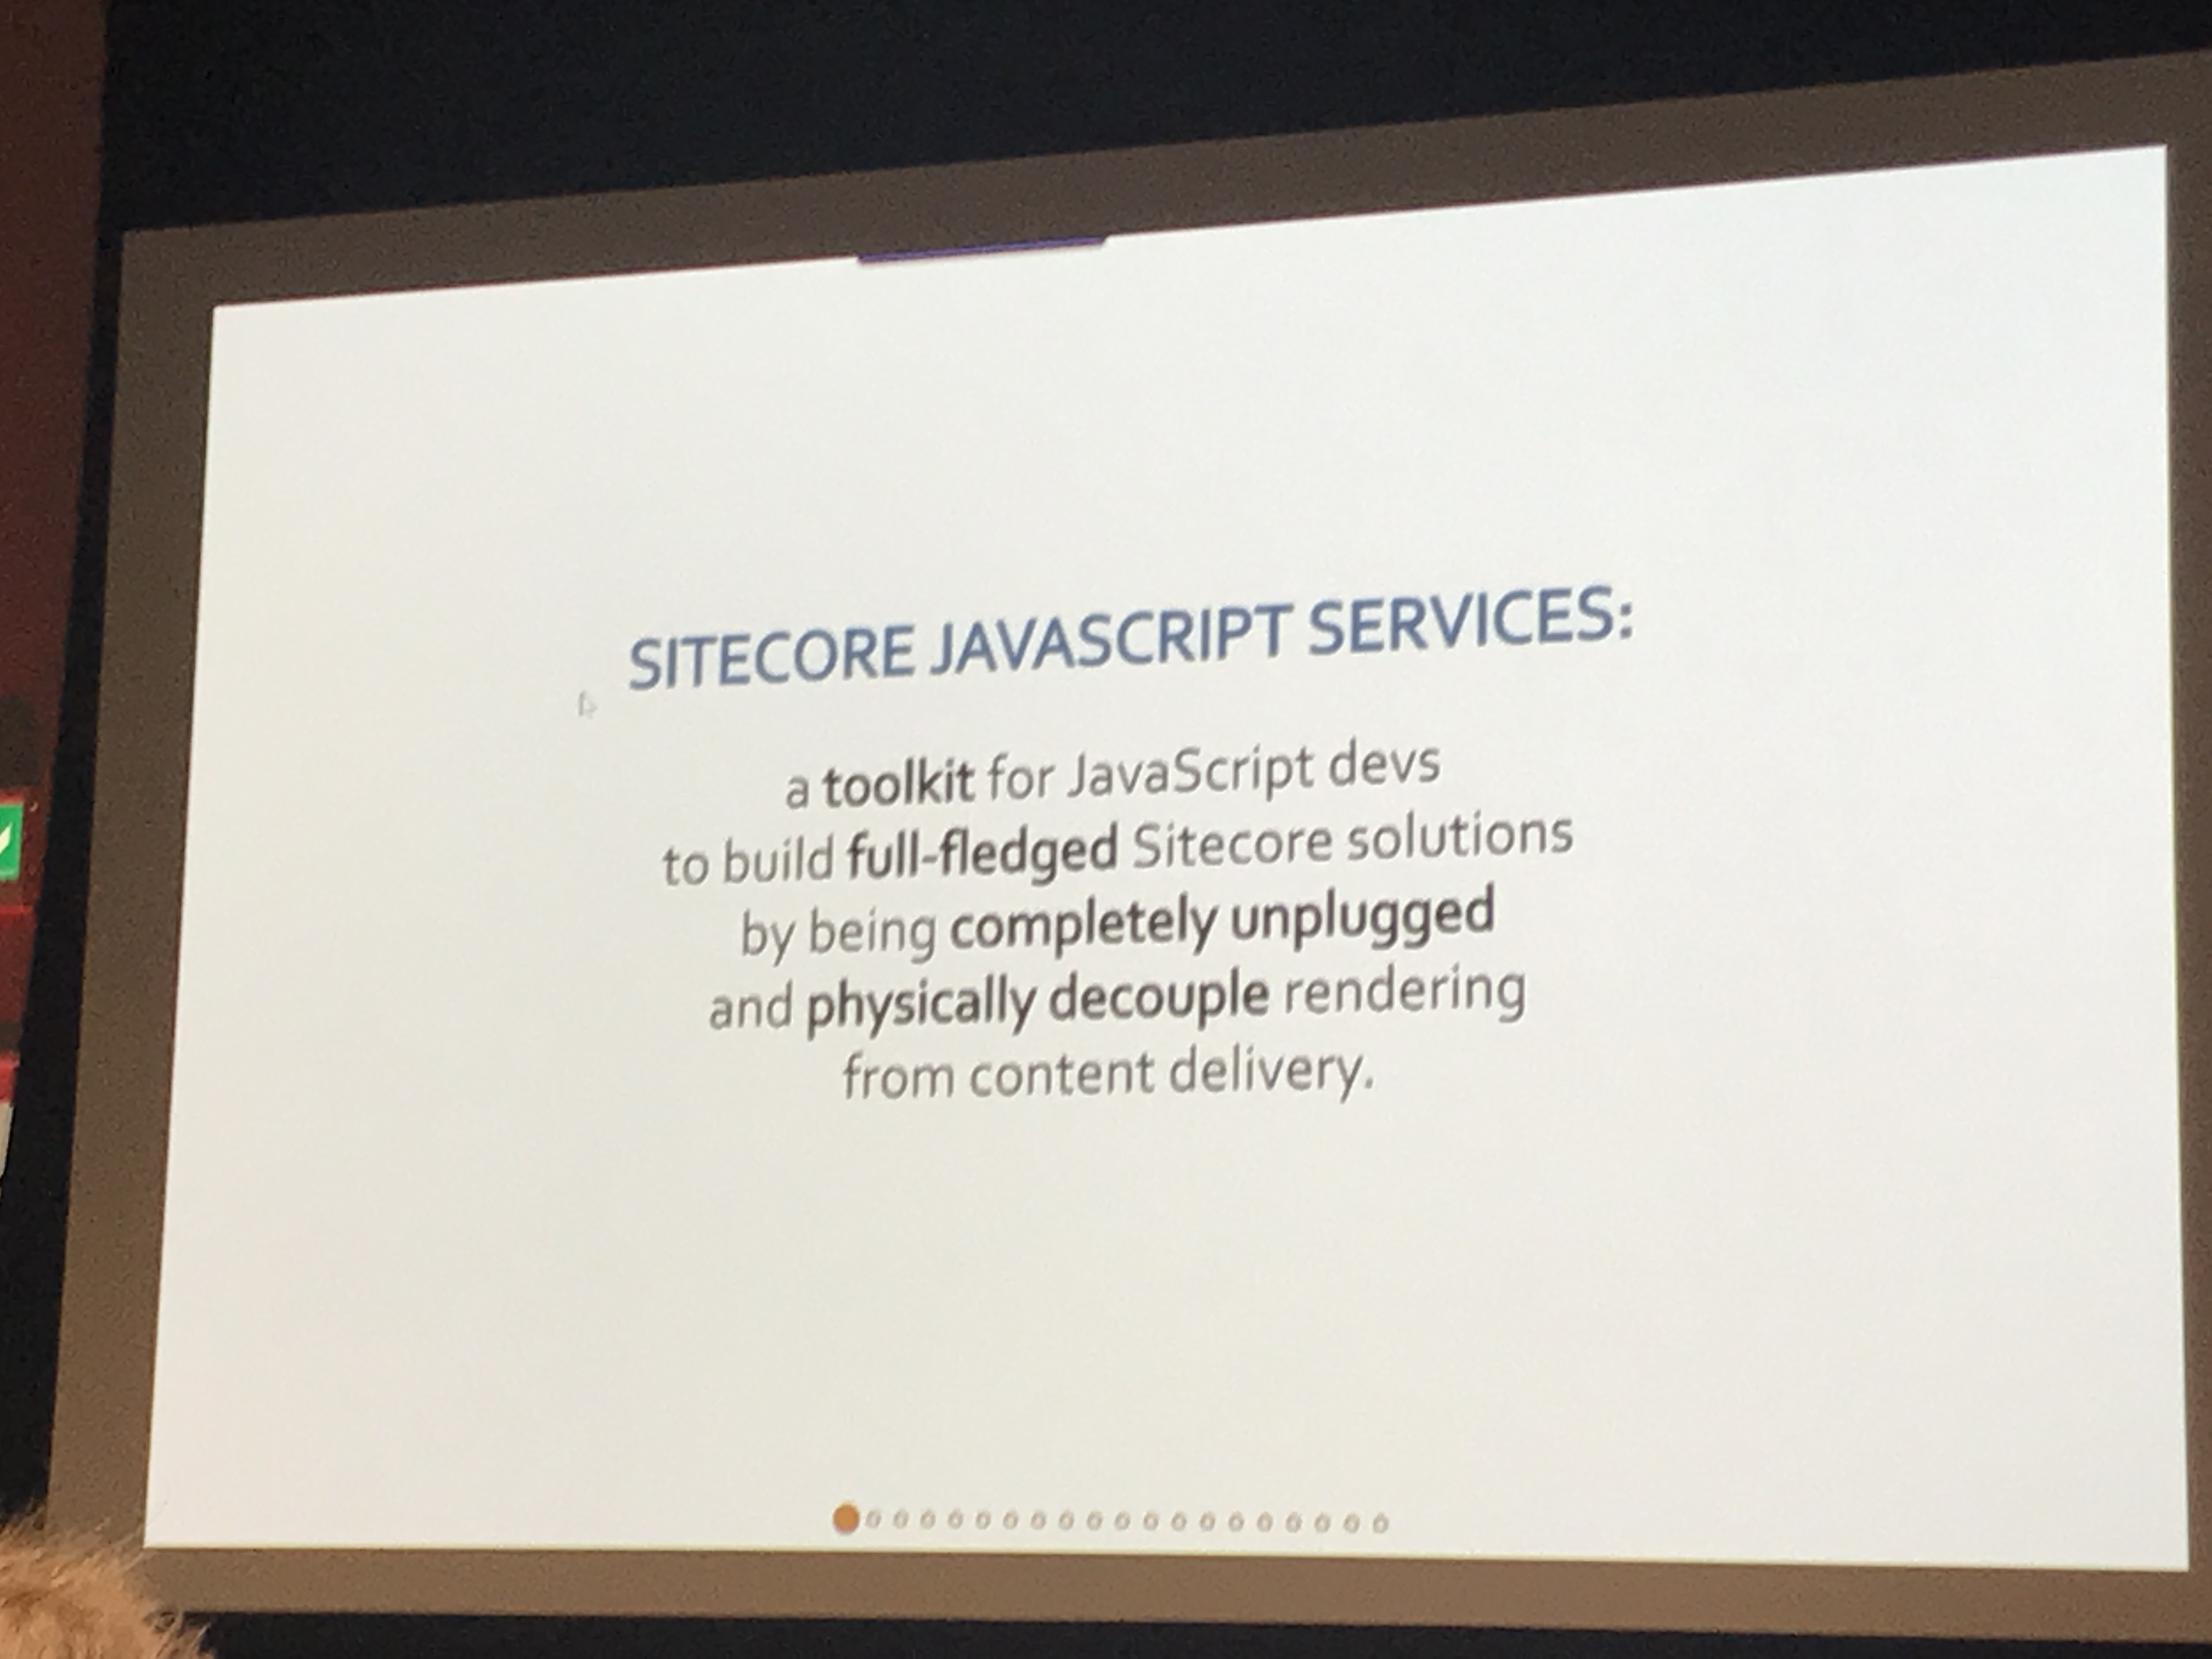
What is JSS?

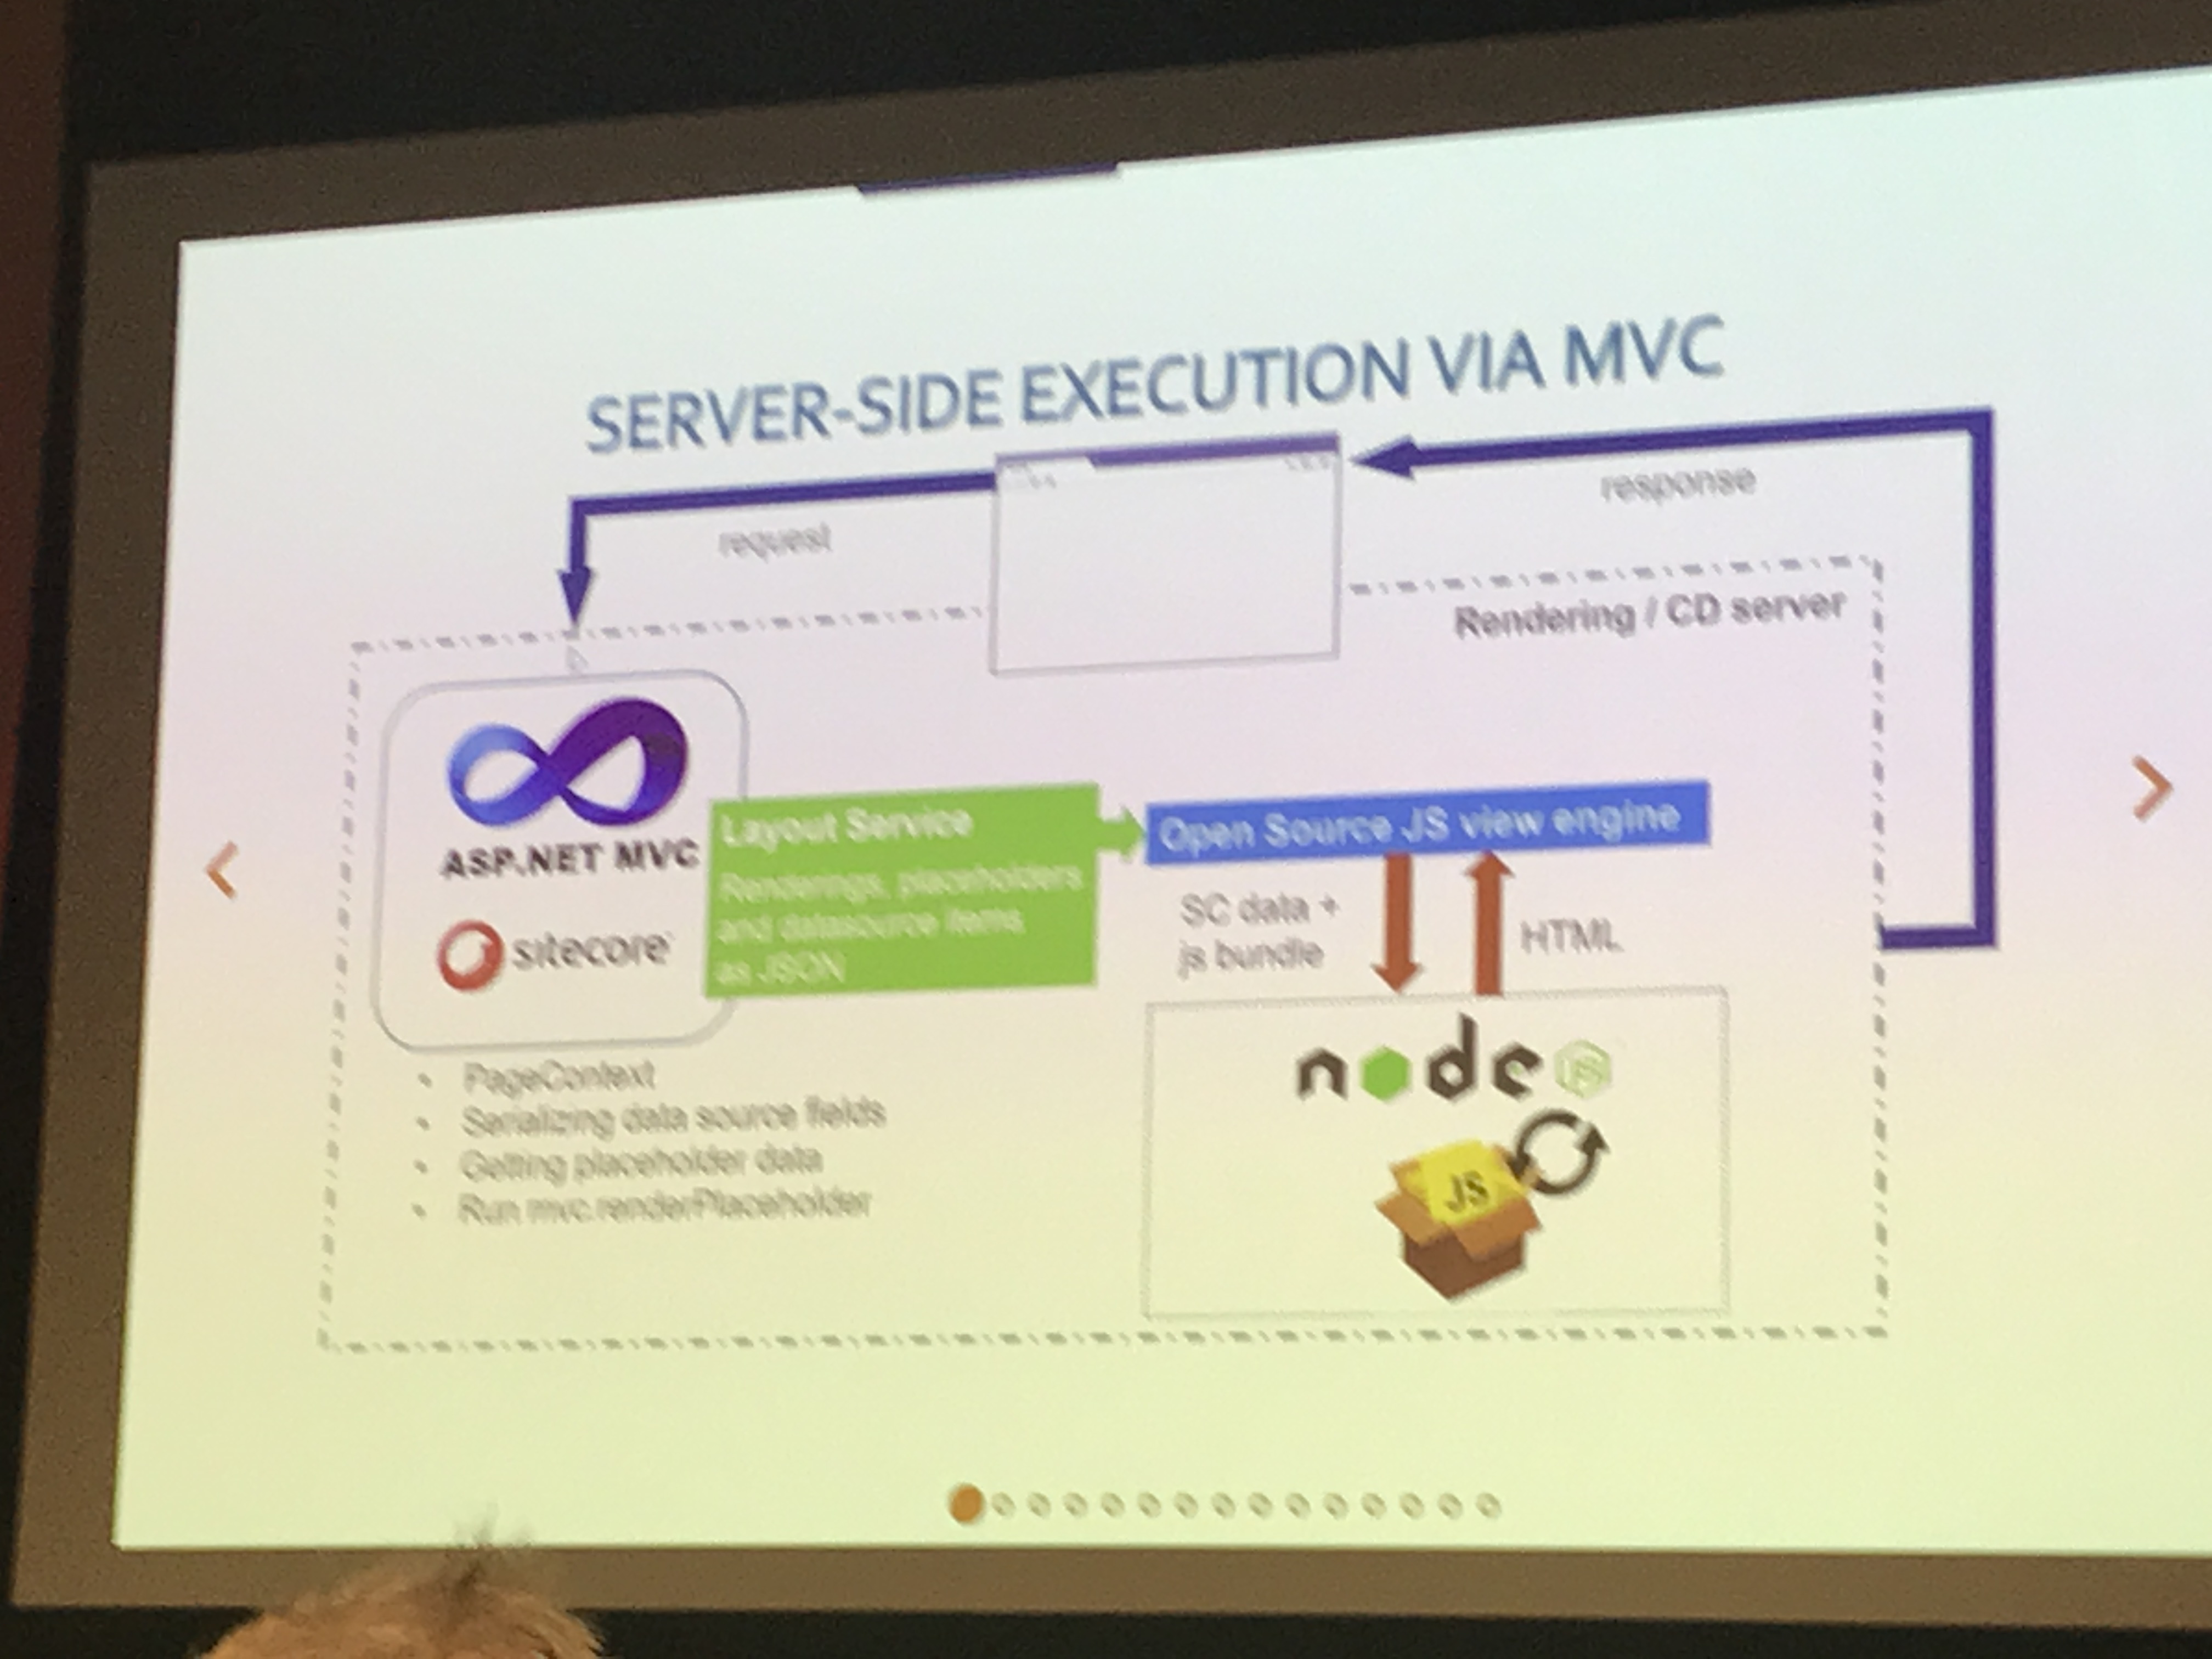
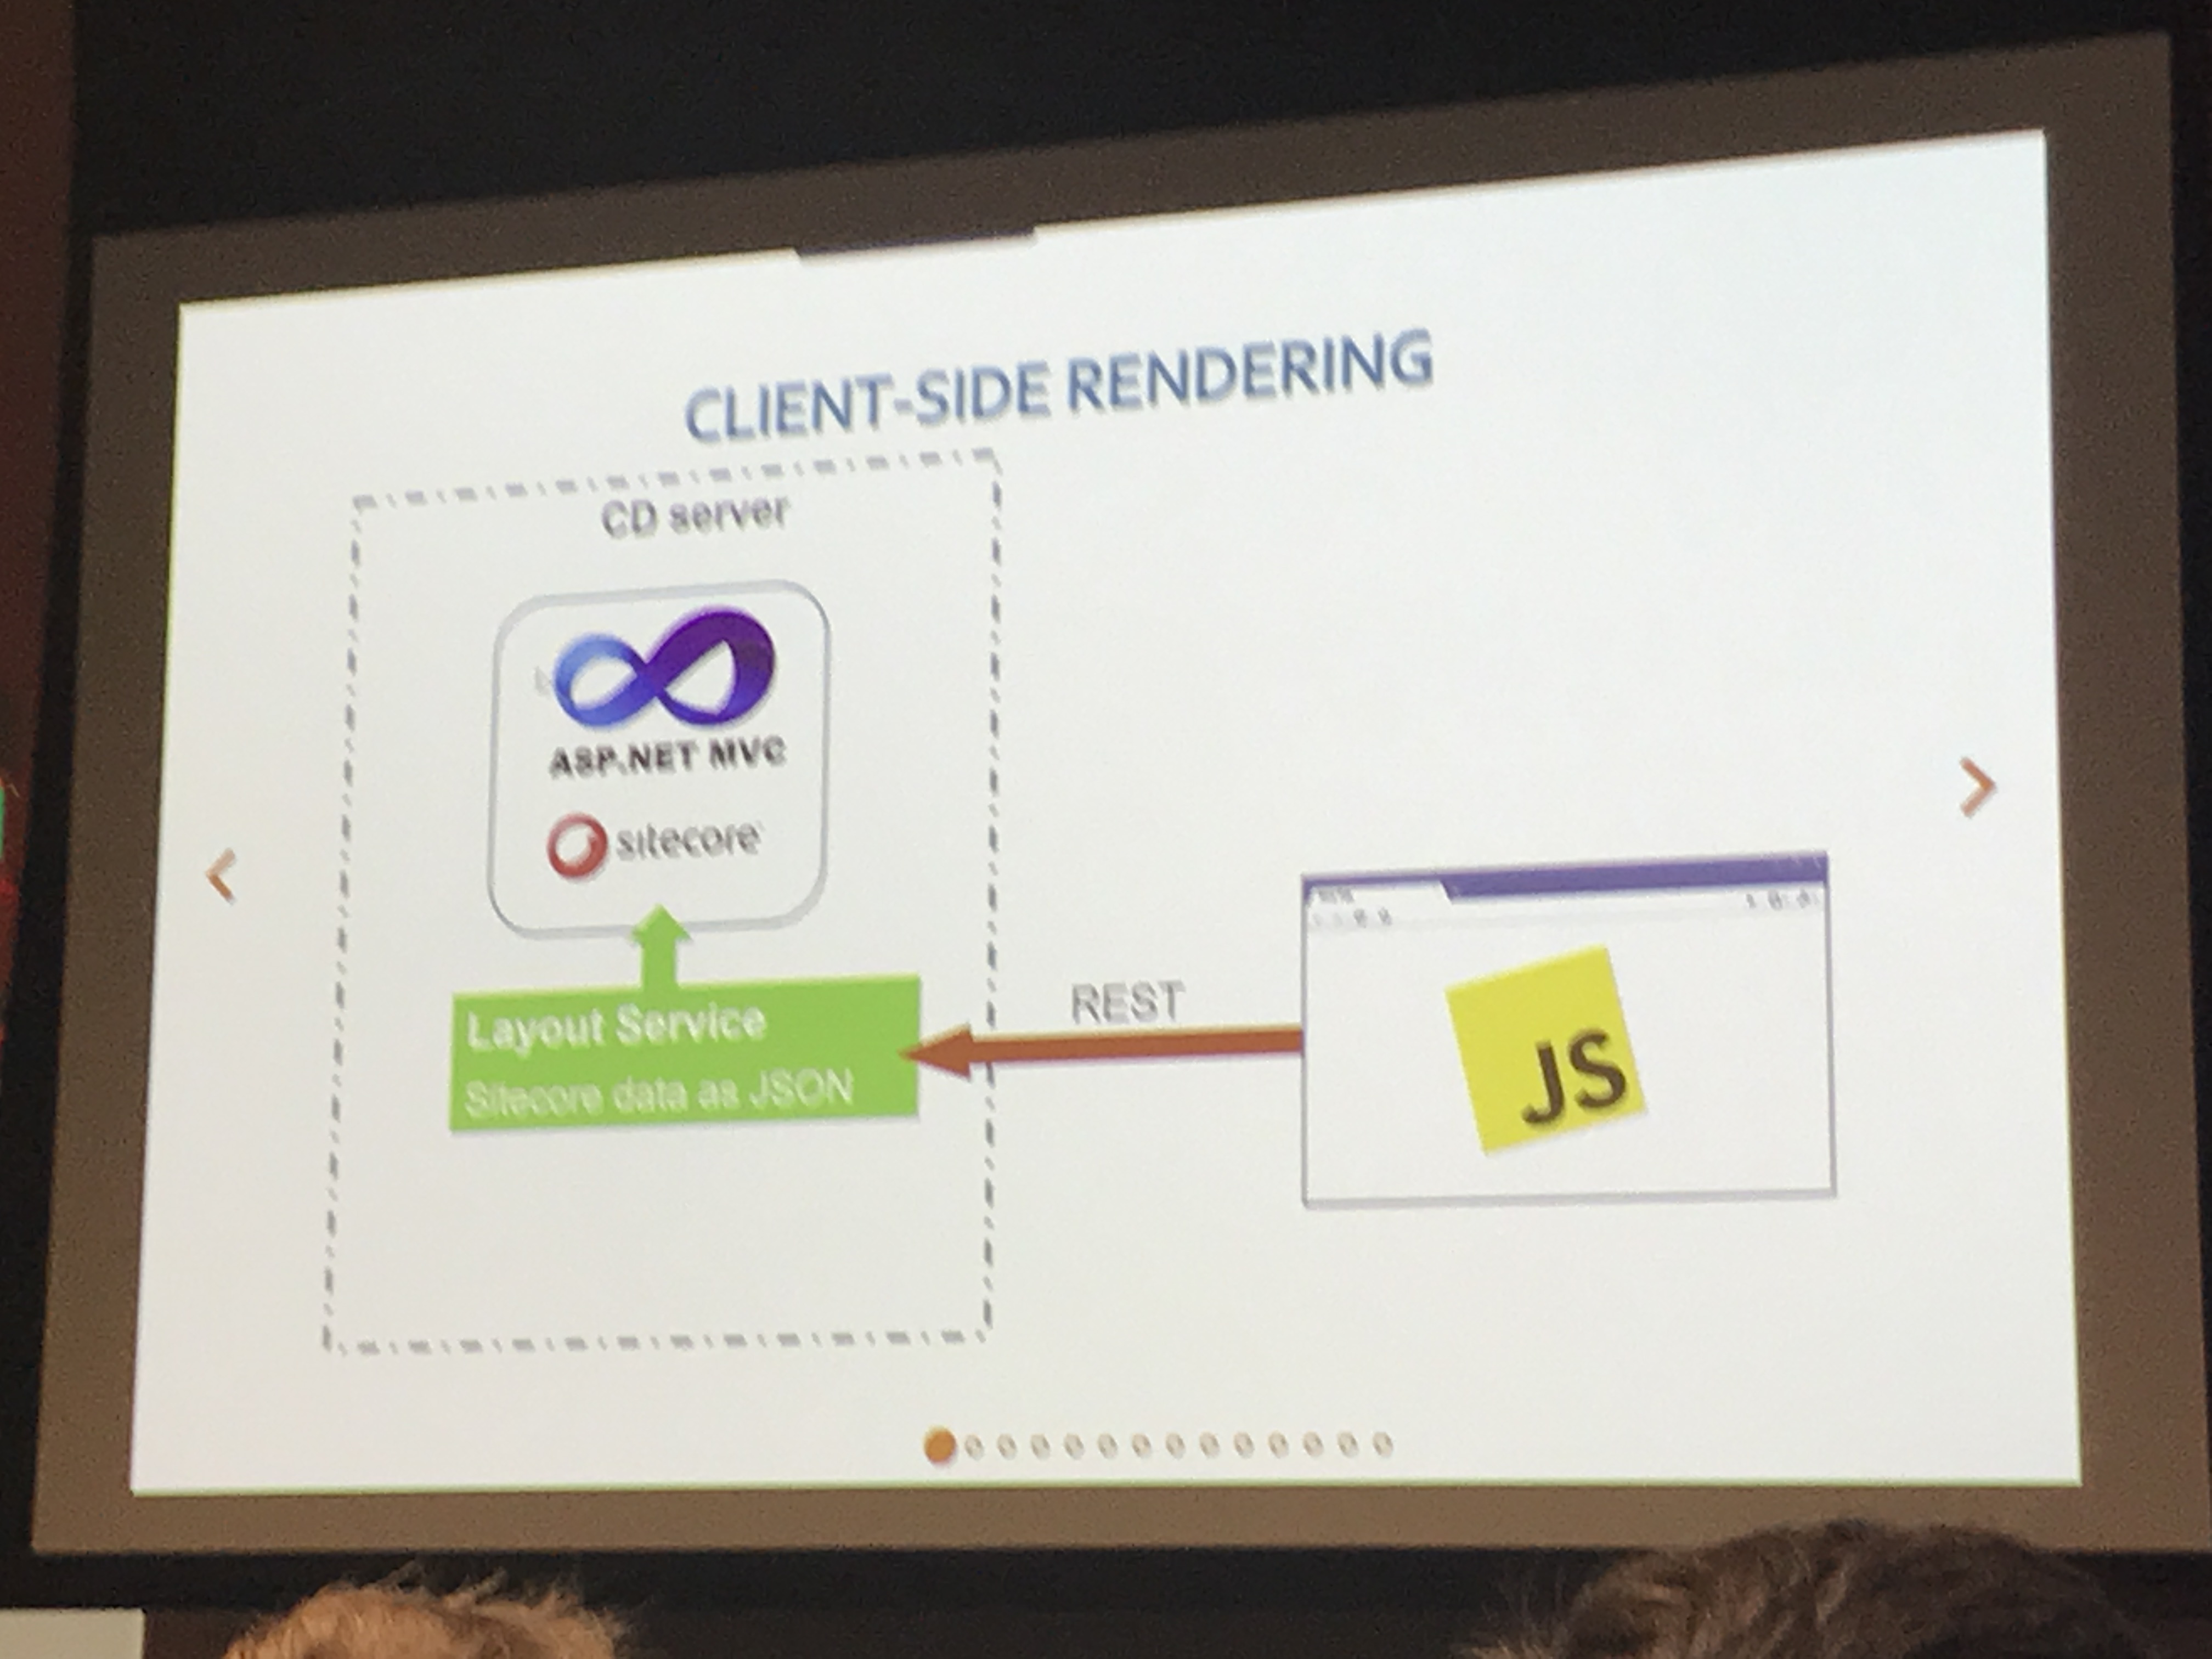
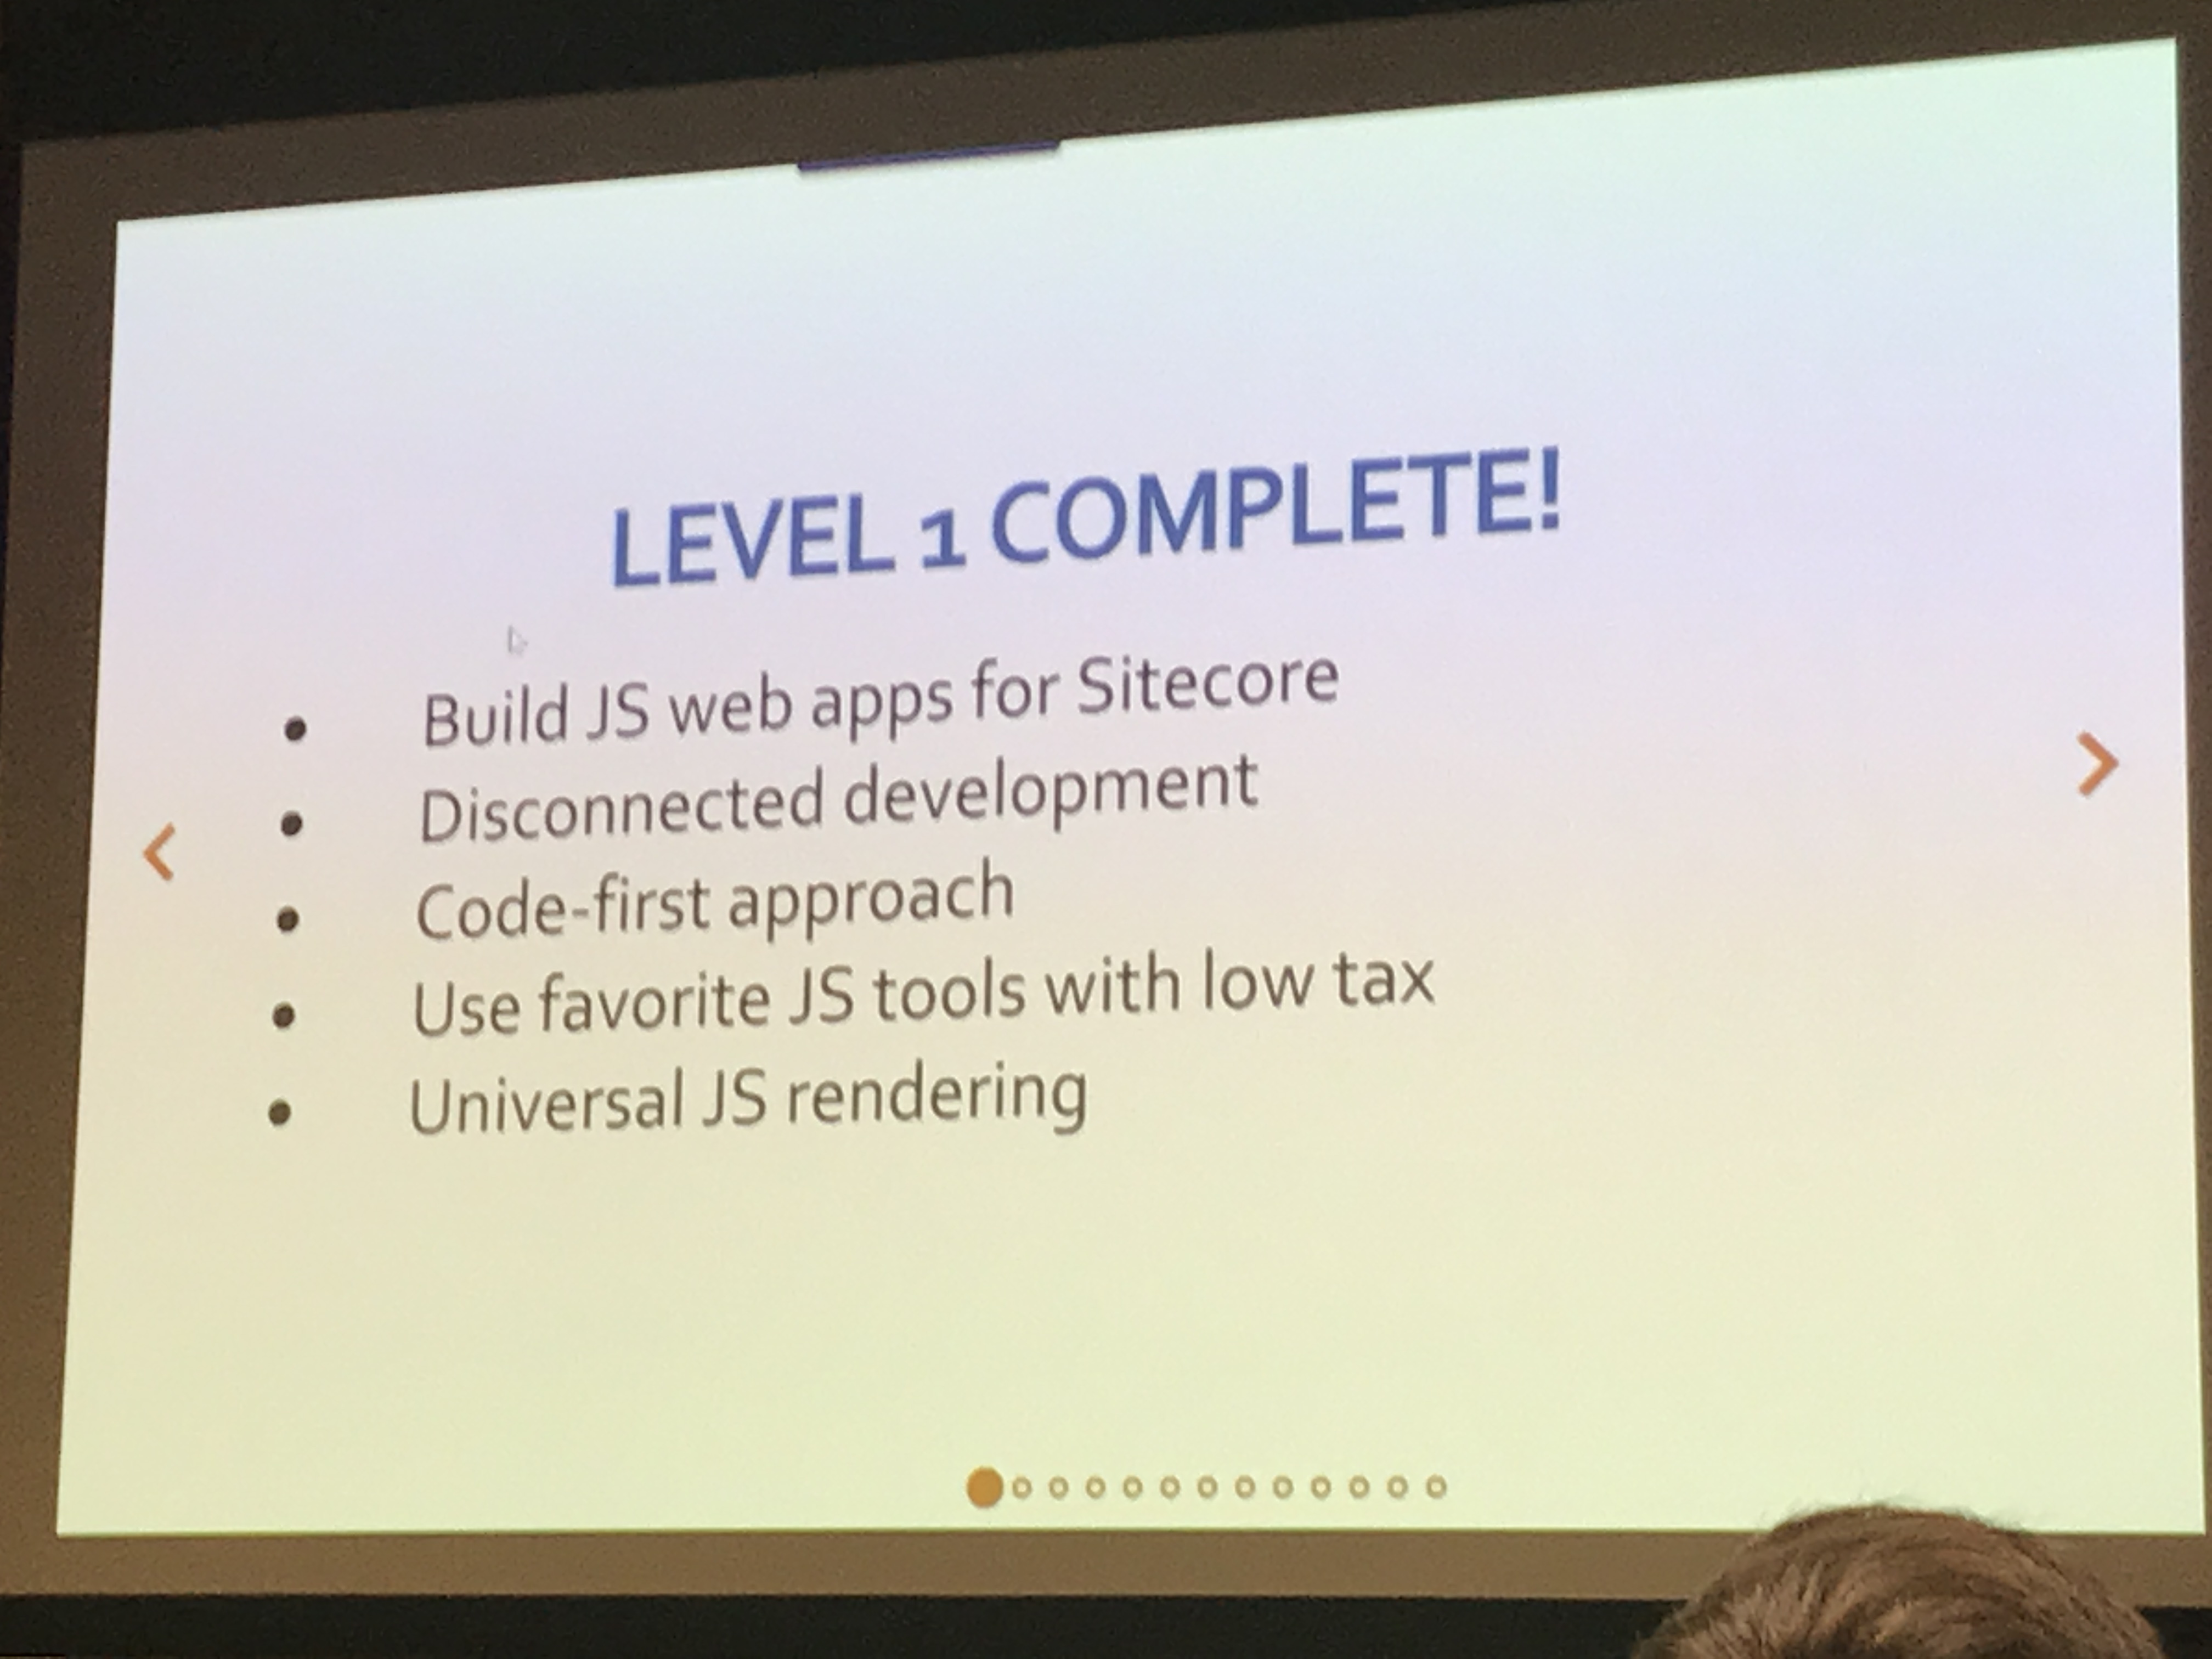
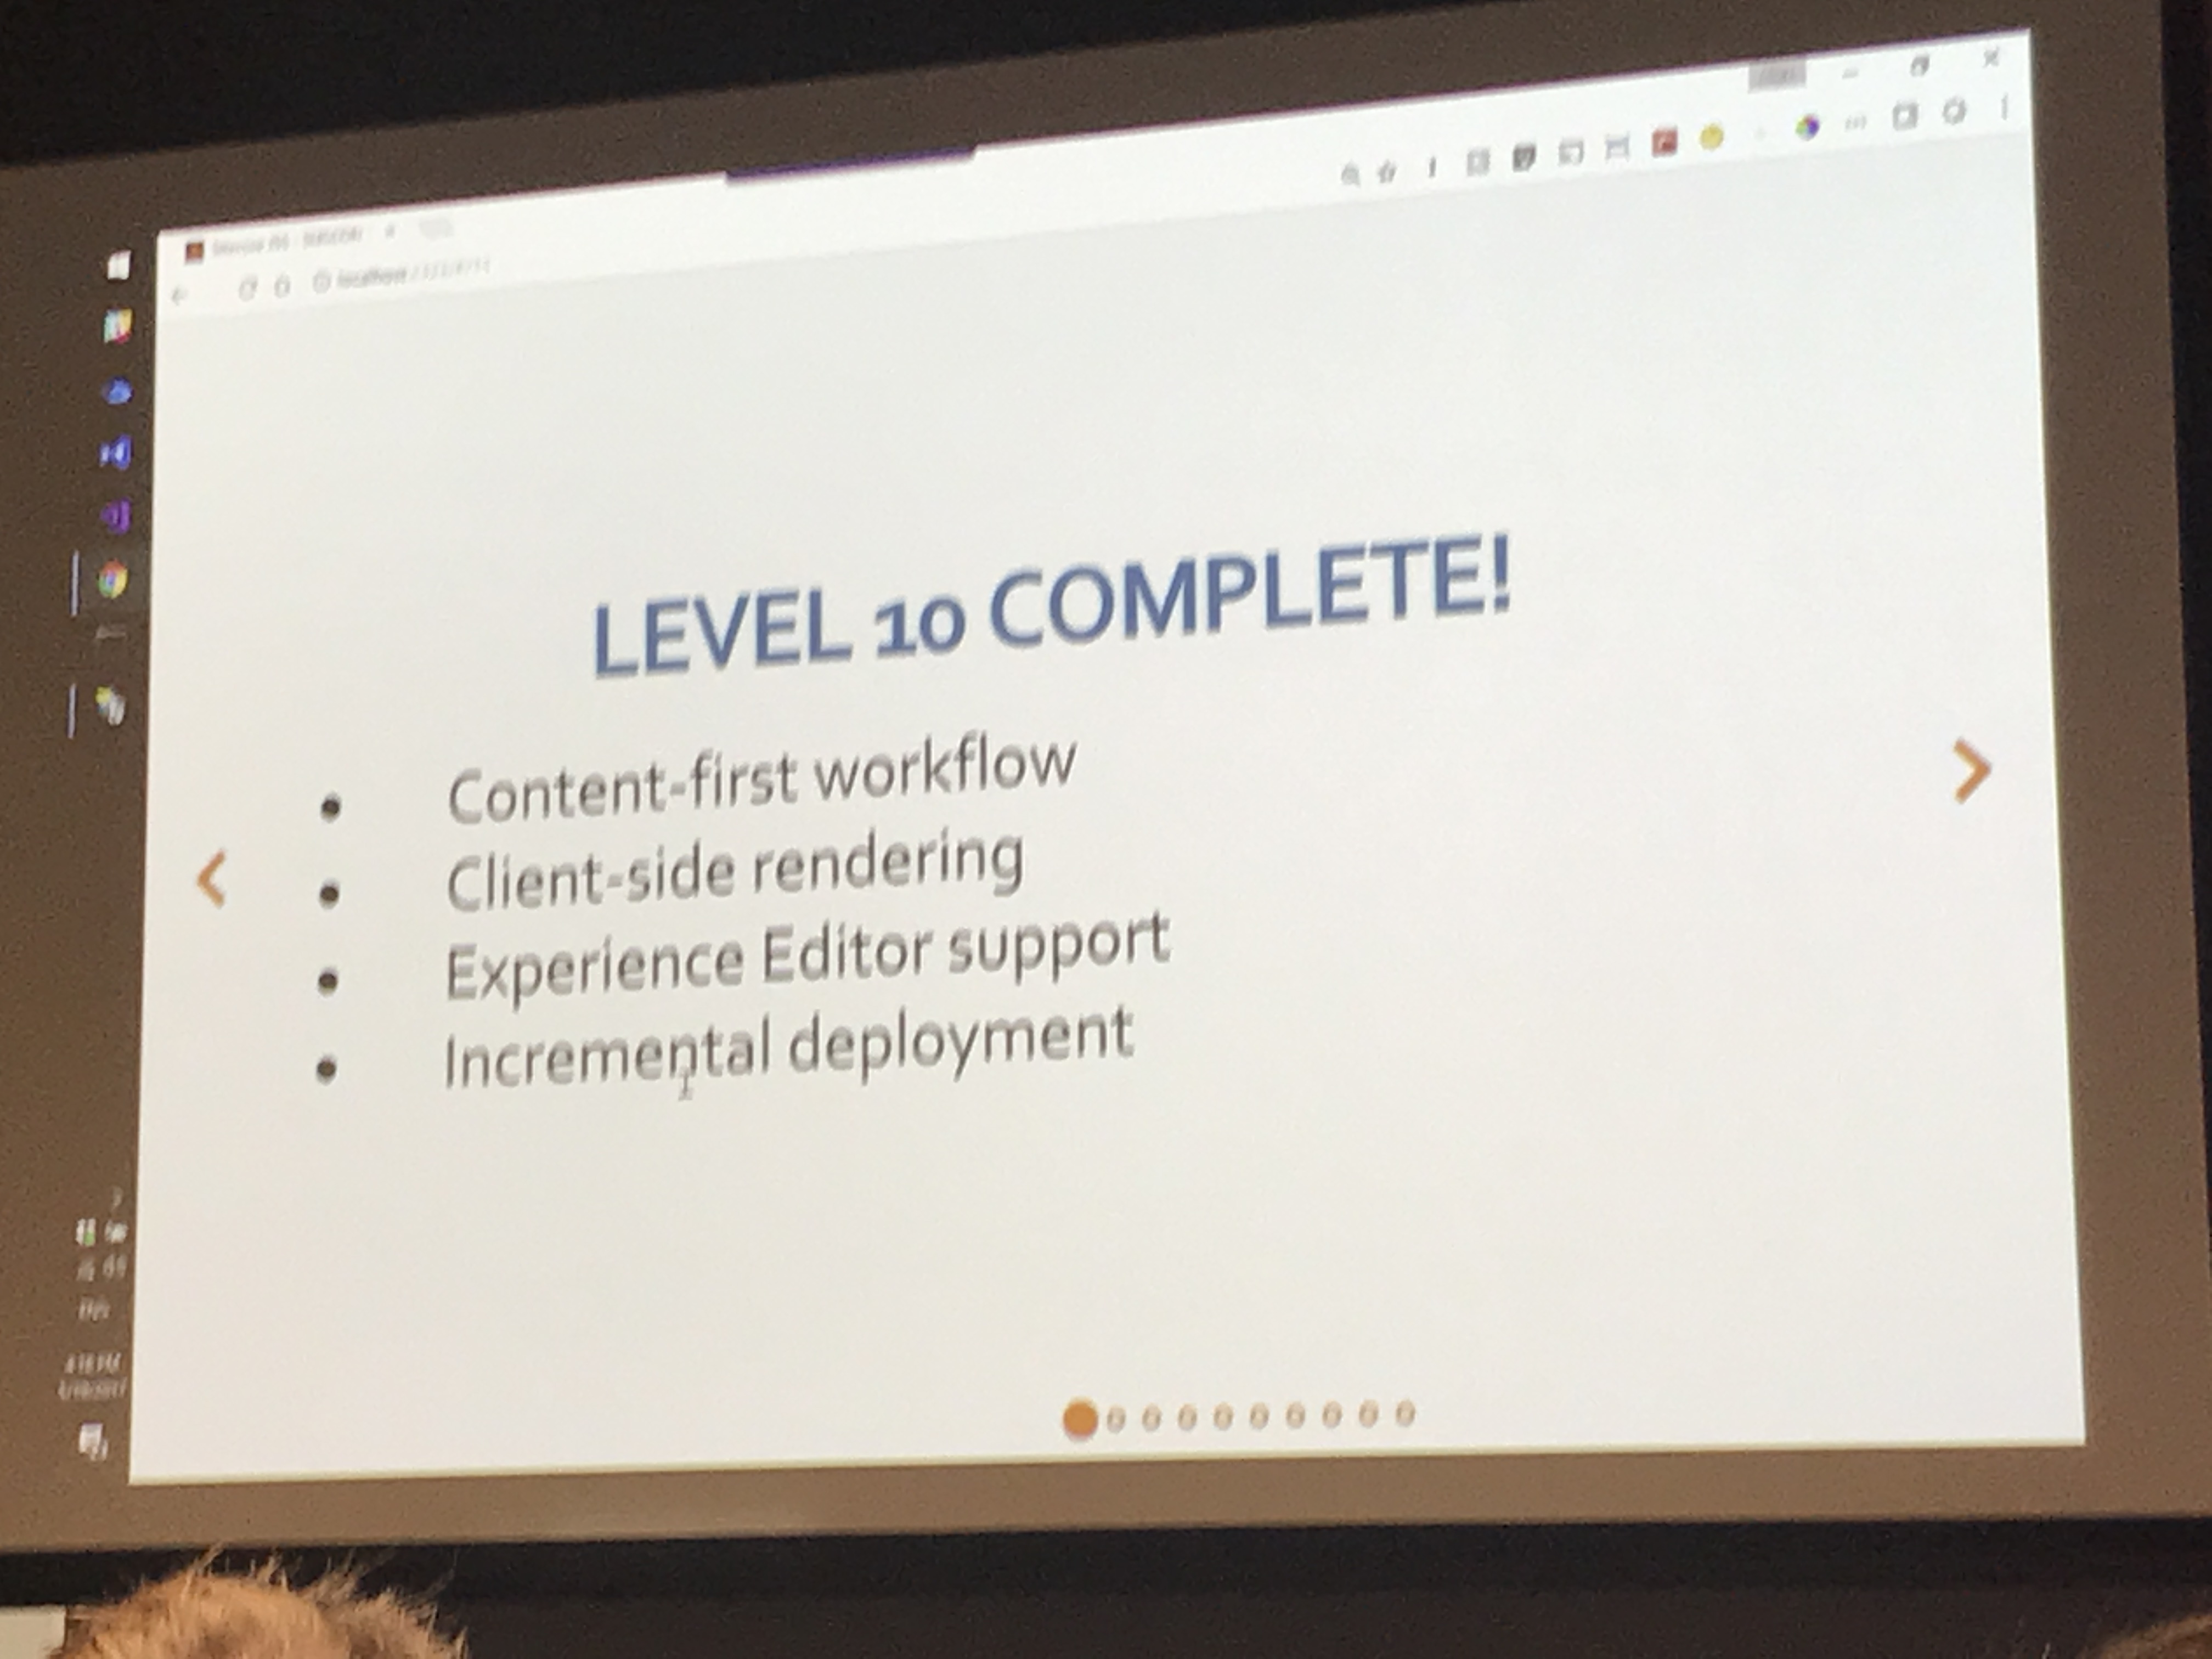
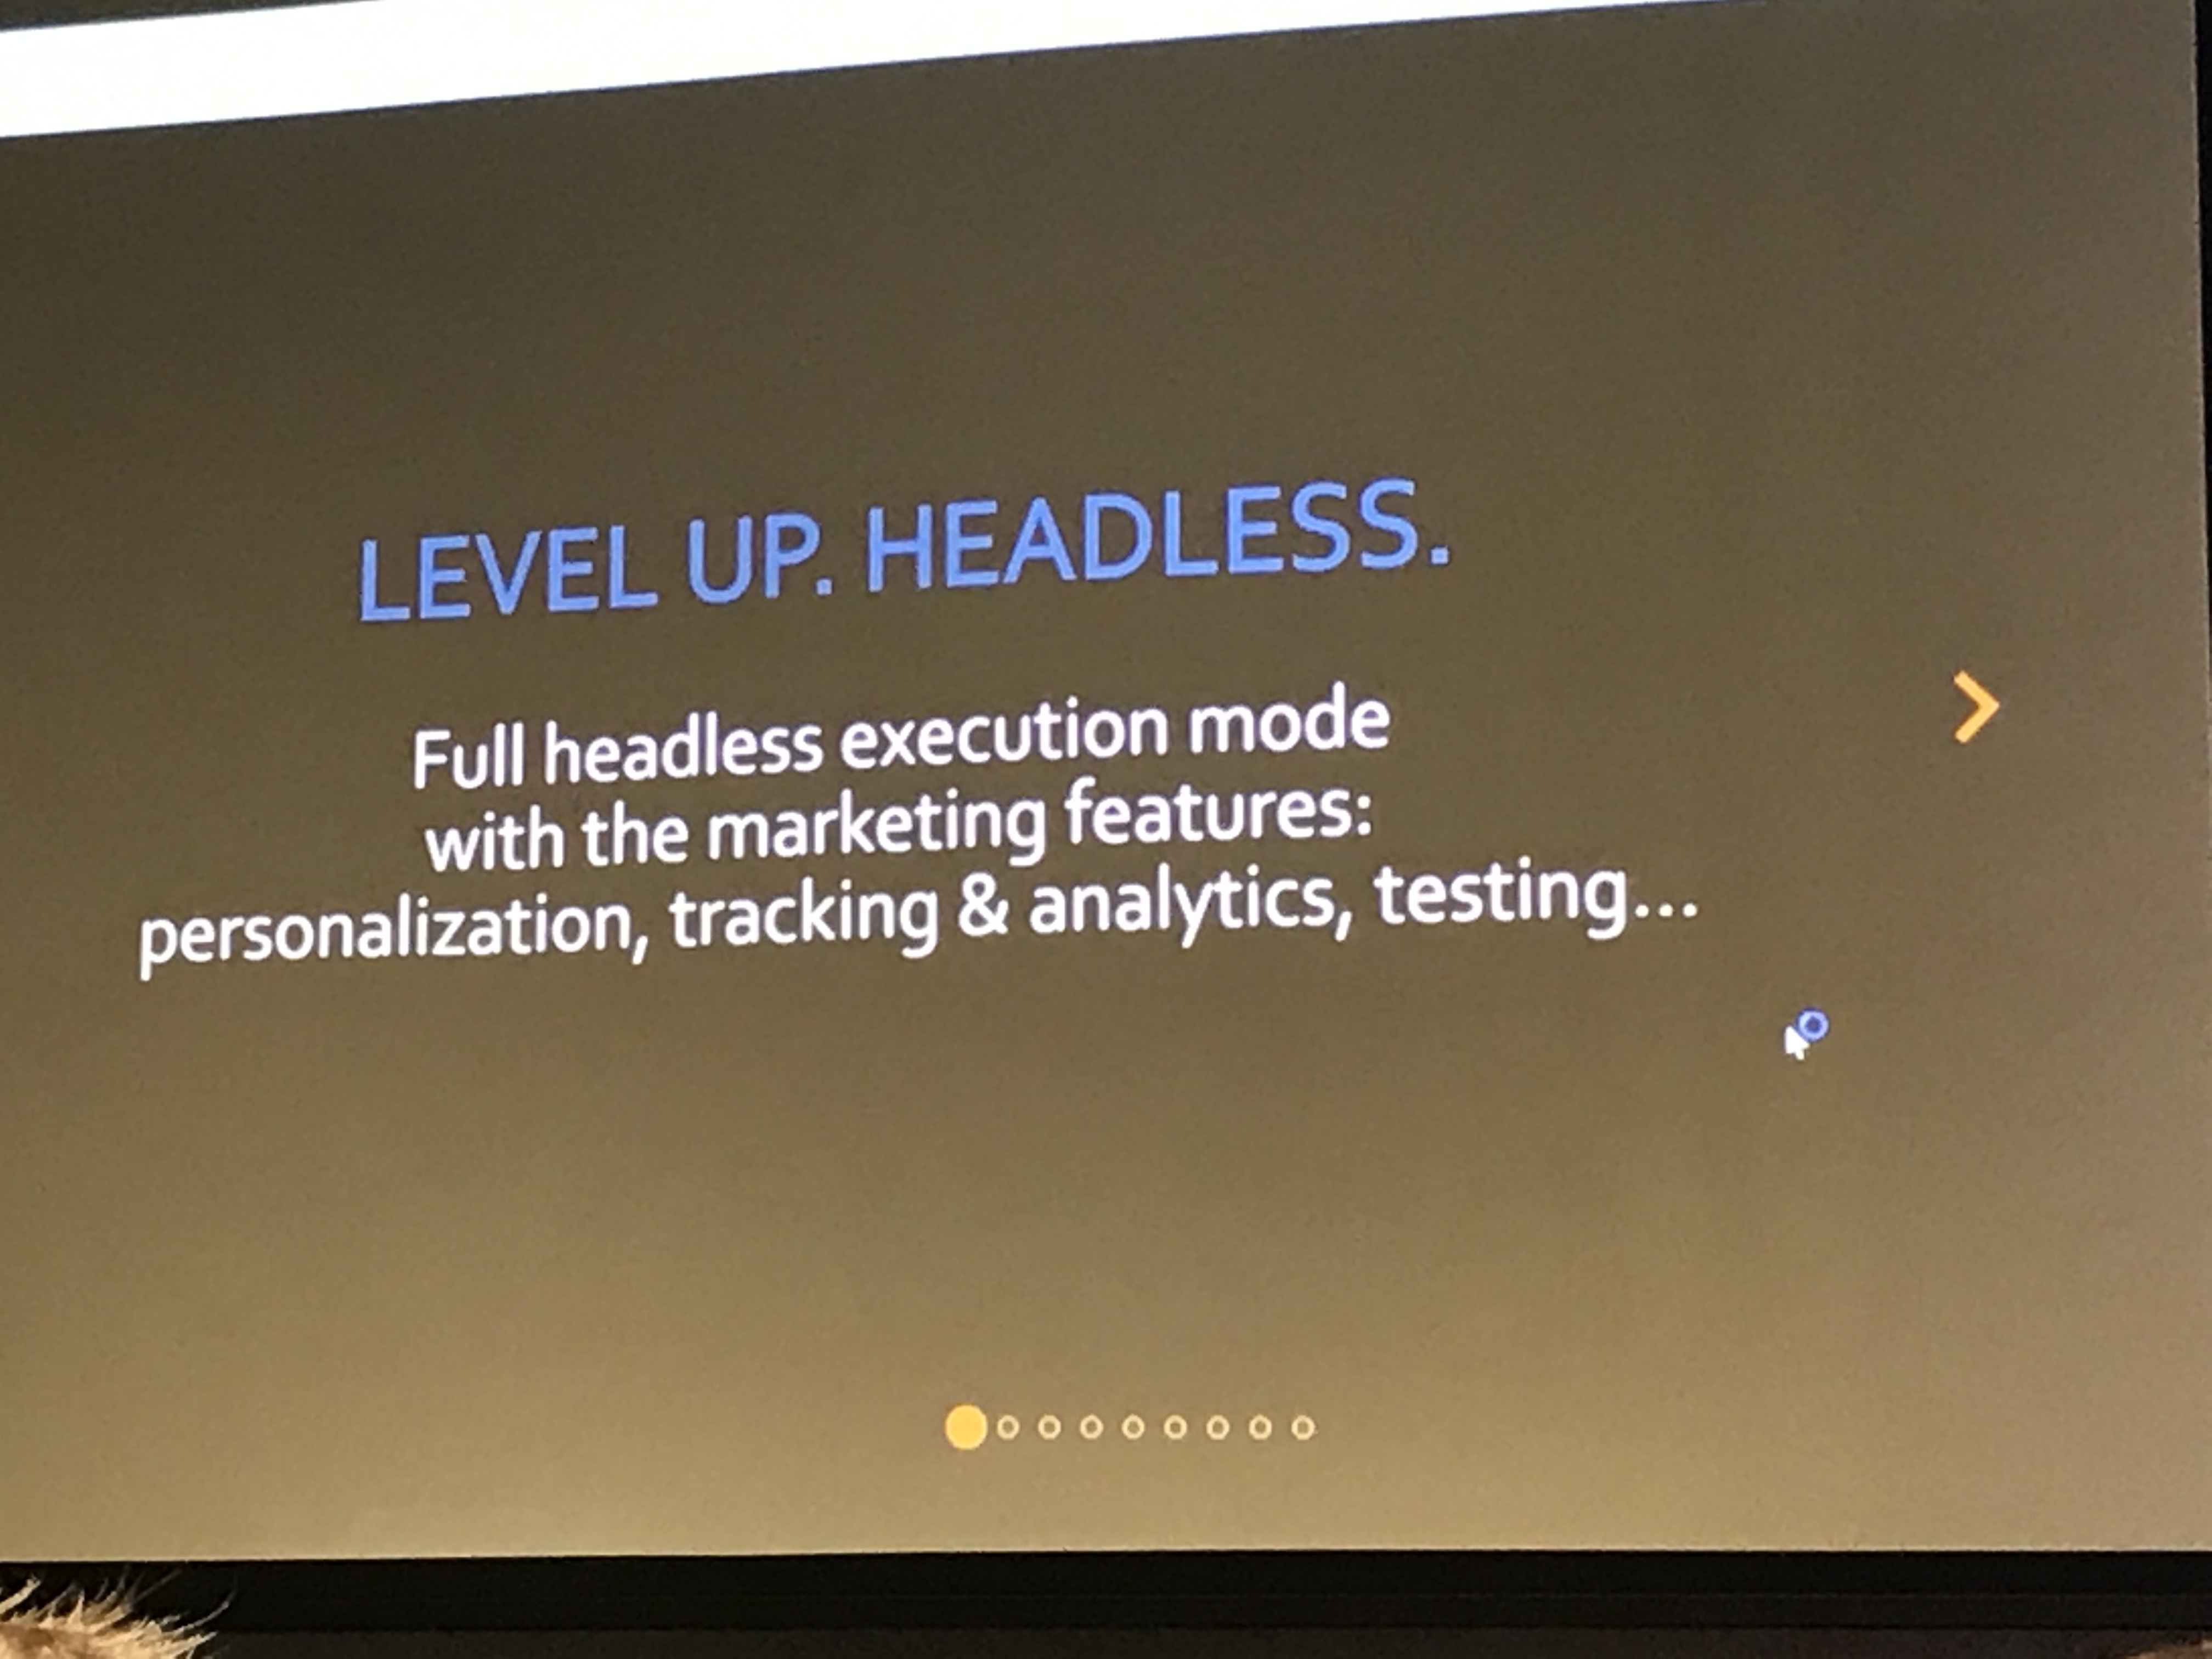
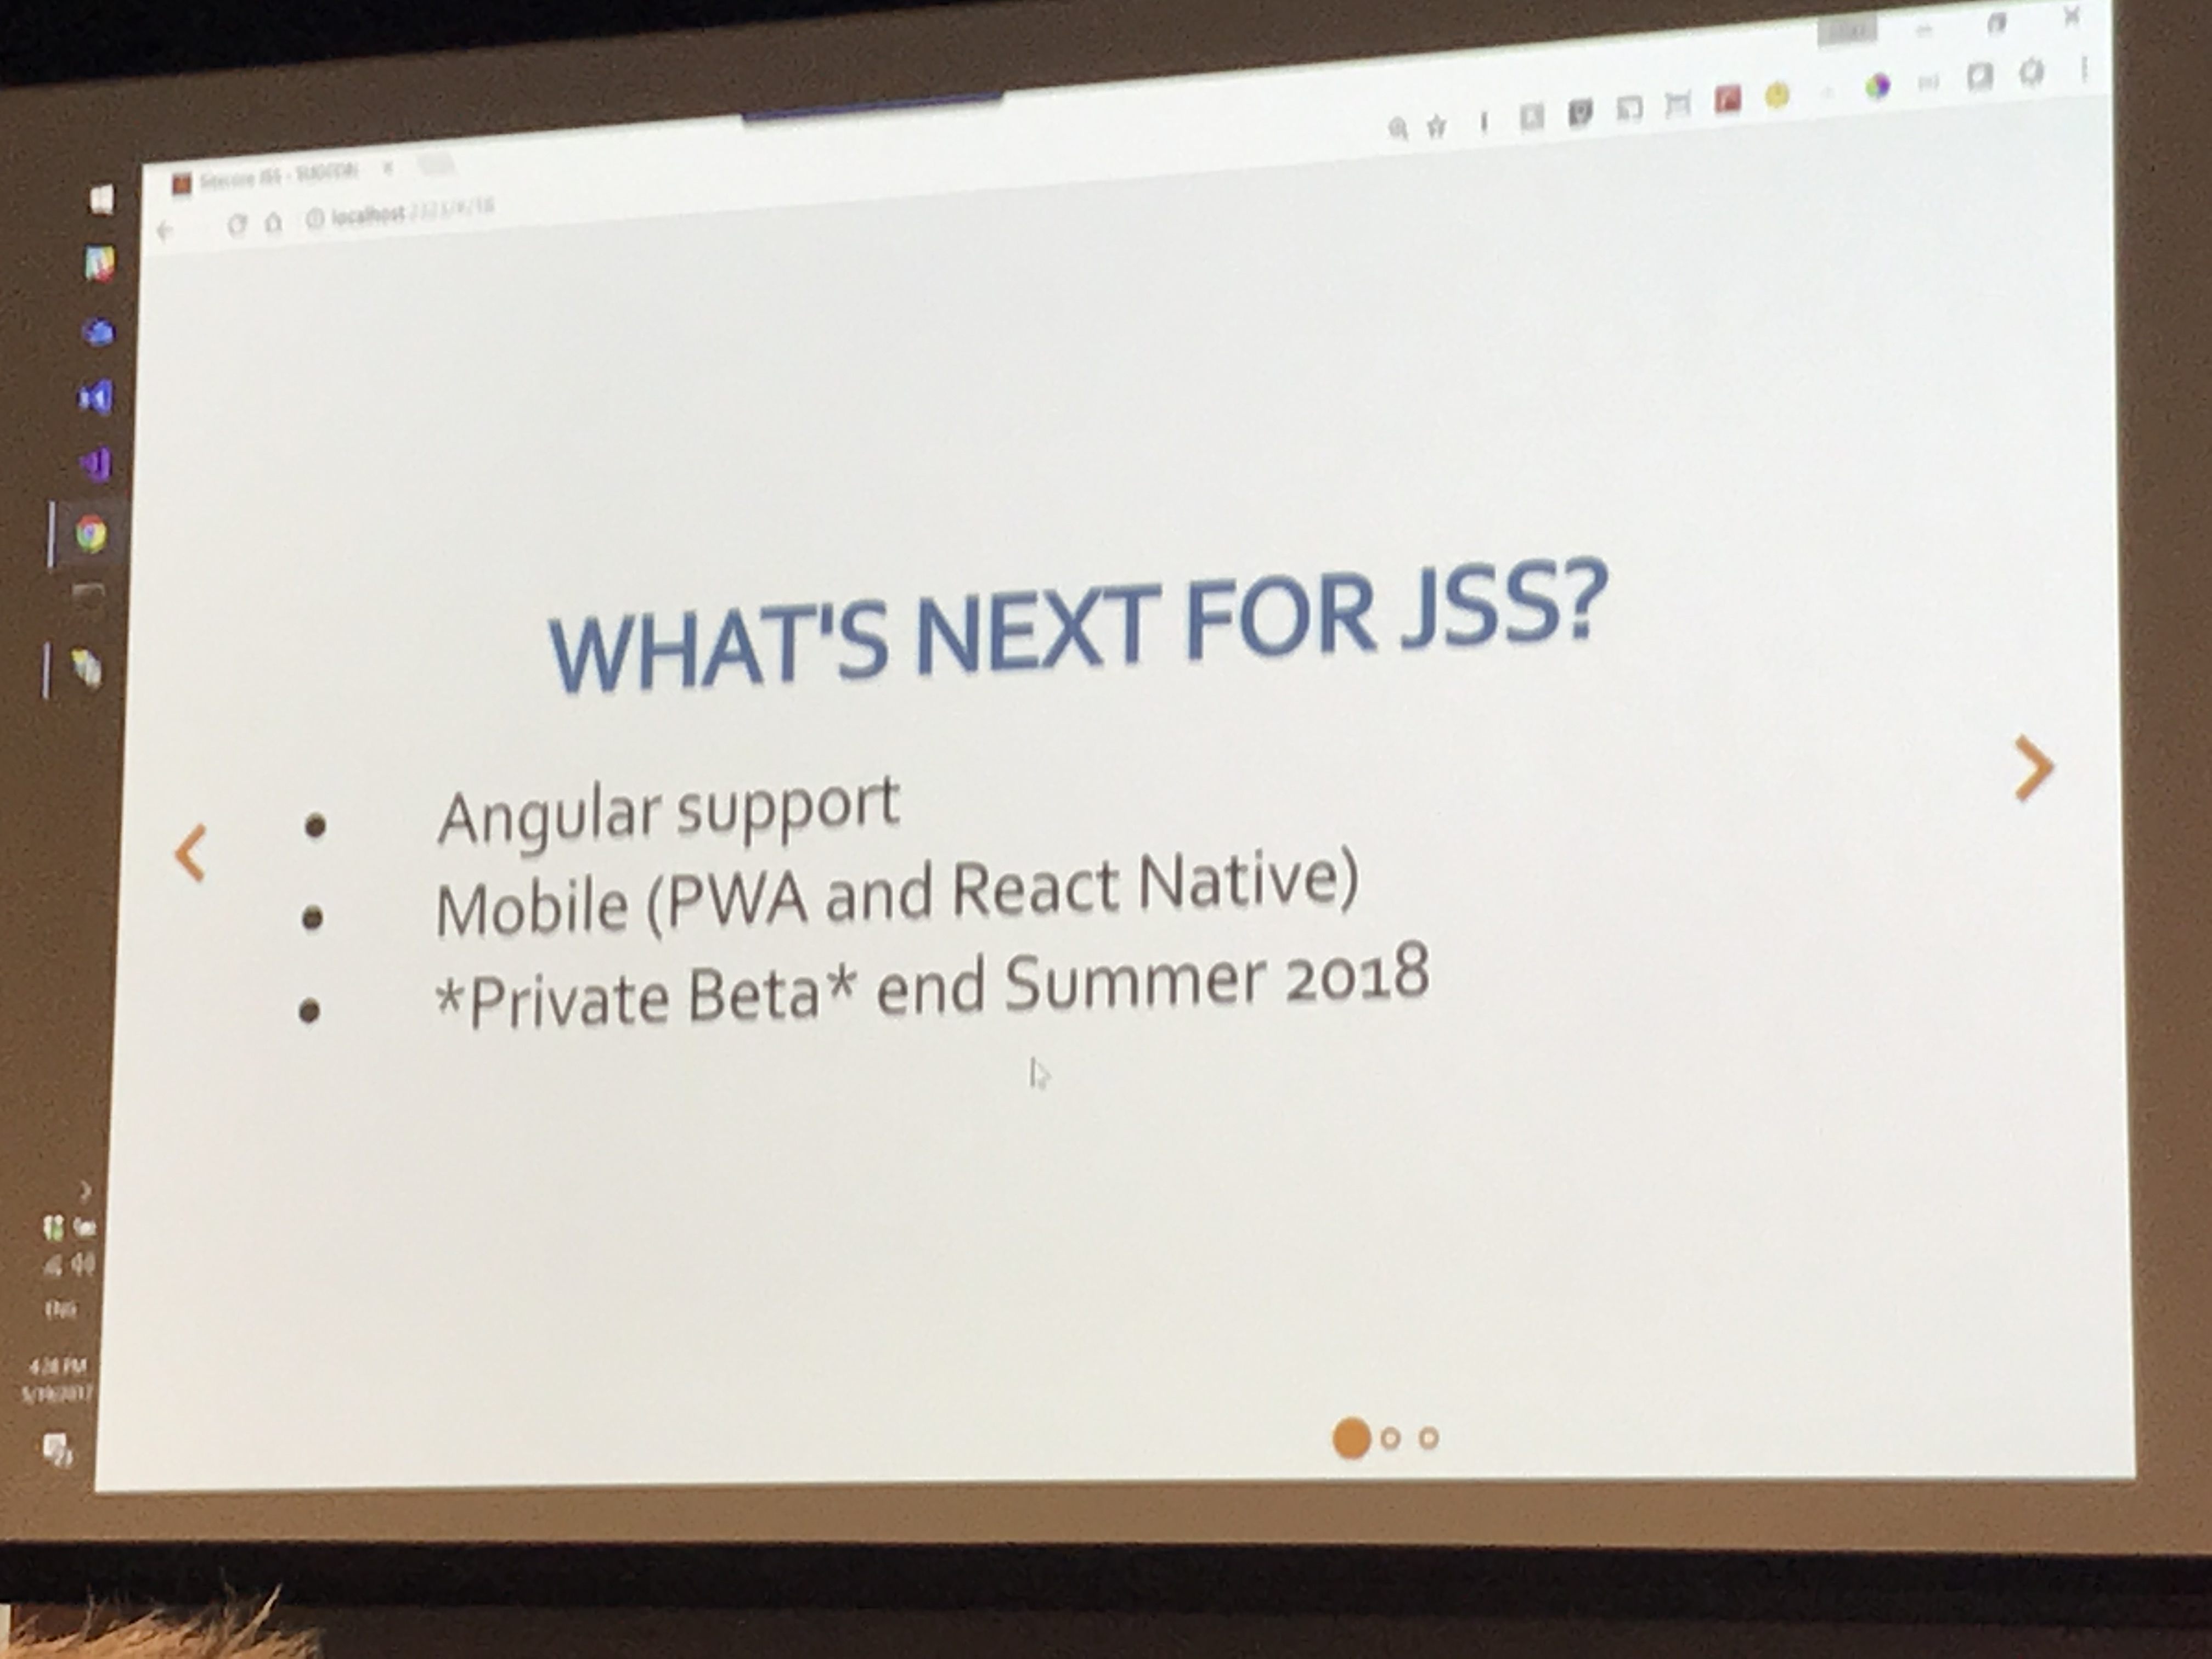
JSS is an SDK that allows developers to build websites using Javascript frameworks such as React and Angular. Sitecore is used as a Headless CMS to provide the Sitecore item’s presentation details as JSON. It has full support for the Sitecore Experience Platform, including Experience Editor, Personalization, MV testing and Tracking / Analytics.

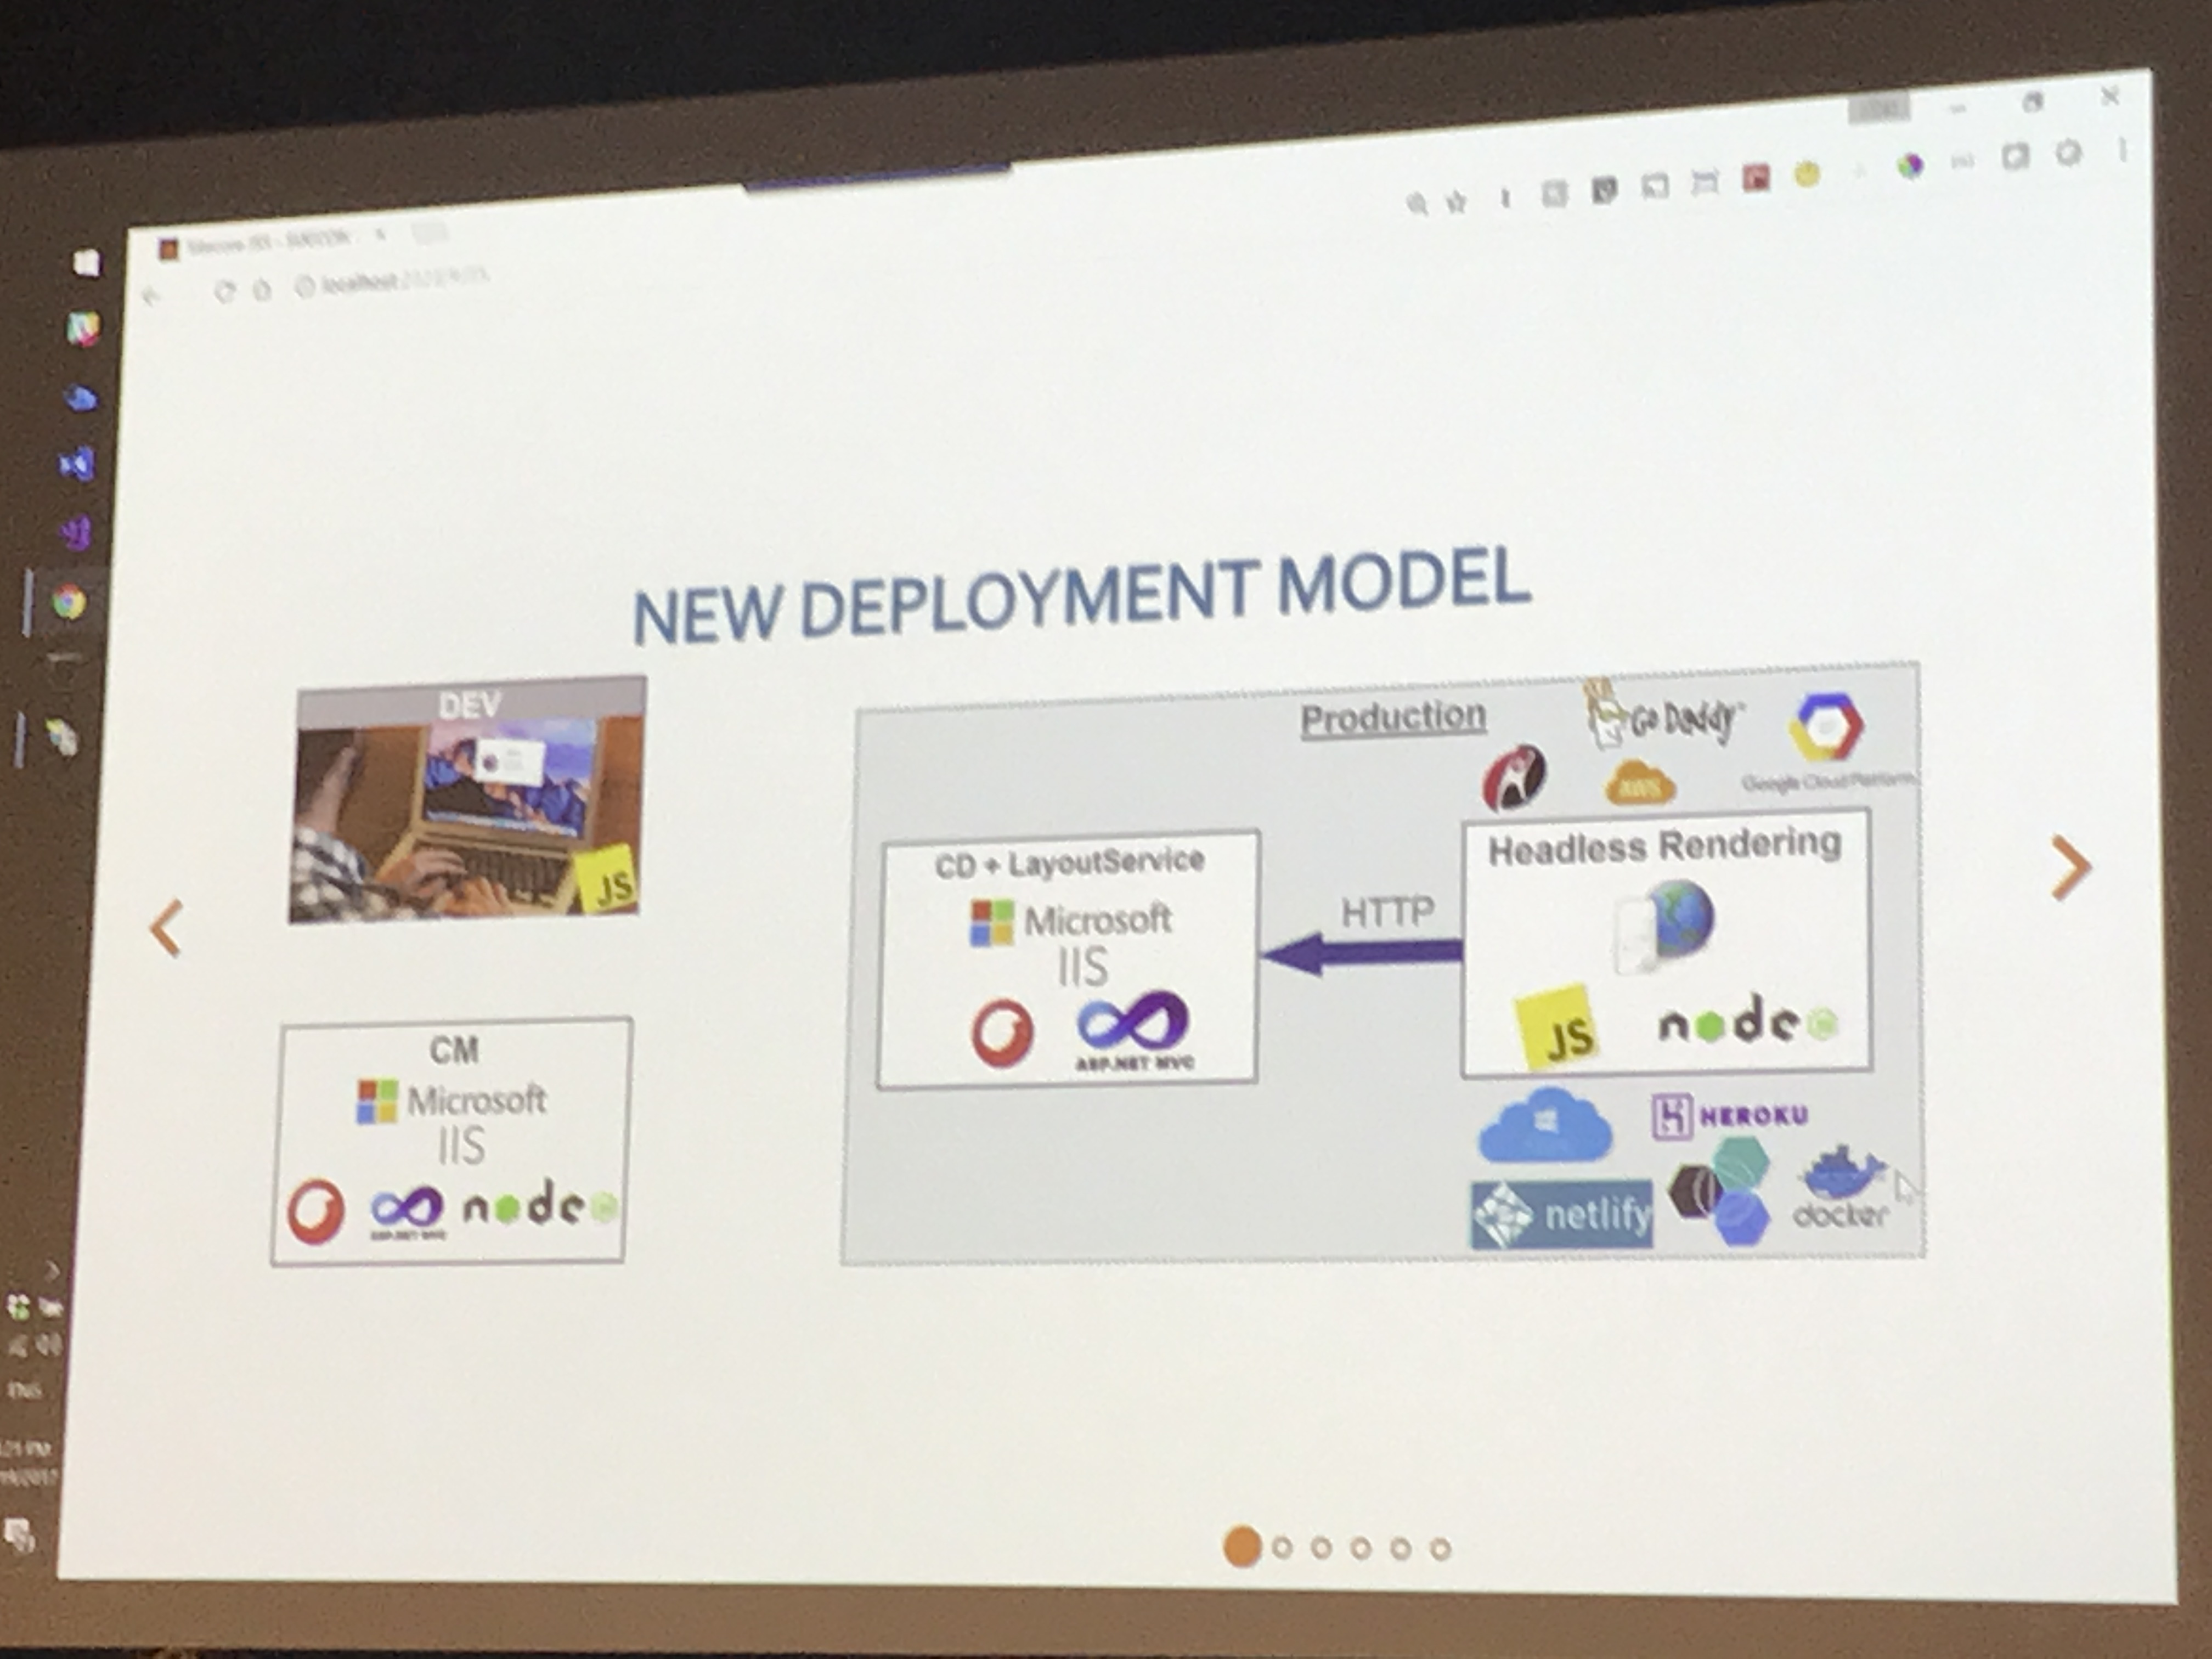
One thing that will keep front-end developers happy is that Apps can be built entirely detached from Sitecore and then deployed to Sitecore later. This also means that Sitecore doesn’t need to be installed to build applications with JSS. Apps are deployed to Sitecore using JSS code-first services via the command line.

This just touches on the basics of JSS, you can read more about it and the full install instructions here: https://jss.sitecore.net

Prequisites

  • Sitecore 9 or 9 update 1 (with a licence with JSS included)
  • Node JS version 6.9 or above
  • NPM version 5 or above

JSS Setup Steps

There are a number of steps required to Setup JSS before you can start developing using it. Follow all of these for the purposes of this post.

  1. Download and install the following two JSS server packages in Sitecore (using the package installer) from here: https://dev.sitecore.net/Downloads/Sitecore_JavaScript_Services/90_Tech_Preview/Sitecore_JavaScript_Services_90_Update_1_Tech_Preview.aspx
    1) Server Package (Tech Preview 9.0.1 rev. 180111)
    2) Infrastructure Package (Tech Preview 9.0.1 rev. 180111) – this is optional but is needed if you want to deploy your App to Sitecore via the command line

  2. Apply this to the web.config at the bottom of the system.webServer/handlers section:

    <add verb=* path=sitecorejss_media.ashx type=Sitecore.JavaScriptServices.Media.MediaRequestHandler, Sitecore.JavaScriptServices.Media name=Sitecore.JavaScriptServices.Media.MediaRequestHandler />

  3. Apply this to the web.config inside the system.webServer/modules section:

    <add name=”Sitecore.JavaScriptServices.Ship.ShipFilter” type=”Sitecore.JavaScriptServices.Ship.ShipFilter, Sitecore.JavaScriptServices.Ship” />

  4. Login to Sitecore Desktop on the Sitecore 9 instance you want to use. Switch to the Core database. In the Content Editor Navigate to: /sitecore/system/Settings/Services/API Keys
    and  insert a new API Key item, call it ‘JSS API Key’. Under AllowedControllers, which fill in the field with: “*”. Leave the rest of the fields as is. (more info on this step here). Take a note of the Item ID of the API Key item as you will need it in the next step.
  5. Verify everything works by going to:

    http://your-sitecore-instance/sitecore/api/layout/render/jss?item=/&sc_apikey={YOUR_API_KEY}.

    You should see something like the following in your browser:
    jss-test

Downloading & Testing a Demo App

Were going to use React for this and to keep things simple were going to use the simple React demo.

  1. Pull the JSS Demo source files from here: https://github.com/Sitecore/jss/tree/master/samples/basic-sample-react
  2. Go to IIS and add a ‘jssbasicapp’ as a new binding in IIS
  3. Edit your hosts file (C:\Windows\System32\drivers\etc\hosts) and add the following:

    127.0.0.1 JssBasicApp

    (you can change the name of the app and other settings if you want by editing: jss-basic-app.config)

  4. Open command line and go to the folder where you have downloaded the basic react sample (e.g: C:\Projects\Jss-Demos\samples\basic-sample-react).
    Run:

    npm install

  5. Next Run:

    npm run setup

  6. Next Run:

    npm run deploy-config

    You will be asked: ‘Would you like to configure connection settings to a Sitecore instance?’ – Enter Yes.
    When prompted enter your the Website Folder and Host of your Sitecore instance.

    (If you have any issues with this ensure you have your permissions set so allow the script to run and copy files over to your Sitecore instance)

  7. Lastly Run:

    npm run start

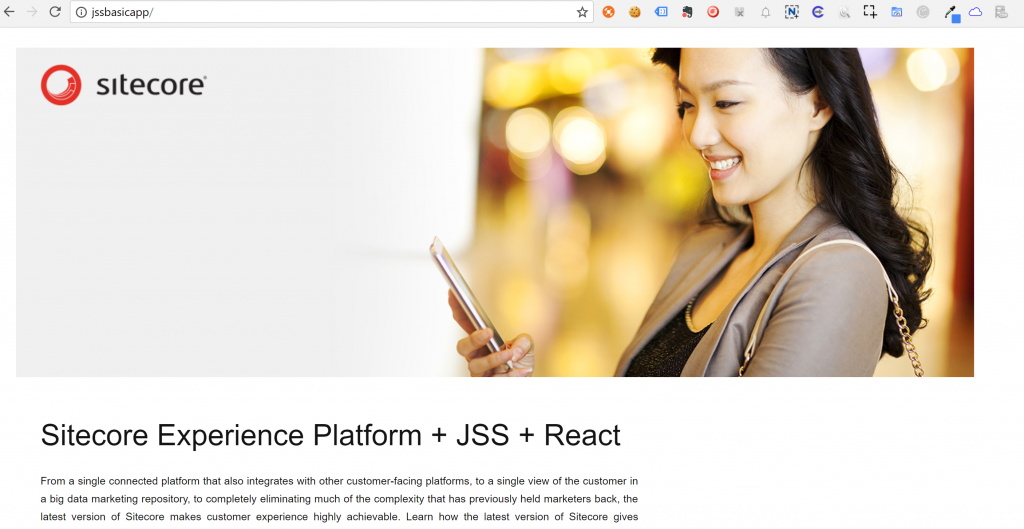
This will build the app and run a WebPack server, finally it should open up a browser showing the basic App at the following url: http://localhost:3001.

This will look like the homepage of a Standard Sitecore 9 install.

The App is not currently using Sitecore for data, it is being provided by local files within the app.

Deploying the App to Sitecore

Finally were ready to deploy the app to Sitecore and hook it up using real Data.

  1. Run:

    npm run deploy-codefirst

  2. Open up: http://jssbasicapp/ – you should see the following:
    jss-deploy1

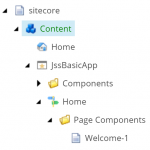
  3. Lets double check it’s worked correctly by going to your Sitecore instance, opening Content Editor and going to: /sitecore/content/JSSBasicApp. You should see something Similar to:
    jss-tree

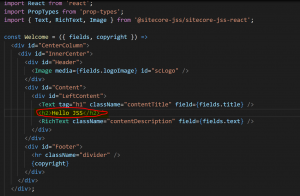
  4. Ok lets make a change to a component and re-deploy it to see the change working. Open up \samples\basic-sample-react\src\app\components\Welcome.js from the folder where you installed the demo.
    Edit the following lines to add a H2 tag with ‘Hello JSS’ in it:
    jss-component-update
  5. Open Command Line again and Run:

    npm run deploy-codefirst

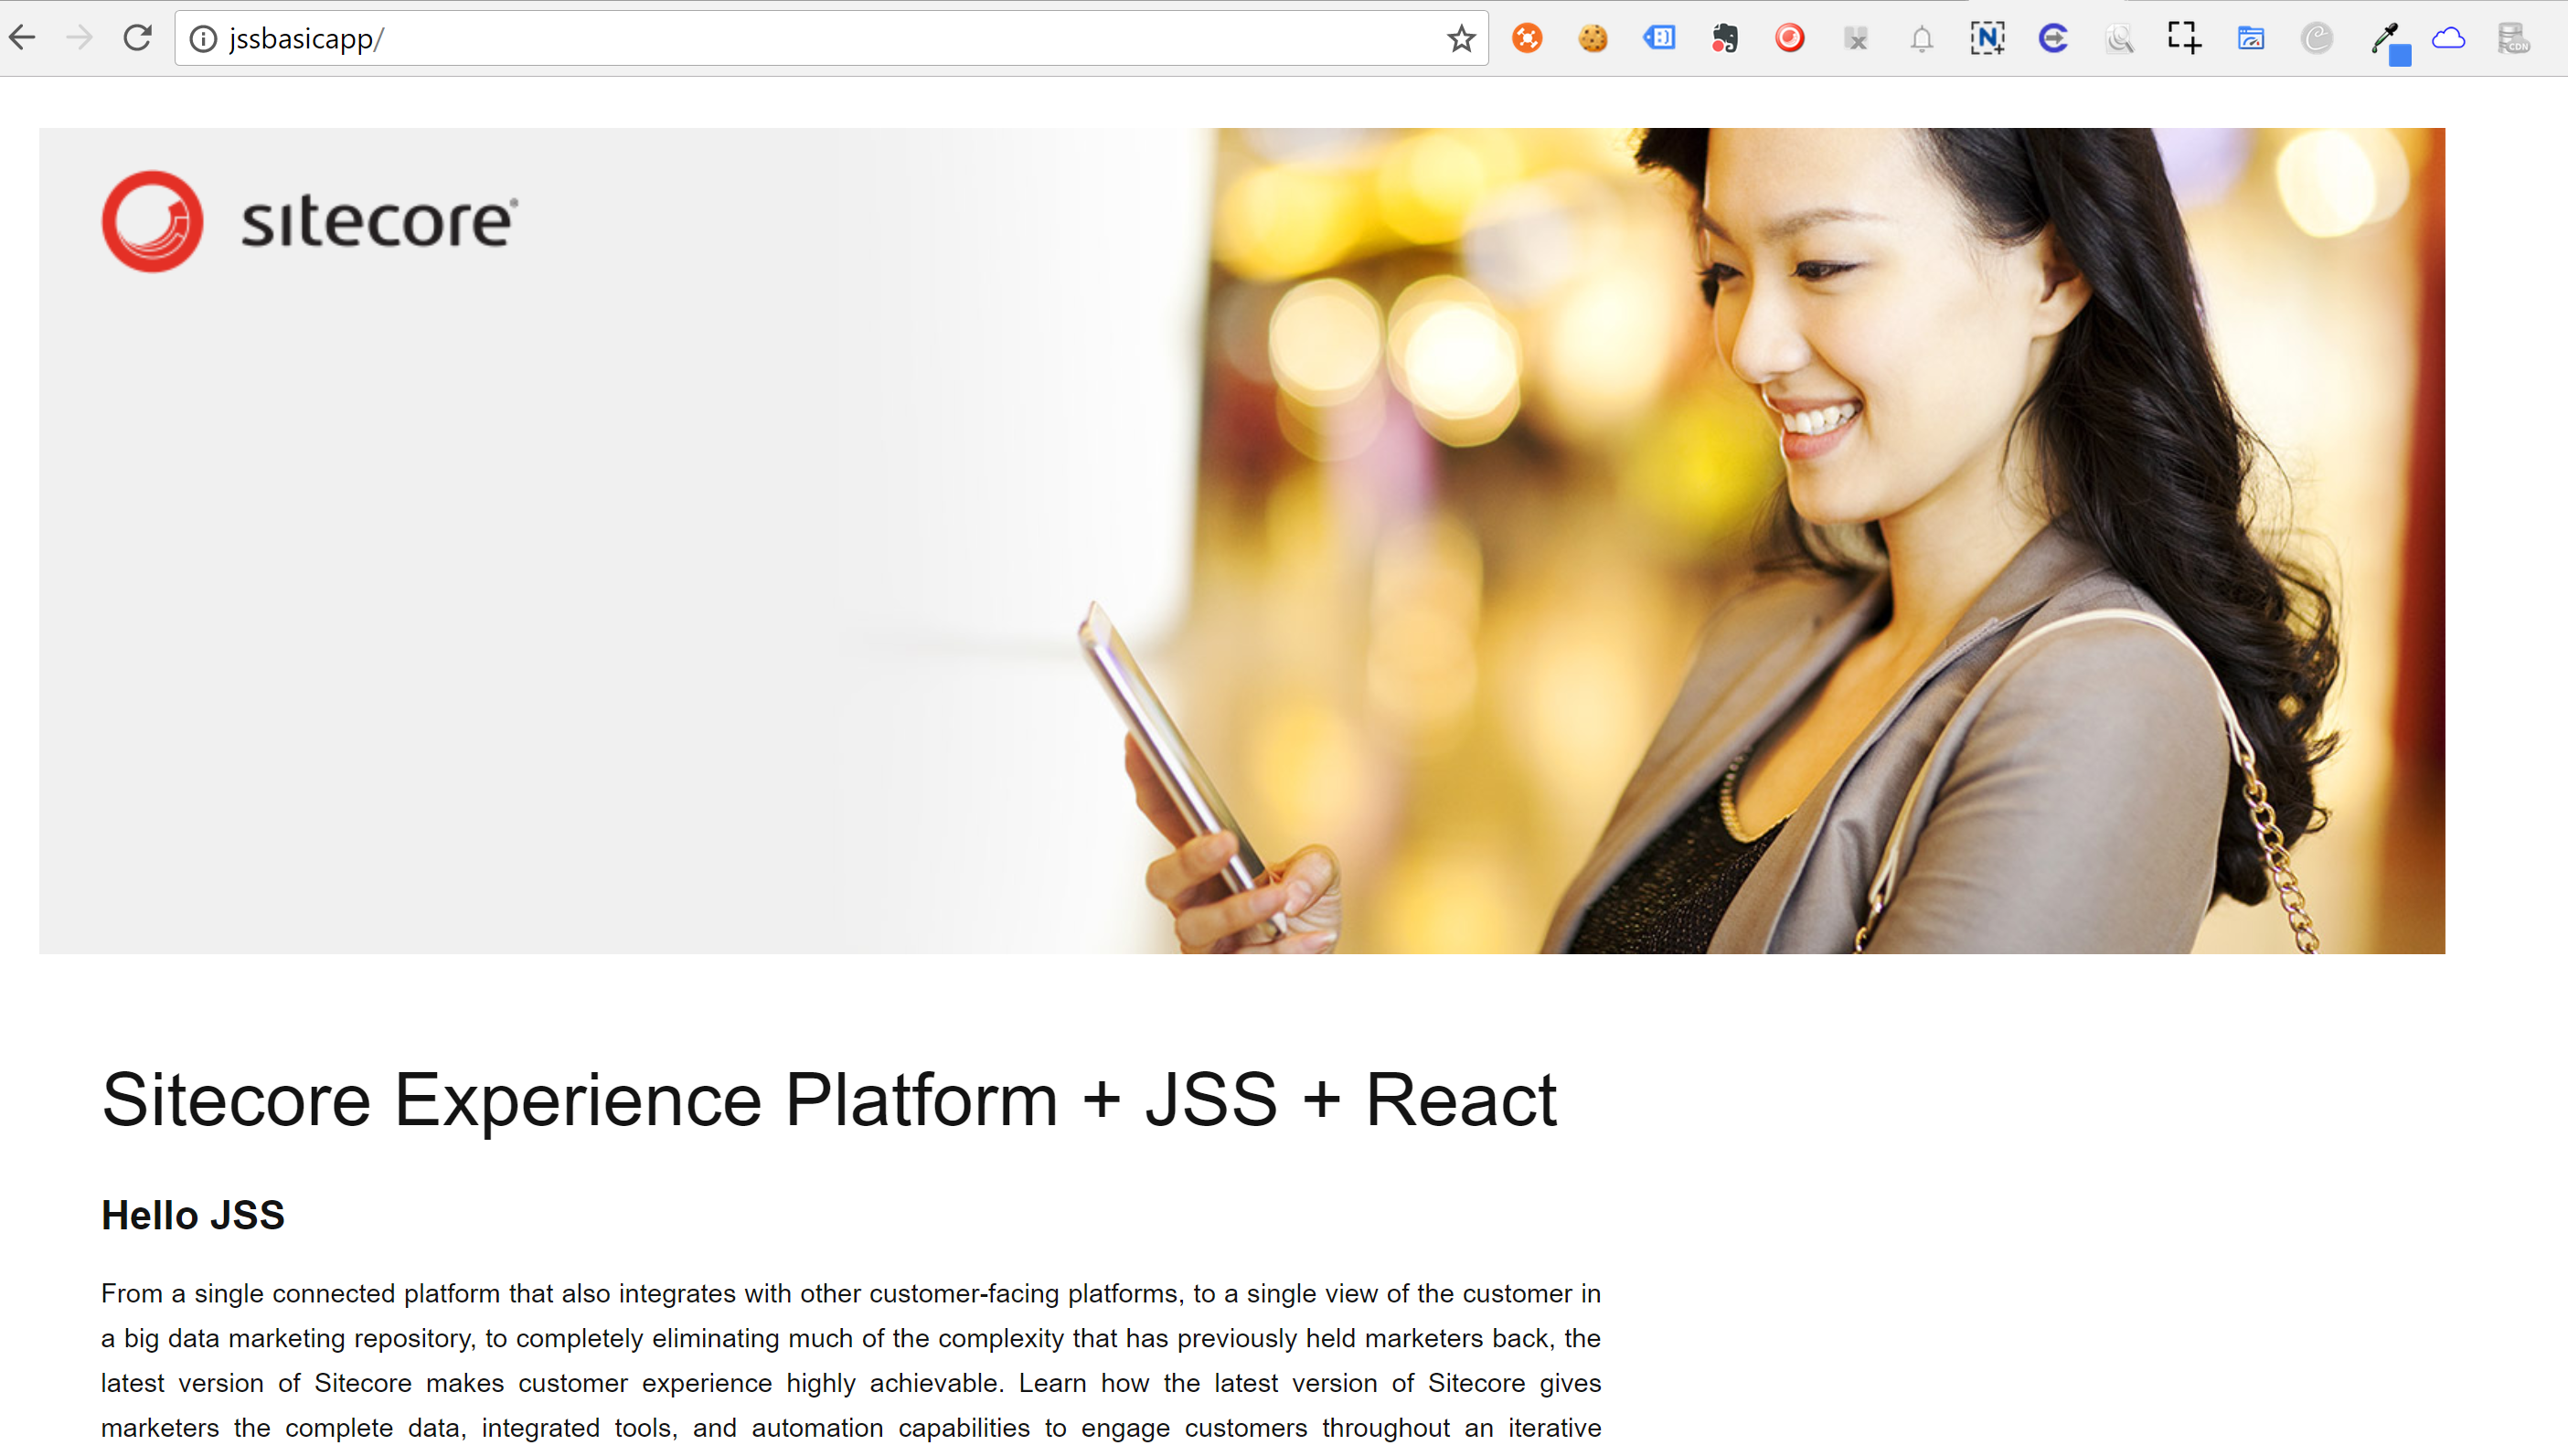
  6. Again open up: http://jssbasicapp/ – you should see ‘Hello JSS’ show up:
    jss-deployed-2

  7. Finally go to: /Home in the Experience Editor, you should be able to edit the page as normal even though the Components are provided by JSS.

This is a really basic demo of JSS but it should hopefully show whats possible and get you started with working with JSS.

Props to Alex and his team for doing a great job and addressing the workflow of front-end developers with how they have approached JSS.

Install Sitecore 9 Update 1 – in 4 Simple Steps

By now you probably know installing Sitecore 9 is a bit different to previous versions and instead of using an installer the process involves using The Sitecore Install Framework (or SIF) to install Sitecore.

sitecore-9-update1-logo
Original Logo By jammykam

When Sitecore 9 first came out I made numerous attempts to install it on my Windows 8.1 machine and couldn’t get it to work due to an issue with SSL certs for xConnect. Apparently it’s possible to get working but I couldn’t get past the issue so decided I’d upgrade to Windows 10 instead.

Sitecore 9 Update-1 came out earlier this week and after upgrading to Windows 10 over the Christmas break I decided it was time to have another go.

I’ve kept a close eye on the Community tools and blog posts for helping with installing Sitecore 9 over the past two months and think the approach I have outlined below is pretty quick and fairly simple.

Prerequisites

First up you need to make sure you have the following in place to follow this guide:

  • Windows 10
  • Sql Server 2014 or 2016 SP1 (for xdb)
  • IIS 8.5 > 10 (IIS 8 is not supported by SIF)
  • Java Runtime Environment (JRE) version 1.8 or higher: (required for Solr 6.6.2 ) http://www.oracle.com/technetwork/java/javase/downloads/jre9-downloads-3848532.html
  • Powershell v5.1 (you can check your version by running: $PSVersionTable.PSVersion)
  • Web Deploy 3.6 for Hosted Servers (using Web Platform Installer in IIS)
  • A Sitecore Licence

Step 1 – Install Solr

Other than the above prerequisites Solr is a core requirement for Sitecore 9+. Solr must be installed running SSL and for Sitecore 9 Update 1 Solr 6.6.2 is a requirement (not 6.6.1)

By far the easiest way I’ve found to do this is to use the awesome Power Shell script that Jeremy Davis wrote. It downloads Solr 6.6.2 and installs it with NSSM with SSL enabled. Just copy the gist below to your machine and save it as Install-Solr.ps1.

You should be able to leave everything as it is other than:

  • The $JREVersion variable – this should be the same as your Java version
  • The $JREPath – this should be the path to your Java version

My settings looked like this: install-ps Save the file and execute it with right admin permissions.

more info here: https://jermdavis.wordpress.com/2017/10/30/low-effort-solr-installs/.

Once the script completes you should see Solr open in a browser and look like this:

solr-9

Step 2 – Prepare Your Install Folder

The next step is to save the files you need to install Sitecore 9 Update 1 to the correct location for the install.

  • Create an install folder on your machine, I decided on ‘C:\Sitecore9-Install\resources’.
  • Download the ‘Sitecore 9.0.1 rev. 171219 (WDP XP0 packages).zip’ install file from here: https://dev.sitecore.net/~/media/8551EF0996794A7FA9FF64943B391855.ashx
  • Unblock and Unzip the folder
  • Copy ‘Sitecore 9.0.1 rev. 171219 (OnPrem)_single.scwdp.zip’ and ‘Sitecore 9.0.1 rev. 171219 (OnPrem)_xp0xconnect.scwdp.zip’ from the unzipped folder to ‘C:\Sitecore9-Install\resources’
  • Unzip ‘XP0 Configuration files 9.0.1 rev. 171219.zip’ and also copy the contents into: ‘C:\Sitecore9-Install\resources’
  • Lastly copy your Sitecore licence file into ‘C:\Sitecore9-Install\resources’ also.

    Your install folder should look like so:

install-folders

Step 3 – Install SIF

The next step is to install SIF so that you can use it to Install Sitecore. Save the following powershell script to your machine as Install-Sif.ps1 and run it with the correct admin permissions:

Step 4 – Install Sitecore 9 Update 1

Finally you can Install Sitecore. Save the following Powershell Script to your machine as Install-Sitecore9.ps1. It is from the official Sitecore 9 Update 1 install guide.

Edit the following paramaters:

  • $prefix – I set this to ‘sc91’ but you can call your instance what you want
  • $PSScriptRoot – set this to your install folder location, e.g: ‘C:\Sitecore9-Install\resources’
  • $SolrUrl – Set this to the path of your Solr instance you installed at Step 1. e.g: ‘https://solr-sc9:8983/solr’
  • $SqlServer – Set this to the name of your local SQL Instance, mine is ‘./’ (you may need to use this format for a named instance: “.\SQL2016″)
  • $SqlAdminUser – Set this to a user that has permissions to create databases, I used the ‘sa’ account
  • $SqlAdminPassword – Set the password for the user above

Finally run the script with the correct admin permissions.

Wait for the script to run, It will take a few minutes to install everything.

It’s worth noting an alternative way to do this is to use Sif-less which uses SIF under the hood to install Sitecore but with a nice UI (a bit like SIM). However I decided to go with the standard Powershell install instead this time round.

Hello Sitecore 9…

All being well you should have an new Shiny Sitecore 9 Update 1 instance installed. You can now run the post install steps for xConnect (see the guide below).

You can find more info and the official install guide here: https://dev.sitecore.net/Downloads/Sitecore_Experience_Platform/90/Sitecore_Experience_Platform_90_Update1.aspx

install-complete


Lastly thanks to the Community for these Blog posts (and others) that have helped with putting this together:

https://blogs.perficient.com/microsoft/2017/10/how-to-install-sitecore-9-with-the-sitecore-install-framework/

https://jermdavis.wordpress.com/2017/10/30/low-effort-solr-installs/

http://www.rockpapersitecore.com/2017/10/introducing-sif-less-for-easy-sitecore-9-installation/

https://kamsar.net/index.php/2017/11/The-lazy-way-to-install-Sitecore-9/

http://blog.baslijten.com/gotchas-while-installing-sitecore-9-using-the-sitecore-installation-framework/

Manchester Sitecore Technical User Group Presentation

Last Wednesday I was kindly invited by Jitendra Soni  & Martin Davies  to Talk at the Manchester Sitecore Technical User group. After some deliberation I decided I would do a Talk on using Jeff Darchuk’s Content Migrator module for Auto-syncing content and show the customisations we implemented for this to sync content on a specific day of the week and build a UI for setting up the configuration of Content Migrator for Automated Syncs.

Jitendra presented first and talked about the new features in Sitecore 9, whilst I’ve read quite a bit about Sitecore 9 It was good to see some of these in more detail and be able to ask questions.

DQWmD08XUAAMD8M

I enjoyed giving my first presentation at a Sitecore technical user group, everyone seemed to be engaged in the talks and it was great to see so many Sitecore developers at the Manchester Meet-up.

pres

content migrator

For those who have asked you can find my slides here: https://www.slideshare.net/AdamSeabridge/automating-content-syncs-using-content-migrator/AdamSeabridge/automating-content-syncs-using-content-migrator and I aim to package up our customisations and share them very soon.

We also had some good discussions on JSS, Sitecore 9 Install, Express Migration and a number of other things which Jeremy Davis had some very useful input on.

DQZmw65UEAIntw1

Thanks to Jitendra & Martin for letting me present and hopefully we can catch-up more regularly and continue to share our Sitecore Knowledge in Manchester.

Auto-Setting Alt Text For Existing & New Images in Sitecore with Cognitive Services

Alt text on images is important for accessibility but often content editors do not set it or are not sure what to set it to.

I recently had the scenario where a client had thousands of existing images (across a Multisite Solution) with no Alt text entered and was asked to find a solution to add these retrospectively and also to make this easier going forward.

The Robots Are Coming

After considering my options (and reading a bunch of Blog Posts on how others have solved this) I decided to use Sitecore Powershell to set the missing Alt tags. This was because I only needed to run this once and then I won’t need to do this again.

However what should I set the Alt text too? It would be possible to use the image name in Sitecore or other attributes on the image in Sitecore to intelligently name the image. However often images have pretty non-descriptive names and no other data associated with them. An Alt tag of ‘IMG_20170416_085835‘ isn’t a great deal of use to users or screen readers. Therefore I wanted to use a more intelligent way of adding Alt Text.

robots

I’d seen this awesome presentations by Mark Stiles and Rob Habraken & Bas Lijten at Sugcon this year about using Machine Learning to solve problems just like this, and decided this was the way to go.

Mark Stiles has blogged about an full integration that he’s implemented with Microsoft Cognitive Services here: https://www.markstiles.net/blog/2017/2/22/sitecore-cognitive-services/

However I didn’t need all this functionality and this hasn’t been wrapped up into a proper Sitecore Module yet so I decided to go for a simpler approach.

Setting Alt Text for Existing Images

I stumbled across this really useful Post: http://www.pveller.com/image-tagging-automation-with-computer-vision/ by Pavel Veller which is what formed the basis of my script. It goes through each image in the media library and uses Microsoft’s Vision API to look at each image and return some appropriate Alt Text.

However given the number of images I needed to handle and complexity of the Multi-Site solution I’m working on I needed quite a lot more functionality. Therefore my script does the following:

  • Ability to run in test mode to output what it would do if run for real
  • Progress output as the script runs so you know how far through it is
  • Only updating Alt text when there is none set already
  • A CSV report at the end with the info for all images and the Alt text set
  • A list of TemplateIds to Exclude
  • A list of FolderIds to Exclude
  • Full error handling for exceptions
  • Pause for 60 Seconds and continue when hitting the Free API Limit (thanks Pavel Veller for this idea).
  • Tracking of failures/errors
  • Summary at the end of updated text and errors (if any)

Example Output

alt-text-screen-1

Example Summary

alt-text-screen-7

Note that to run this you will need an API key for the Vision API, so go and grab one from here:

https://azure.microsoft.com/en-gb/try/cognitive-services/

Show Me The Script Already

I’ve put the script here on Github and embedded it below: https://gist.github.com/fluxdigital/2b6041c579770f891df1a0da43cdcd63

The outcome of running this was that we auto-set alt text for over 1,500 images and could send the client a csv report of all of the alt text for each image for review afterwards (should they wish to check them, the API is not infallible, especially for Gifs/Pngs and other graphical images). This saved a lot of time for the content editors.

What about new images?

So this is great for the existing images, but how do we make sure that alt text is set in the same way for new images?. After a bit of investigation I decided on this great Module by Tom Dudfield which auto-sets alt tags on save of the image using the same Vision API:

https://marketplace.sitecore.net/en/Modules/A/Alt_Tag_Generator.aspx

This Module even works with the multi-file upload so it’s really good if users upload a lot of images at once and forget to go back and add Alt Text.

I did find and issue with the module where is doesn’t work if you use one of the free API Keys (as the base API url needs to be different), but I’ve fixed that and submitted a pull request to resolve this issue. The Module config will now support setting the base Url (to: https://westcentralus.api.cognitive.microsoft.com/vision/v1.0). Tom has merged my update in and will hopefully release a new version Via NuGet and the Marketplace soon, but in the mean time if you need the update you can find it here:

https://github.com/fluxdigital/AutoAltTags

Once you’ve installed this and configured it with your API key you should be good to go, no more empty Alt text :-).

Thanks to the Sitecore community for all the great posts on this that helped me with this, here are just some of them:

http://jockstothecore.com/optimizing-images-sitecore/

https://sitecorebasics.wordpress.com/2017/08/03/integrating-cognitive-services-to-set-alt-tag-during-image-upload/

https://tomdudfield.com/computer-vision-alt-tags-in-sitecore/


Upgrading Sitecore Content Migrator & Scheduling Content Syncs

Back in February I wrote about using Sitecore Content Migrator to Sync Content to your Dev and Staging Environments from Production.

Since then Jeff Darchuk has released a number of versions and in 3.1 on-wards it now support  Scheduling Content Syncs :-). This is great as it means you will no longer have to do this manually – this can take a lot of time if you have a few Sites and environments to sync. If your not already using Content Migrator yet then you can just go ahead and install 3.2* from the VS Package Manager Console like so:

Install-Package SitecoreSidekickContentMigrator -Version 1.3.2

However if you have an older version installed (like me) you will need to upgrade first. I didn’t find the steps after upgrading very clear, so I’ve documented this for anyone else who needs to do this.

* Note: you can install 4.0 rc2 instead, this is pretty stable from my testing and is a lot faster from what Jeff has told me.

Upgrading Content Migrator

Thankfully upgrading isn’t too difficult. Go to the project where you have it installed and run this command in VS Package Manager Console:

Upgrade-Package SitecoreSidekickContentMigrator -Version 1.3.2

Once you have done this you need to follow these steps:

  1. Rename zSCSContentMigrator.Local.config.example to zSCSContentMigrator.Local.config. You can find this in the folder /App_Config/Include/Sidekick
  2. Open this file and update it to include an authentication secret of at least 32 characters. You can use something like site this to generate a random key: http://passwordsgenerator.net/
  3. Also update the raw:BuildRoot and raw:BuildServerList nodes to use the same ones from your old config (zSCSContentMigrator.config in the root of App_Config\Include\)
  4.  Now you no longer need it you can delete the old zSCSContentMigrator.config in root of App_Config\Include\
  5. Upgrade on all environments including the one where you pull content from. This is important or it will not work correctly.

Setting Up A Scheduled Content Sync

Now for the fun bit. You can now set up Sitecore Content Sync so that it runs automatically and syncs content for you on a Schedule.

There is an example of a schedule commented out in zSCSContentMigrator.config.

You can un-comment this but I prefer to create a new config file to define the schedule like so so I can set name it per environment. e.g something like:

zSCSContentMigratorScheduling.Dev.CA.config.

We can then enable and disable the files as needed and it is clear which is for which. This file essentially replicates what you see in the UI for SideKick Content Migrator like but in config form.

Within this file you need to set the following settings:

  1. interval – usually in hours. we’ve set this to run once a day.
  2. remote server – this is where you pull you content from. In our case this is Production.
  3.  id root – these are the ids of the items in Sitecore who you want to sync down. You can add multiple IDs here. We’ve included a number of Sites in ours and also some media gallery folders.
  4. database – this will generally be master
  5. bulk update – update the search index for items on import. you might want to leave this set to false to speed up the import.
  6. children – migrate the children of the item. generally you will want this set to true, unless you only want to sync one item.
  7. overwrite – overwrite any content that isn’t on the remote server. You may want this set to false on Staging servers and perhaps development so you don’t loose local content changes.
  8. event disabler – prevent all events running the run when installing, moving, deleting items. usually you will want this set to false unless you have some custom events you want to fire.
  9. pull parent – pulls down the parent item of an item also. usually you will want this set to true.
  10. mirror – ensures all local content is cleared down and the local environment matches up. You may want this set to false on Staging servers and perhaps development so you don’t loose test or dev content.

Here is an example of a completed config:

<?xml version=”1.0″?>
<configuration xmlns:patch=”http://www.sitecore.net/xmlconfig/”>
<sitecore>
<scheduling>
<!–pull all content down from Production to Dev–>
<agent description=”Sync Core Production Content to Dev” type=”ScsContentMigrator.ContentAgent, ScsContentMigrator” method=”Run” interval=”24:00:00″>
<param desc=”remote server”>https://prod.mysite.com</param>
<param desc=”id root”>{6d8cf7fd-1099-4ab4-94ee-1e7a3c0c879b
},{9a6d463d-6d41-464b-bec4-ba8000f38ee2}</param>
<param desc=”database”>master</param>
<param desc=”bulk update”>true</param>
<param desc=”children”>true</param>
<param desc=”overwrite”>true</param>
<param desc=”event disabler”>true</param>
<param desc=”pull parent”>true</param>
<param desc=”mirror”>false</param>
</agent>
</scheduling>
</sitecore>
</configuration>

Testing Content Sync Is Working

If you use version 3.2 you will find that it records a record a record of the sync being carried out in Sidekick.

If you use the release candidate 1 or 2 for 4.0 then you will see some records in the logs such as:

Starting Content Migration…

Also make sure that you don’t have IIS recycling during your agent interval (in our case 24hrs) or the agent and content sync will never run.

I will write some more about how to solve this problem and other ways of scheduling this in a future blog post.

I found some of this wasn’t clear so hopefully this is useful for others.

Lastly thanks to Jeff for helping me out on Slack with some of this and for updating the module based on my feedback.


Auto-maintaining Sitecore Session State permissions in tempDB after SQL Server restarts

We use SQL Server to maintain our Sitecore sessions which mostly works fine. However as part of the performance boosts recommended by Sitecore the session-state is moved to store session in SQL Server tempDB.

The process is explained here: https://doc.sitecore.net/sitecore_experience_platform/setting_up_and_maintaining/session_state/session_state/walkthrough_configure_a_shared_session_state_database_using_the_sql_server_provider

However, every time that SQL Server is restarted, it recreates tempDB and resets the access rights for users and the session tables. This will result in your Sitecore site going down and an error such as:

System.Data.SqlClient.SqlException: The SELECT permission was denied on the object ‘SessionState’, database ‘tempdb’, schema ‘dbo’. The INSERT permission was denied on the object ‘SessionState’, database ‘tempdb’, schema ‘dbo’. The UPDATE permission was denied on the object ‘SessionState’, database ‘tempdb’, schema ‘dbo’.

And also an angry client and customers :-(.

How do I solve this?

You could re-run the script from the Performance boost download provided by Sitecore (Sessions db performance boost.sql ) but this could happen late at night when no one is monitoring your site and cause downtime.

The best way to solve this and still use tempDB for sessions is to offload this manual task into a stored procedure that runs on Start-up.

The following script will create a Stored Procedure in the Master database that will run each time SQL Server restarts and add your session tables and database user back to tempDB with the right permissions.

USE [master]
GO
IF EXISTS (SELECT * FROM sys.objects WHERE type = ‘P’
and name = ‘AddSitecoreSessionTempDBOwner’)
DROP PROC AddSitecoreSessionTempDBOwner
GO
CREATE PROC AddSitecoreSessionTempDBOwner
AS DECLARE @sql
VARCHAR(500)SELECT @sql = ‘EXEC [master].[dbo].[Sitecore_InitializeSessionState]’ + char(13) +’USE [tempdb]’ + char(13) +’IF NOT EXISTS(SELECT name FROM sys.database_principals WHERE name = ”Sitecore_Sessions”)’ + char(13) +’BEGIN’ + char(13) +’CREATE USER [Sitecore_Sessions] FOR LOGIN [Sitecore_Sessions]’ + char(13) +’ALTER ROLE [db_datareader] ADD MEMBER [Sitecore_Sessions]’ + char(13) +’ALTER ROLE [db_datawriter] ADD MEMBER [Sitecore_Sessions]’ + char(13) +’END’EXEC (@sql)
GO
EXEC sp_procoption ‘AddSitecoreSessionTempDBOwner’, ‘startup’, ‘true’
GO

Just remember to update ‘Sitecore_Sessions’ in the script above to the name of the user in your Sessions Database connection string, then run the script in SQL Server Manager to create the stored procedures that will run on start up.

How do I test this?

It is important to test this to ensure that on a restart of the SQL Server the script kicks in and works it’s magic. First check if the Stored Proceedure is set to run on Startup correctly by running this query:

SELECT name,create_date,modify_date
FROM sys.procedures
WHERE OBJECTPROPERTY(OBJECT_ID, ‘ExecIsStartup’) = 1

You should see the ‘AddSitecoreSessionTempDBOwner’ and ‘Sitecore_InitializeSessionState’ stored procedures listed. If you don’t try running the script above again as something went wrong.

Once these are listed correctly you should carry out a full test by scheduling in a time out of hours when you can reboot the SQL Server machine and check your script runs correctly.

Gotchas

One thing to ensure is running is the SQL Server Agent Service. This needs to be running in order for and startup stored procedures to be executed.

slq-agent

Check this is set to ‘Auto Run’ under startup type. This caught me out on my first test as my Stored Procedure didn’t run correctly on reboot of the SQL Server.

Lastly check your session state tables are collecting session data correctly using a query such as:

select count (*) from [tempdb].[dbo].[SessionState]

That should be it, no more problems with tempDB when SQL Server restarts.


SUCON 2017 – Day 2

I missed a couple of the morning sessions on Day 2 so I’m hoping that some of them will make it online, from what I hear the Publishing Service 2.0 presentation by Stephen Pope was very good.

If you missed it you can read about Day 1 here.

Tooling For Helix with a Docker focus

The first talk I went to was from some of the guys at Pentia (Thomas Stern & Emil Klein) on using Docker and Yoman to generate a Helix based Sitecore site.

IMG_4522

The tool they have built looks really cool, it takes a project name, folder and .NET version and creates a Sitecore site for you within a Docker container within a few minutes. This includes installing the .NET Framework, the Site files and setting up IIS. They have also created similar tools for setting up Mongo and Solr within Docker.

IMG_4525

IMG_4526

The link above is hard to read but you can get hold of the tool of github here: https://github.com/PentiaLabs/generator-helix

DevOps with Sitecore in the cloud

Next up was a session from Nick Hills from True Clarity who develop and manage the Easyjet site. They described how Sitecore is deployed and run on AWS and has been for 2 years and took us through their learnings.

IMG_4537

IMG_4569

It was really interesting to see how these challenges have been solved in the real world and what approaches are used for a large site like Easyjet.

The key points I noted from this were as follows:

  • Things will change over time so plan for this.
  • You will likely need to build custom tools to manage your cloud instances.
  • Blue / Green deployments work well but can go wrong and you need to handle the edge cases and consider database backups and content author downtime.
  • Green & Blue stacks can both be live to provide extra capacity when needed – e.g sales.
  • It’s important to manage tools, databases and code versions and know which is right for which
  • Visibility of the moving parts using tools such as Datadog is important
  • Ensure you can deploy easily but don’t nuke production! Put safeguards in place for this
  • Ensure that the bills are paid for instances and costs are planned for to ensure there is no downtime due to non-payment. Turn off un-needed servers at night to save money
  • Expect that deployment to the Cloud will take longer. It takes 40 minutes to spin up an production CD instance for Easyjet.
  • Consider other approaches for QA where a full deployment isn’t carried out for code-only updates.
  • Use tools to specify and automate the config and setup of boxes, e.g CloudFormation for AWS and ARM Templates on Azure.
  • Expect some things to break and build resiliency for this such as retry logic and circuit breakers. Polly is a really good library for this: https://github.com/App-vNext/Polly
  • Consider content and what needs to be moved between environments.

IMG_4576

True Clarity have created SINJ to support re-playable scripted Sitecore changes. These can be run in parallel across all production targets: https://github.com/tcuk/sinj.

Propeller

After a break I attended a session called Sitecore MVC – A developers journey, where Christian James Hansen talked about propeller which Pentia have developed for making it easier to use MVC in Sitecore.  It was useful but at the end of the talk I wasn’t quite sure why I would use it over Glass, maybe I missed something. If you want to take a look you can find it here: https://github.com/galtrold/propeller.mvc

IMG_4583

Front-end Love – Sitecore and JavaScript – finally in love!

The final breakout session of the day from Alex Shyba & Adam Weber was without any doubt the coolest session I saw all SUGCON, and I know many front-end devs will be very happy to see. Alex and his team have been working on a set of Sitecore Services for Javascript (JSS) to allow front-end devs to build Sitecore Solutions using their own tools, rendering frameworks and workflow (e.g React) and have the content be provided by Sitecore.

IMG_4585

They explained how they created a Sitecore layout service to return the Sitecore renderings, placeholders and datasource items and return them via Json. They also created a Javascript view engine build on Node JS to execute the Sitecore data and JS bundle and return HTML back to the browser.

IMG_4589

IMG_4590

IMG_4591

Now if your still following this means; a fully featured headless rendering service is available which can run on any server that runs JavaScript and can serve content from Sitecore but with a front end built using React. This is pretty awesome! The guys demoed this working and edited some code to prove it wasn’t just smoke and mirrors. 

IMG_4593

It even support personalisation & analytics as this is sent back via Json too!

IMG_4595

IMG_4596

They then made everyone in the room smile when they live edited the slides (built on a js using reveal I think) – and running in JSS, to say beta will be available this summer (2017) and not 2018 as it previously stated on the slides! 

IMG_4597

IMG_4598

IMG_4599

On top of this Angular support is soon coming for JSS and full native react and PWA support too. You can now sign up for beta programs access here: https://t.co/FyXYTQ1aFu

Closing Time

Finally it was time for the closing session from Jeppe Grue & Pieter Brinkman we were given an overview of the Sitecore Philosophy and Roadmap for Sitecore. The key points I noted from this are:

  • Sitecore are building everything With a pluggable modular architecture to allow for flexibility and freedom of choice
  • There is a big focus on front end support with the new JSS framework with Angular and SASS support for SXA
  • Investment in SXA making it compatible with multi site, headless support and pluggable grid systems
  • Commerce sever investment to make is Helix compliant and build it on SXA.
  • Improvements in the data exchange framework to make it easier to use and allow data push
  • Significant investment in Azure to make it easier to setup and less manual config 
  • Make it easier to upgrade from old versions of Sitecore, right from version 6.6 > 8 and support for preupgrade analysis, upgrade mode (where customizations are excluded)
  • A new more modern User Interface for Content Editor is in the works

IMG_4601

IMG_4602

IMG_4605

IMG_4607

And with that SUGCON was over for another year. I learnt a hell of a lot and met a bunch of people who I’ve been chatting to on Twitter, Slack and the Sitecore Stack Exchange site for the past year or so. Well done Robbert Hock and the other organisers but putting on another great event.

IMG_4608

One things for sure Sitecore and its community is growing and innovating every year and is showing no sign of slowing down. I’m already looking forward to SUGCON next year. 


SUCON 2017 – Day 1

I was lucky enough to attend Sitecore SUGCON 2017 in Amsterdam the week before last, which for those who don’t know is the annual Sitecore User Group Conference and is a must-attend event for every Sitecore developer.

I was really looking forward to a number of the talks and meeting some of the Sitecore folks who I’ve got to know through the community.

It was a packed two days so I thought I’d share my key takeaways from SUGCON for those who couldn’t attend, or if you had a few too many beers and forgot some of it 😊.

As usual there were some session clashes so I couldn’t go to everything but I’m hoping I’ll be able to catch some of the other sessions when they are put online.

IMG_4423

SUGCON opened with Lars Nielsen taking to the Stage to talk about the future of Sitecore. He gave us some great insights into some of the new things coming and approaches we should be taking as Sitecore developers, see below for Key Takeaways from this if you don’t want to read it all.

Key takeaways from SUGCON – Day 1

  • Sitecore are adopting Helix principles within the core product. Everything will be Helix compliant going forwards.
  • If our Sitecore projects also use Helix principles it will make our lives much easier.
  • Sitecore are re-writing a lot of core Services to be Micro-service based and be more cloud compatible. The new publishing service is now cloud compatible also.
  • There has been a lot of investment in SXA, adding support for a JSON headless browser, including support for personalisation. Sitecore are continue to invest in SXA more too.
  • Sitecore are investing heavily in cloud solutions and scaling very quickly.
  • The demo gods were going to make life difficult for the presenters today.

IMG_4425

A Glimpse into the Future

Lars Challenged his team to build some cool things and handed over to Pieter Brinkman who showed how he built an integration with Alexa and Sitecore, using SXA to create a site quickly and Sitecore to store and serve skills. Pieter then gave Lars a Hololens to use to interact with Sitecore and move items around virtually in the air which was pretty awesome to watch!

IMG_4432

Next up to demo cool stuff was Bas Lijten & Rob Habraken. They introduced us to Robbie the Robot which they had built with a Rasberry Pi with Windows IoT Core installed on it, Cognitive Services and pages that held data in Sitecore. They built some Json APIs to access the data from Sitecore and used LUIS to program utterances. Robby focuses on the nearest face and can recognise more than one person at once and respond to questions asked to him. It even supported Experience Marketing as Robbie was added as a device. Although Robbie wasn’t working 100% what we did see was quite impressive and demonstrated whats possible with Sitecore and It can be much more than a simple website. You can read more about what they did here: http://blog.baslijten.com/revealing-robbie-at-the-sitecore-sugcon-2017-windows-iot-raspberry-pi-cognitive-services/.

IMG_4438


IMG_4444

Helix, Helix, Helix

It was then time to break off and pick our next sessions, I attended two sessions on Helix. I’d read a lot about it and considered using it on some of the projects I’ve worked on over the past few years but I haven’t really had the chance to use its principles yet so I was keen to learn more.

Helix is based on the principles of package design and is a set of conventions for how you should structure and build Sitecore solutions. The first talk by Morten Lyhr (Helix Practically) was about how uCommerce used Helix principles during the redevelopment of their Sitecore module. They talked about how you need to be pragmatic about how you apply the principles and do your own version of Helix that works for you. It is important to choose naming conventions and structure that make sense to your team so that people can easily know where things are and how everything is setup.

IMG_4468

IMG_4470

IMG_4474

uCommerce for example don’t use the deep folder structure recommended by Helix as they don’t find it productive. It’s also really important to extract out shared functions so they are not re-used by multiple modules and so that components can communicate but not be reliant on one another.

IMG_4477

We were then shown how this has been achieved for uCommerce using events to decouple components used in the UI from each other. Reuse and duplication was also discussed. The uCommerce team are pragmatic about this and their rules is if it’s close to the UI then it might be ok to copy it but otherwise probably don’t.

IMG_4481

You can find their repo at the following url to see how they have applied the Helix principles at uCommerce .

IMG_4487

Anders Laub‘s talk on Helix Fast track was next up and he discussed the reasons to use Helix which in essence are: Common Conventions, Reduced Learning curves on new projects Maintainability, Modularisation etc. He talked about how everything that makes up and Module, including items and config should be stored in the module folder. Anders also discussed mutability and stability of modules and that it is important to consider this and aim to keep the number of dependencies on each Helix module down.

IMG_4496

IMG_4499

IMG_4503

Anders then demoed his Helix setup project. This looks really cool as it scaffolds all of the Helix project structure for you and handles the naming of things within Visual Studio, e.g. when you add a new project it creates a code folder to hold your code and so forth. It looks like this could save a lot of time when using a Helix project structure.

You can find Ander’s Visual Studio Extension project here: https://github.com/LaubPlusCo/LaubPlusCo.Helix.VsTemplates

Anders also said the new Sitecore demo is created using Helix principles so that’s worth checking out too.

IMG_4518

SXA Improvements

I also saw a talk on SXA by Jason Wilkerson – who I met whilst at SUGCON and is a really nice guy. I’d seen some demos of SXA at Symposium and it looks really good but Jason demoed some of the new features in the latest release (1.3) and why using SXA is a good idea. We all know how long it can take to build set of Components for Sitecore, SXA Ships with 70+ pre-built components and therefore allows you to build a Sitecore site much quicker than normal and focus on implementing more value for customers and advanced marketing features. I can certainly see how this is a good argument as most clients don’t ever get to the point of implementing xDB as they spend most of their budget on the Website build.

IMG_4490

Whilst the demo gods weren’t being kind to Jason it was good to see some of this. It’s now possible to export and import a whole page. Rendering variants are also supported in Experience editor to allow different layouts to be selected for a component. You can now choose which grid to use (foundation, bootstrap, Grid 960). There is also now support for a json content type with components. Jason demo’d exporting and modifying and Importing css and js and it seemed to work fine. However, I’d love to see this working with Gulp or Grunt to fit in better with modern front-end workflows. Thankfully this is on Sitecore’s roadmap it seems (see later).

IMG_4492

And with that day one was over, it was time to meet some Sitecore folks and a few beers at the bar.

IMG_4520

You can read about Day 2 here.

Bulk Move Items with Sitecore Powershell Extensions

Sitecore Powershell Extensions (or SPE) is a great Module for Sitecore that allows you to automate a lot of menial tasks, e.g bulk renaming, moving or deleting items and much more besides.

There is a great Git book here with more info on what you can do with it: https://sitecorepowershell.gitbooks.io/sitecore-powershell-extensions/

I needed to move about 3,000 child-items to a sub-folder in Sitecore and since there is no easy way to do this I decided SPE would be perfect for the job.

sitecore-powershell-extensions

Before you do anything with SPE on a Production environment – a word of caution: please be very careful to test your scripts on a Development or Staging environment first and backup your live database before you run anything on Production.
Ok now on with the code. The script below has two variables defined at the top.

$rootOfitemsToMove – The folder/parent item where the child items you want to move currently exist.

$destinationItem – The folder/parent item where you want to move your child items to.

$templateNameToMatch – The name of the template you wish to match on. This allows you to filter out other child items you don’t want to move.

Give me the script already

$rootOfitemsToMove = Get-Item “/sitecore/content/My Site/My Items Folder”;
$destinationItem = Get-Item “/sitecore/content/My Site/My Items Folder/Sub Folder”;

$templateNameToMatch = “My Template”;

Write-Host “Moving items from: ” $rootOfitemsToMove.Paths.FullPath ” to: ” $destinationItem.Paths.FullPath ” …”;

Get-ChildItem | Where-Object { $_.TemplateName -match $templateNameToMatch } | ForEach-Object {
$name = $_.Name
if(![string]::IsNullOrEmpty($name))
{
Move-Item -Path $_.ItemPath -Destination $destinationItem.Paths.FullPath;
Write-Host “Item moved to: “$_.ItemPath;
}
else
{
Write-Host “Couldn’t move Item: ” $name;
}
}

Write-Host “Moving items complete.”;

Just open up Powershell ISE (Developer Tools > Powershell ISE from Sitecore Desktop), paste in the script, update the paths and template name and run it. One the script is complete you should see that all your child items that have the correct template have been moved to their new destination.

Note: the script above purposely doesn’t use the -Recurse argument on the Get-ChildItem method as this would keep looping through your destination sub-folder if it exists below the current paths of the item and get stuck in an infinite loop potentially. However this means it won’t loop round sub-folders, so you may want to change this if your $rootOfitemsToMove has sub-folders with items in you wish to move also. Just make sure your destination folder is elsewhere to avoid the above infinite loop issue.

Thats all there is to it. Hopefully this is useful and gives you some idea of how SPE can save you a whole lot of time and pain too!.