Back in February I wrote about using Sitecore Content Migrator to Sync Content to your Dev and Staging Environments from Production.
Since then Jeff Darchuk has released a number of versions and in 3.1 on-wards it now support Scheduling Content Syncs :-). This is great as it means you will no longer have to do this manually – this can take a lot of time if you have a few Sites and environments to sync. If your not already using Content Migrator yet then you can just go ahead and install 3.2* from the VS Package Manager Console like so:
Install-Package SitecoreSidekickContentMigrator -Version 1.3.2
However if you have an older version installed (like me) you will need to upgrade first. I didn’t find the steps after upgrading very clear, so I’ve documented this for anyone else who needs to do this.
* Note: you can install 4.0 rc2 instead, this is pretty stable from my testing and is a lot faster from what Jeff has told me.
Upgrading Content Migrator
Thankfully upgrading isn’t too difficult. Go to the project where you have it installed and run this command in VS Package Manager Console:
Upgrade-Package SitecoreSidekickContentMigrator -Version 1.3.2
Once you have done this you need to follow these steps:
- Rename zSCSContentMigrator.Local.config.example to zSCSContentMigrator.Local.config. You can find this in the folder /App_Config/Include/Sidekick
- Open this file and update it to include an authentication secret of at least 32 characters. You can use something like site this to generate a random key: http://passwordsgenerator.net/
- Also update the raw:BuildRoot and raw:BuildServerList nodes to use the same ones from your old config (zSCSContentMigrator.config in the root of App_Config\Include\)
- Now you no longer need it you can delete the old zSCSContentMigrator.config in root of App_Config\Include\
- Upgrade on all environments including the one where you pull content from. This is important or it will not work correctly.
Setting Up A Scheduled Content Sync
Now for the fun bit. You can now set up Sitecore Content Sync so that it runs automatically and syncs content for you on a Schedule.
There is an example of a schedule commented out in zSCSContentMigrator.config.
You can un-comment this but I prefer to create a new config file to define the schedule like so so I can set name it per environment. e.g something like:
zSCSContentMigratorScheduling.Dev.CA.config.
We can then enable and disable the files as needed and it is clear which is for which. This file essentially replicates what you see in the UI for SideKick Content Migrator like but in config form.
Within this file you need to set the following settings:
- interval – usually in hours. we’ve set this to run once a day.
- remote server – this is where you pull you content from. In our case this is Production.
- id root – these are the ids of the items in Sitecore who you want to sync down. You can add multiple IDs here. We’ve included a number of Sites in ours and also some media gallery folders.
- database – this will generally be master
- bulk update – update the search index for items on import. you might want to leave this set to false to speed up the import.
- children – migrate the children of the item. generally you will want this set to true, unless you only want to sync one item.
- overwrite – overwrite any content that isn’t on the remote server. You may want this set to false on Staging servers and perhaps development so you don’t loose local content changes.
- event disabler – prevent all events running the run when installing, moving, deleting items. usually you will want this set to false unless you have some custom events you want to fire.
- pull parent – pulls down the parent item of an item also. usually you will want this set to true.
- mirror – ensures all local content is cleared down and the local environment matches up. You may want this set to false on Staging servers and perhaps development so you don’t loose test or dev content.
Here is an example of a completed config:
<?xml version=”1.0″?>
<configuration xmlns:patch=”http://www.sitecore.net/xmlconfig/”>
<sitecore>
<scheduling>
<!–pull all content down from Production to Dev–>
<agent description=”Sync Core Production Content to Dev” type=”ScsContentMigrator.ContentAgent, ScsContentMigrator” method=”Run” interval=”24:00:00″>
<param desc=”remote server”>https://prod.mysite.com</param>
<param desc=”id root”>{6d8cf7fd-1099-4ab4-94ee-1e7a3c0c879b
},{9a6d463d-6d41-464b-bec4-ba8000f38ee2}</param>
<param desc=”database”>master</param>
<param desc=”bulk update”>true</param>
<param desc=”children”>true</param>
<param desc=”overwrite”>true</param>
<param desc=”event disabler”>true</param>
<param desc=”pull parent”>true</param>
<param desc=”mirror”>false</param>
</agent>
</scheduling>
</sitecore>
</configuration>
Testing Content Sync Is Working
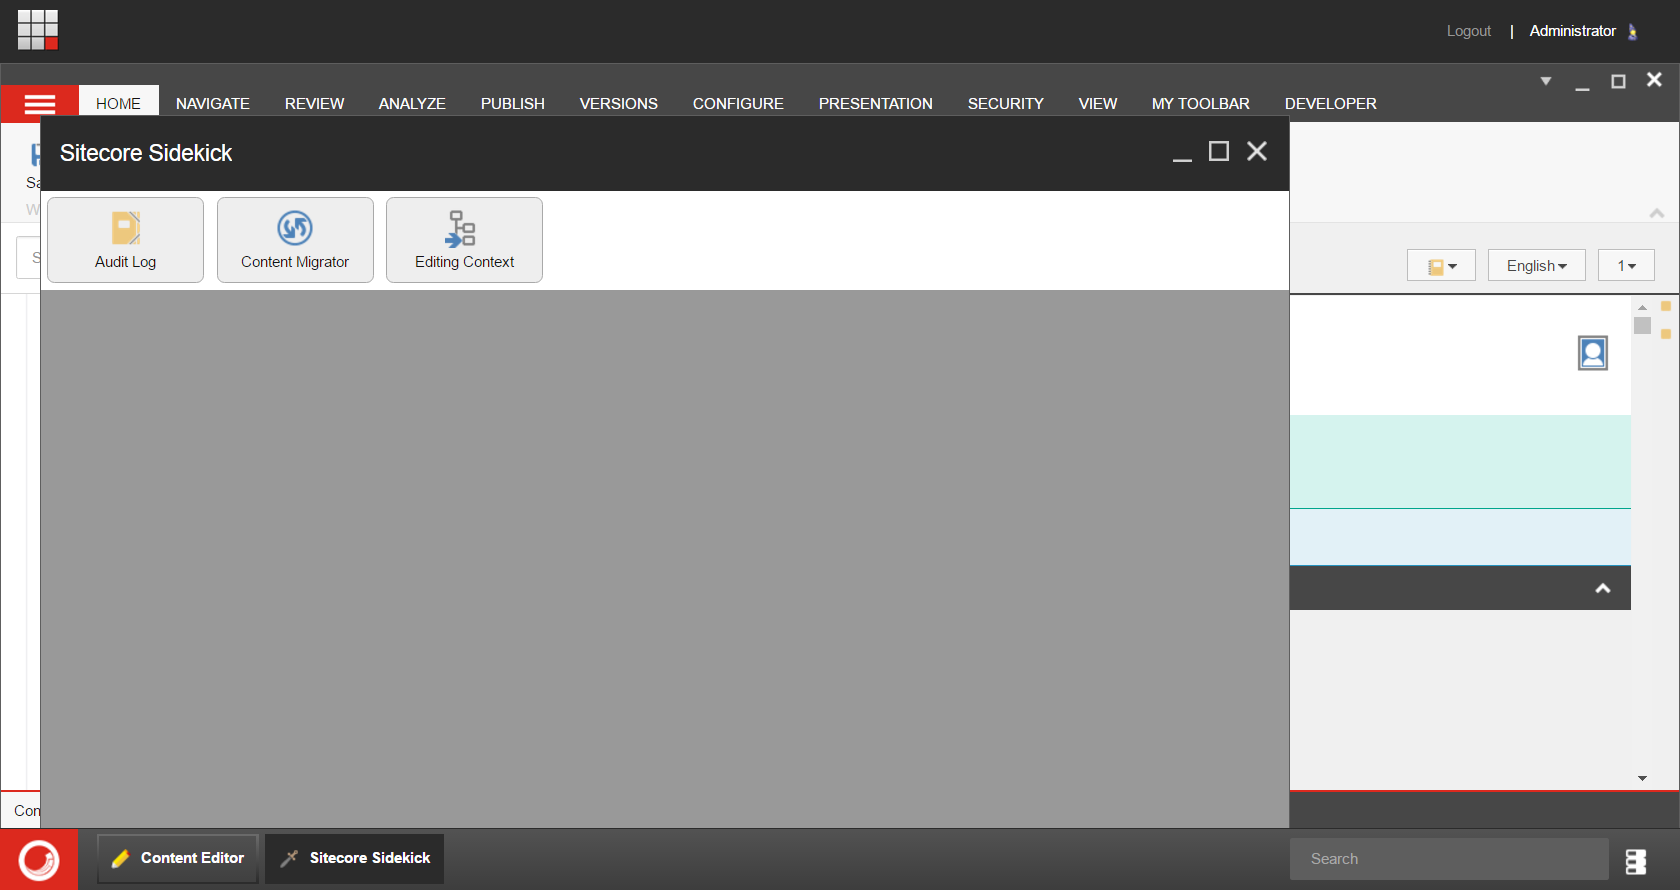
If you use version 3.2 you will find that it records a record a record of the sync being carried out in Sidekick.
If you use the release candidate 1 or 2 for 4.0 then you will see some records in the logs such as:
Starting Content Migration…
Also make sure that you don’t have IIS recycling during your agent interval (in our case 24hrs) or the agent and content sync will never run.
I will write some more about how to solve this problem and other ways of scheduling this in a future blog post.
I found some of this wasn’t clear so hopefully this is useful for others.
Lastly thanks to Jeff for helping me out on Slack with some of this and for updating the module based on my feedback.
 Thankfully